


📐 How to Draw — Step by Step
Step 1 of 8
To start drawing a hand, draw a basic shape that will serve as a base. Make a slightly irregular outline, similar to a pentagon, but with rounded sides. This shape will represent the palm of your hand. Remember, this is just an initial framework, so don't worry about perfection at this stage.
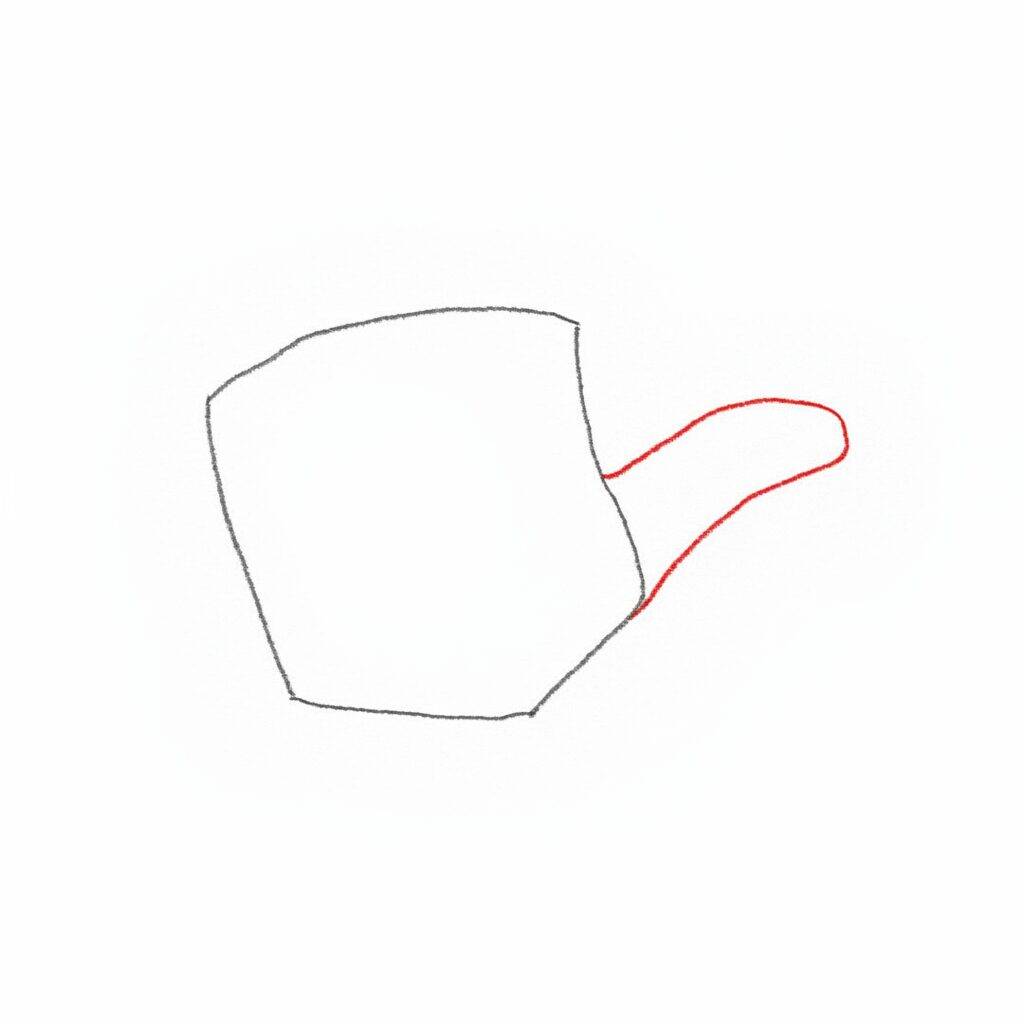
Step 2 of 8
Now, let's work on the fingers. Start by drawing the shape of an index finger sticking out of the palm you created. Use soft lines to give a more natural shape, remembering that the finger should be narrower at the tip and wider at the base. Add a slight curvature to give it a more realistic look. Don't worry about adding details yet; The important thing is to capture the basic shape of the fingers at this stage.
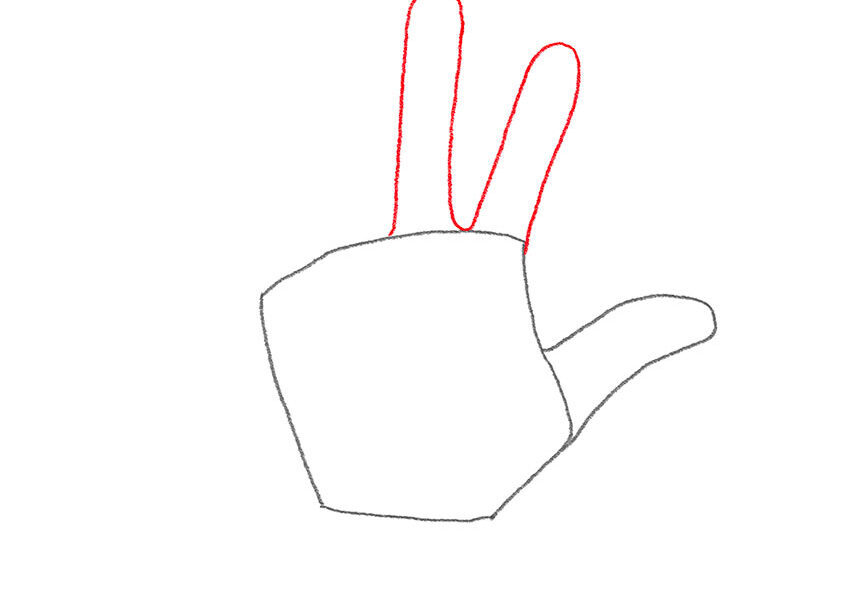
Step 3 of 8
Now, let's add more fingers to your hand. Start by drawing the middle finger next to the index finger, following the same approach: make it narrower at the tip and wider at the base, with a slight curvature. Next, draw the ring finger and little finger, making sure each finger has similar proportions. Remember that the fingers are not exactly the same, so feel free to make slight variations in the shapes. Keep the lines smooth and light to make adjustments in the next steps easier.
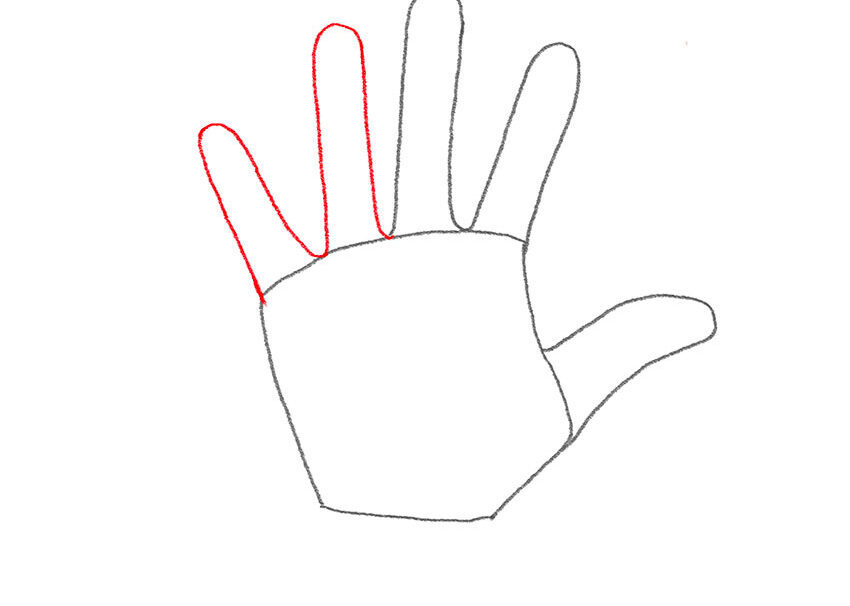
Step 4 of 8
Now that you've drawn the middle finger, let's continue with the ring finger. Start by making a smooth line that connects to the base of your middle finger, keeping it the same width at the base and tapering at the tip. Then, draw the little finger in the same way, positioning it next to the ring finger. Remember to maintain natural proportions and curves. If necessary, adjust the lines to make the fingers appear more fluid and organic.
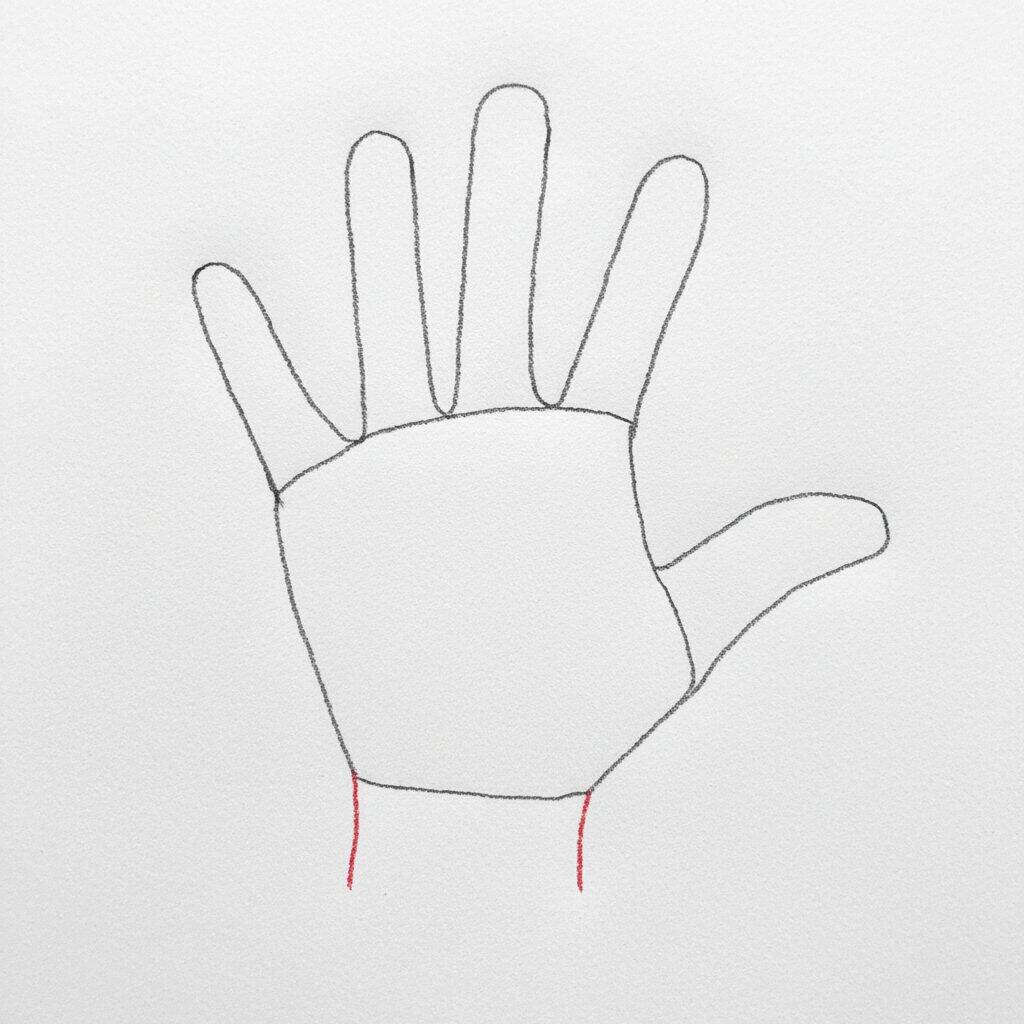
Step 5 of 8
Now that you've drawn your ring finger and little finger, it's time to add more details to your hand. Start by drawing the palm, connecting the fingers to the base of the hand. Draw a curved line at the bottom, which represents the outline of the palm. Then trace the lines that indicate the finger joints, making small curves where each finger joins the palm. This will give more realism and depth to your drawing.
Step 6 of 8
Now that you've sketched out your palm, let's add more details. Start by drawing the lines of the finger joints, which help to give shape and realism. Make smooth lines that curve slightly at the joints, following the direction of your fingers. Then add some lines on the palm to represent the natural folds of the skin. This will bring more life to your drawing!
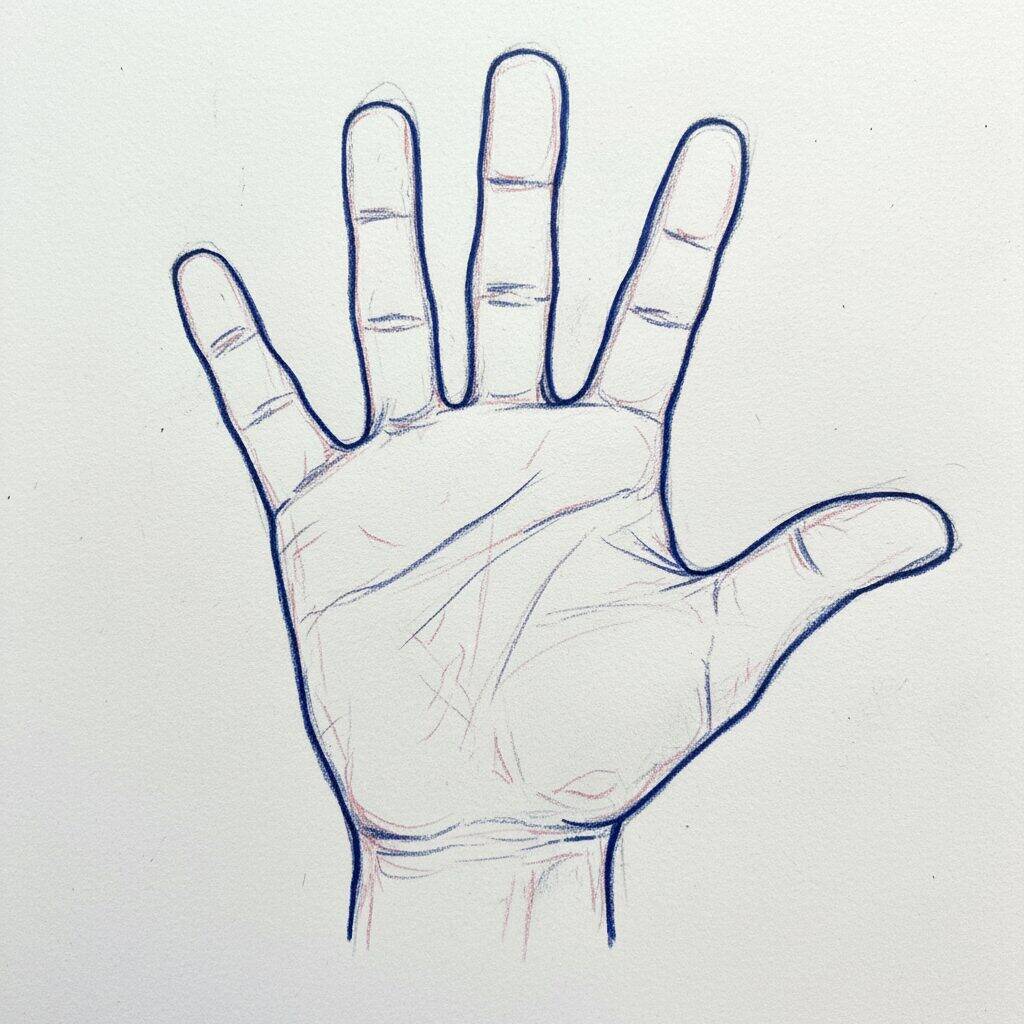
Step 7 of 8
For the next step, let's add more details to your hand. Start by drawing the nails on each finger, making rectangular or oval shapes at the tip of each one. Then refine the joint lines, making them a little more defined. This will give your hand more depth. Lastly, add some subtle shadows to the palm and between-finger areas to create a three-dimensional effect.
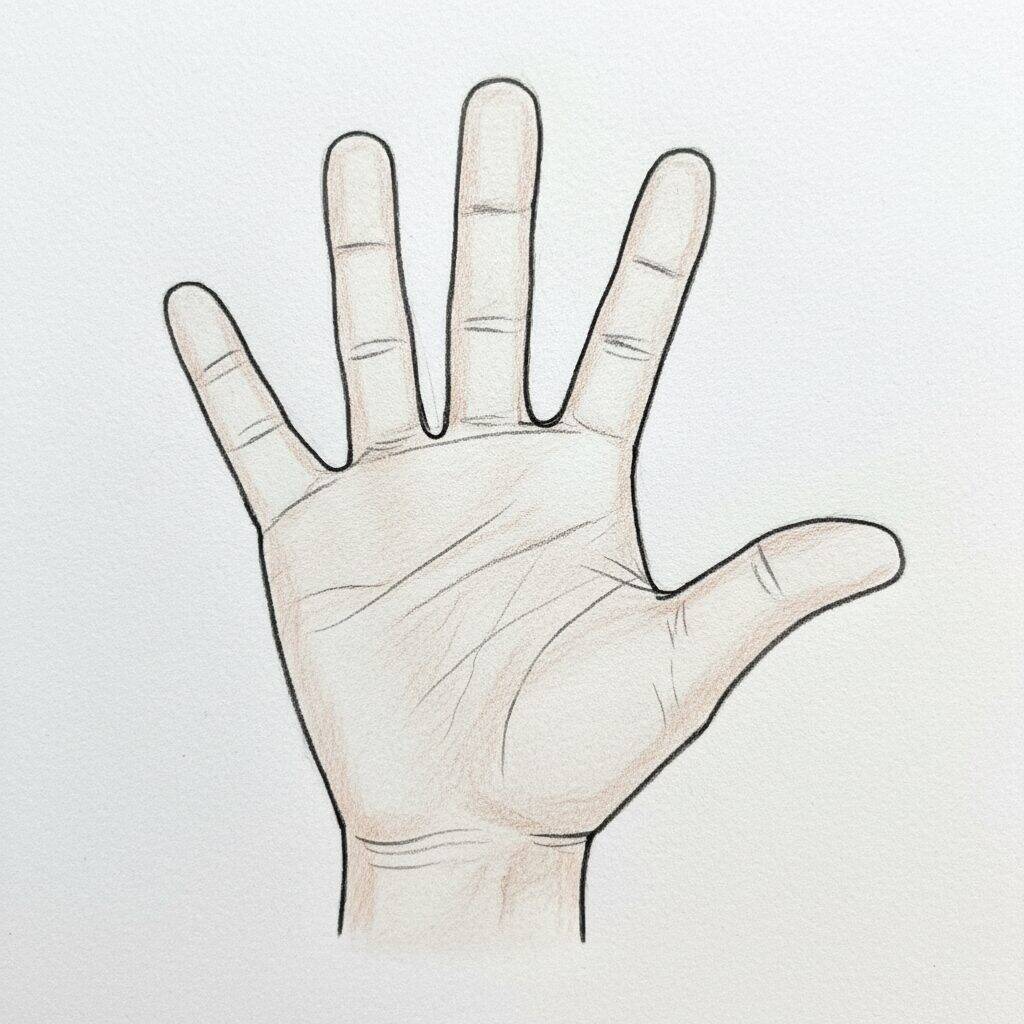
Step 8 of 8
Congratulations! You have reached the last step of your hand drawing. Now review all the details you added. Make sure the nails are well defined and the joints are the desired depth. If necessary, you can darken some areas to accentuate the shadows and add a finishing touch to your drawing. Feel free to add any extra details that you think would improve the appearance of your hand. Good luck!