
📐 How to Draw — Step by Step
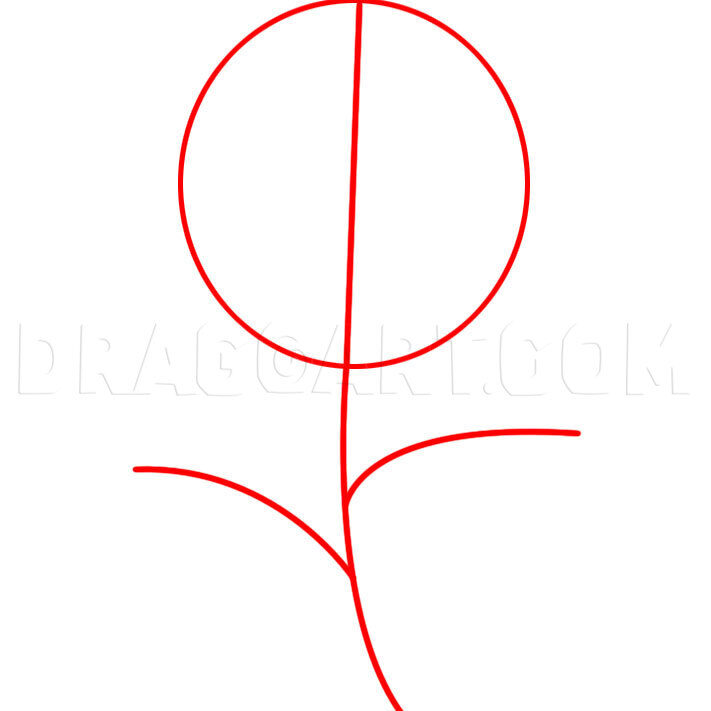
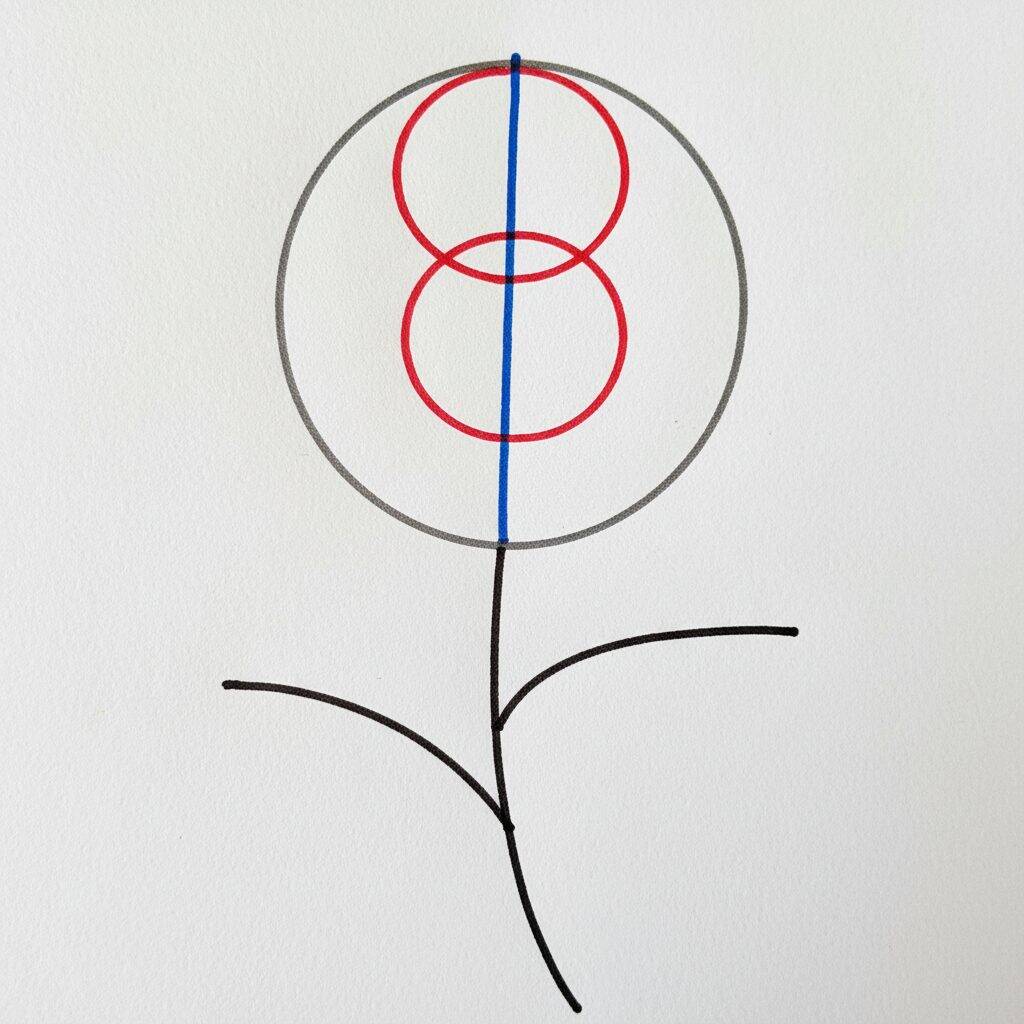
Step 1 of 7
To start designing your flower, let's create the basic structure. Draw a large circle that will be the center of the flower. Then, add a smaller circle inside the first one, which will represent where the pollen will be. Then, draw five lines that come out of the center, forming a star shape; these lines will serve as a guide for the petals. Finally, draw a straight line for the stem and add a simple shape for the leaves.
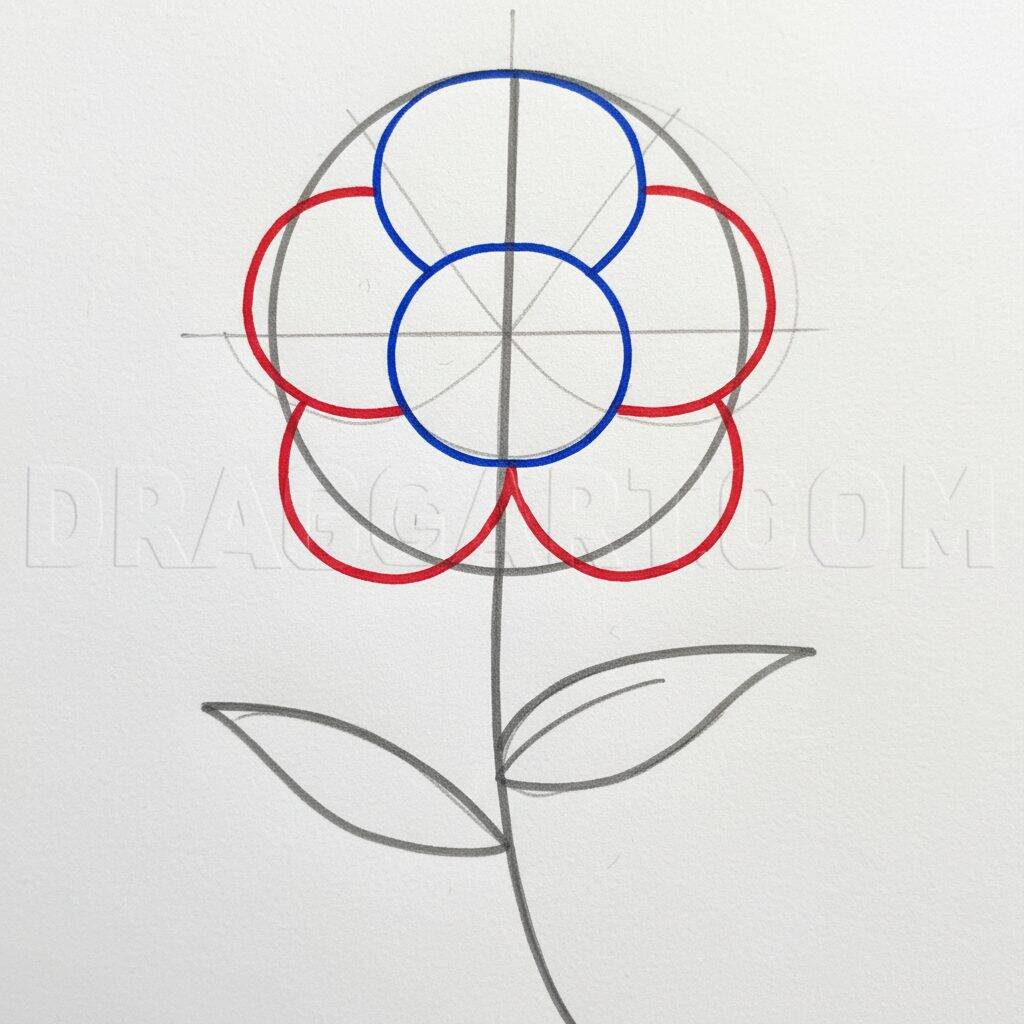
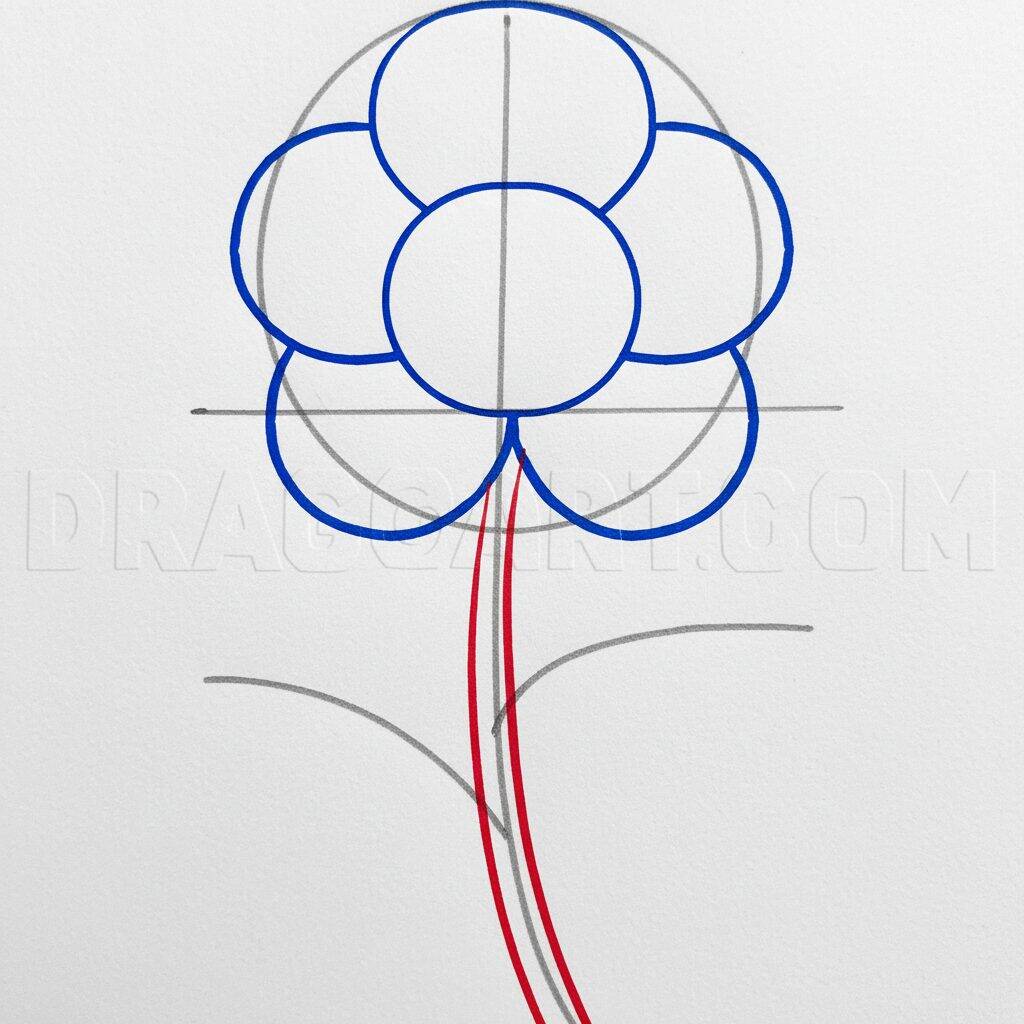
Step 2 of 7
Now, let's add more details to your drawing. Start by drawing the flower petals, using the red circles as a guide. Make rounded petals around the larger circle, ensuring they overlap a little. Each petal should have a smooth shape, almost like a heart. Then, refine the lines of the stem and leaves, making them a little more defined and adding a little curvature to give movement.
Step 3 of 7
Now that you've drawn the petals, it's time to add more details. Start working on the edges of the petals, making them softer and more defined. Add some texture by adding thin lines that mimic the veins on the petals. Then refine the stem, making it sturdier and adding a touch of curvature. For the leaves, draw some lines to represent the veins, giving your drawing more realism.
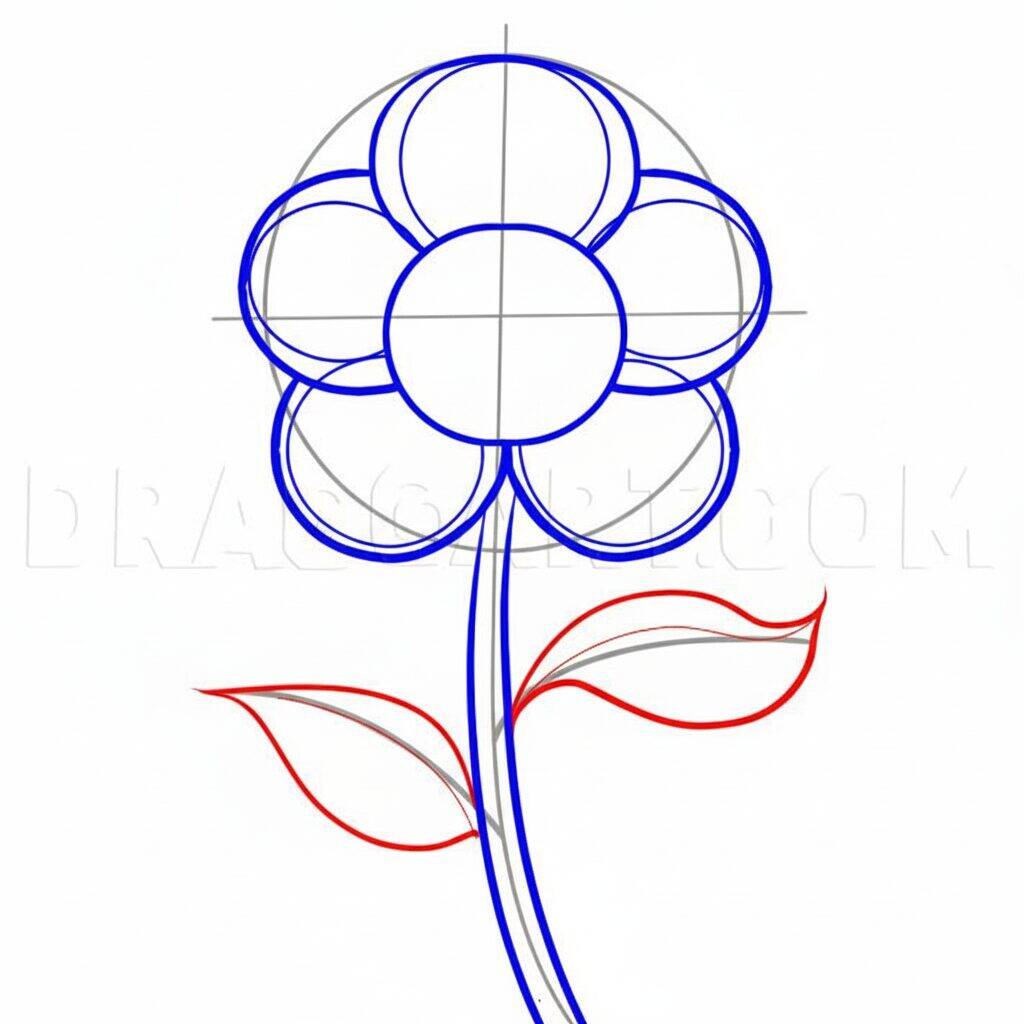
Step 4 of 7
Now that you've refined the petals and stem, let's focus on the overall shape of the flower. Start drawing the outer contour of the petals, joining the edges smoothly. Then adjust the center of the flower, making it more rounded. For the stem, add more details, like a slight thickening at the base. Finally, draw the leaves with a more defined shape, giving them a more natural appearance.
Step 5 of 7
Now that you've adjusted the flower outline and leaves, it's time to add final details. Start working on the textures of the petals, drawing soft lines that follow the curvature of each petal. This will give a more realistic look. Then add veins to the leaves by drawing lines that run from the center toward the edges. These little details will bring your drawing to life!
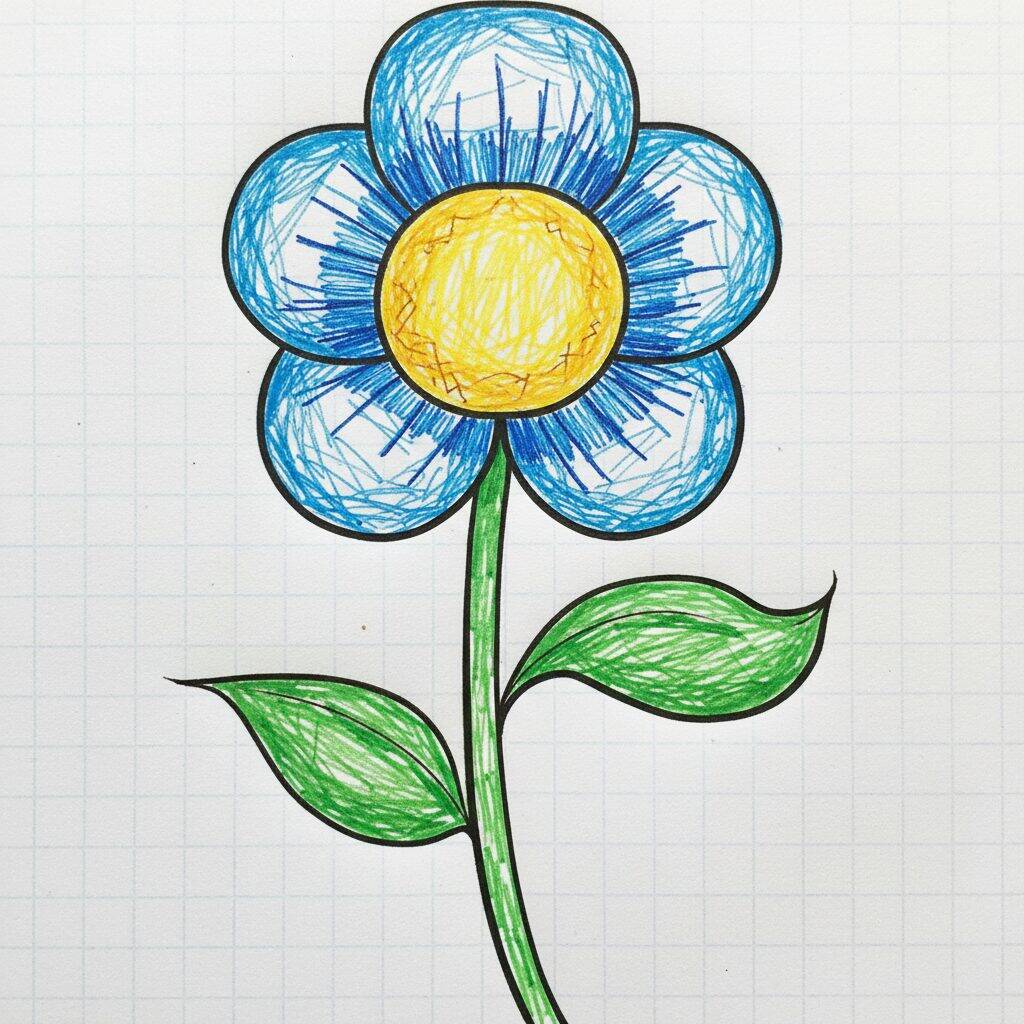
Step 6 of 7
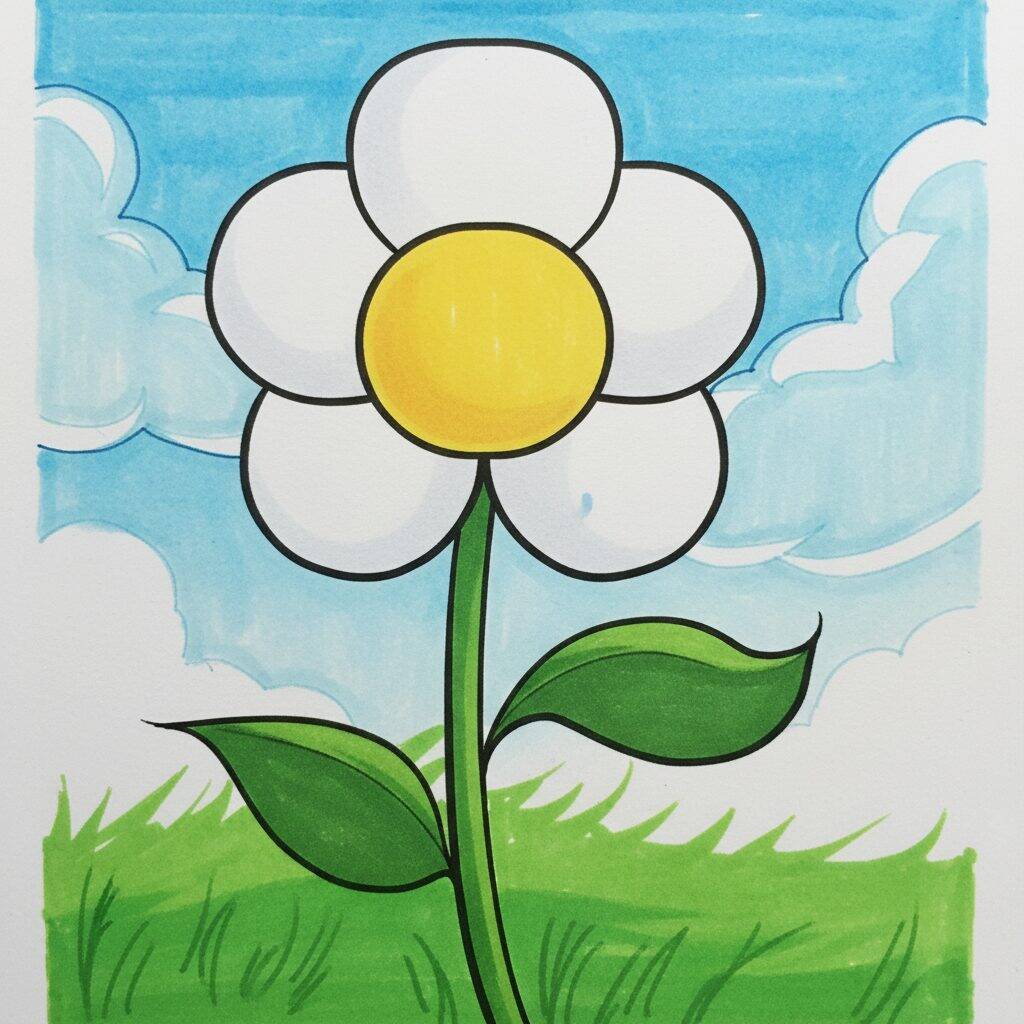
Now that you've added the textures and veins, it's time to add color to your flower! Choose the colors you want to use and start coloring the petals, the center of the flower and the leaves. Use a colored pencil or marker to make the colors vibrant. Remember to apply the color evenly, but feel free to add darker shadows in areas that need more depth. This will bring your drawing to life!
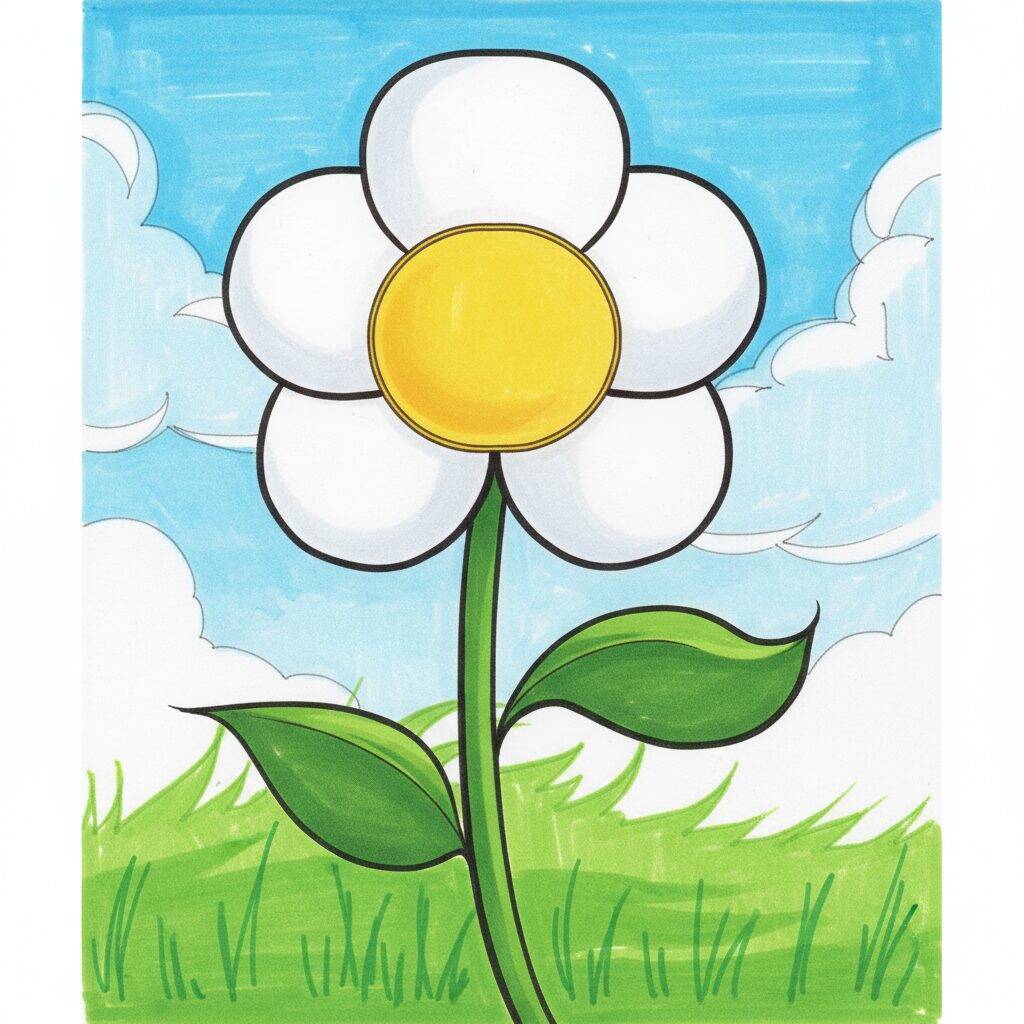
Step 7 of 7
Now that your flower is colored, you can add the finishing touches. Gently run a black pencil or pen around the petals and stem to highlight them. This will give definition to your drawing and highlight the vibrant colors you applied. Finally, review any details you want to adjust and admire your beautiful finished flower!