
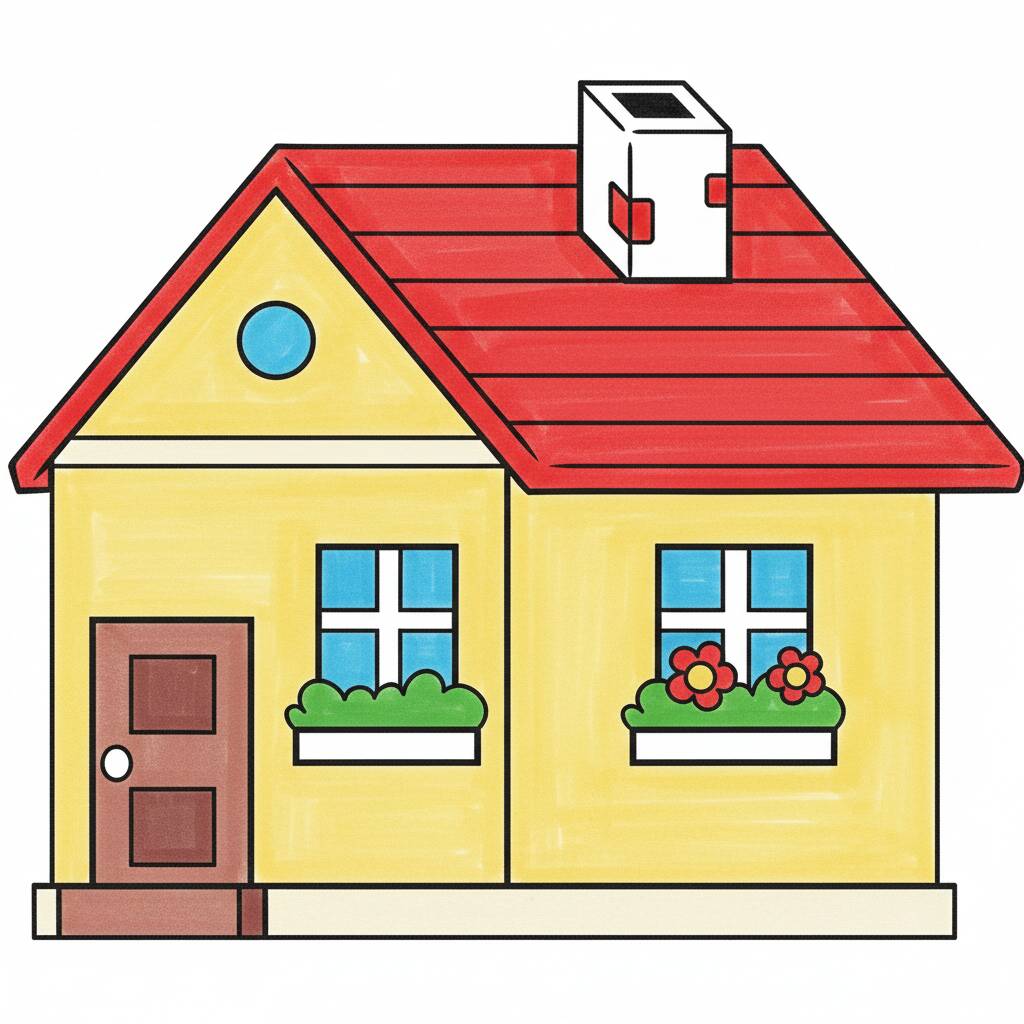
📐 How to Draw — Step by Step
Step 1 of 8
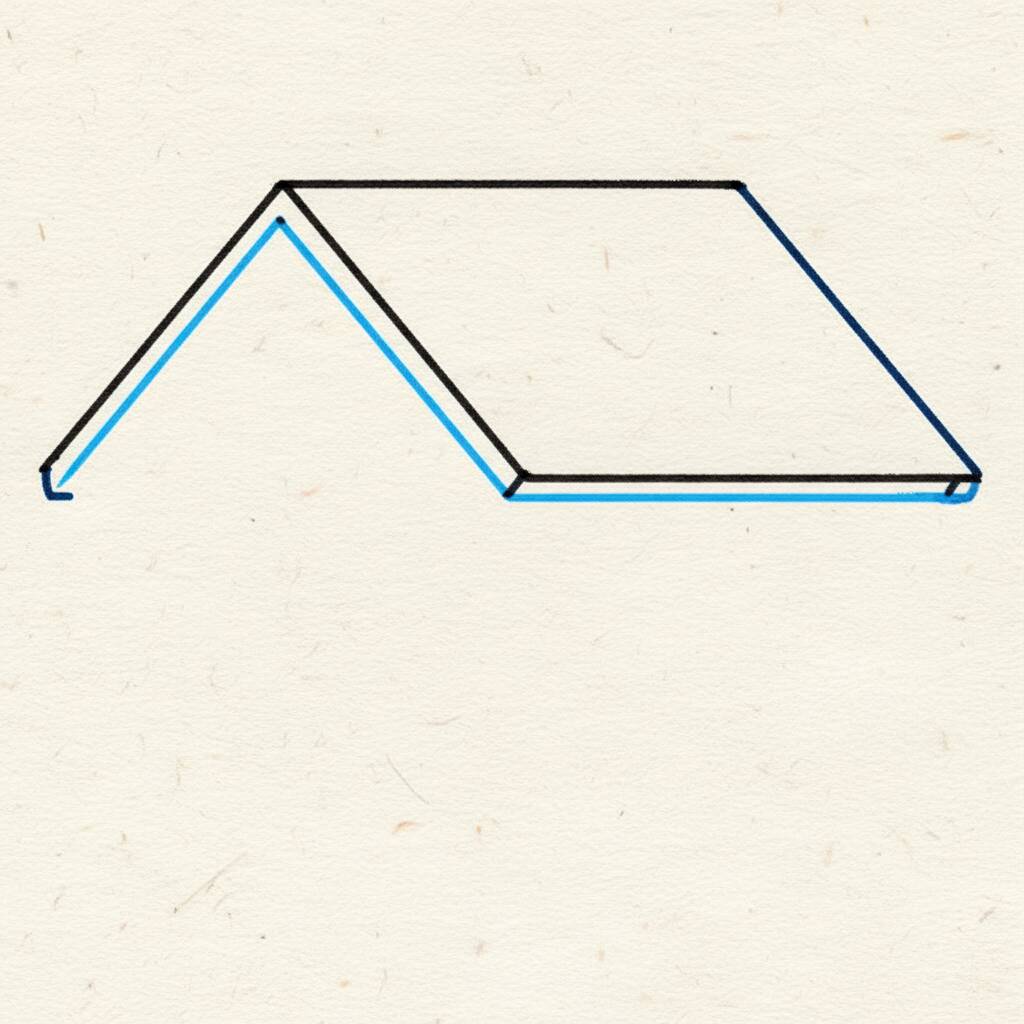
To start drawing the simple house, first draw the roof. Make a triangle at the top, with the base longer than the height. Then add a horizontal line at the bottom of the triangle to represent the bottom of the roof. Make sure the angles are well defined to give a more realistic look.
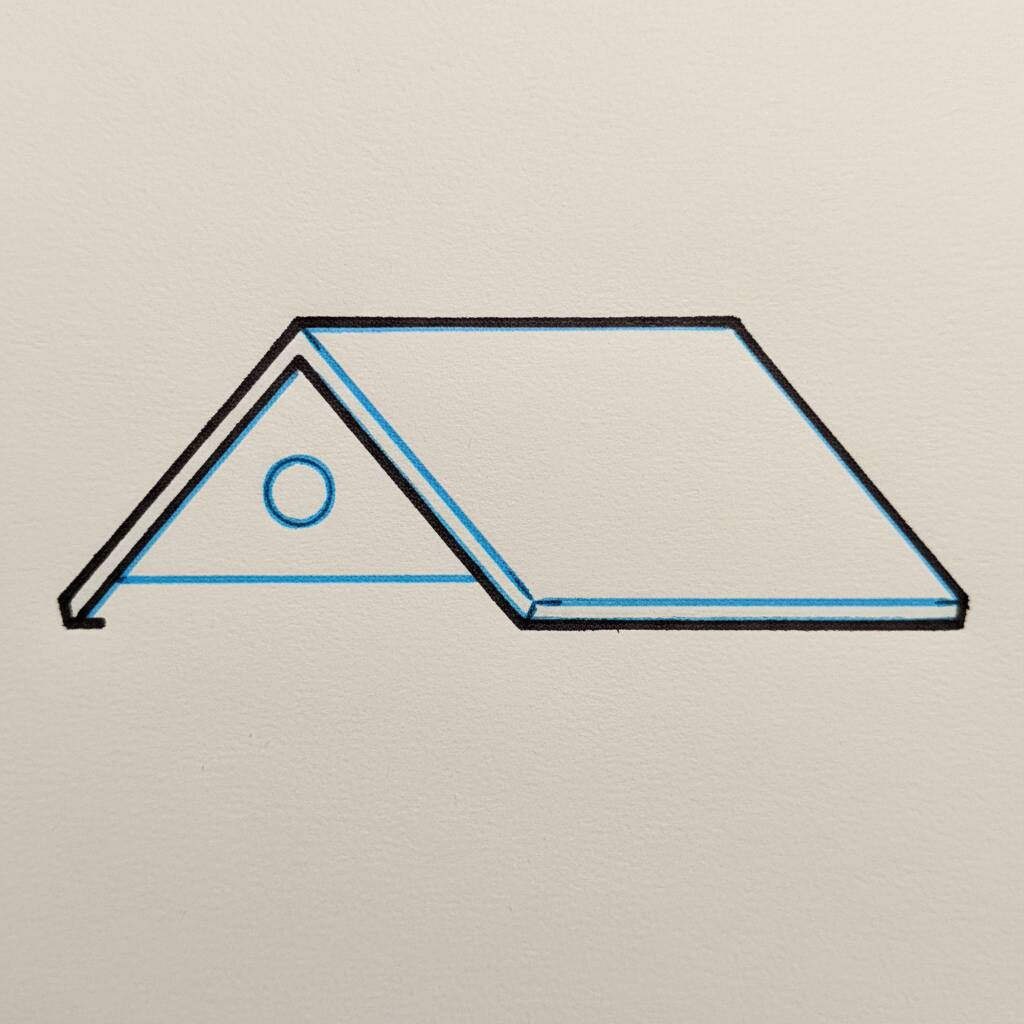
Step 2 of 8
Now, let's add details to the roof of the house. Start by drawing a horizontal line at the bottom of the triangle, which will be the base of the roof. Then add a circle to the side of the roof to represent a window. Make sure the window is flush with the bottom of the roof. This will give your drawing a more interesting touch.
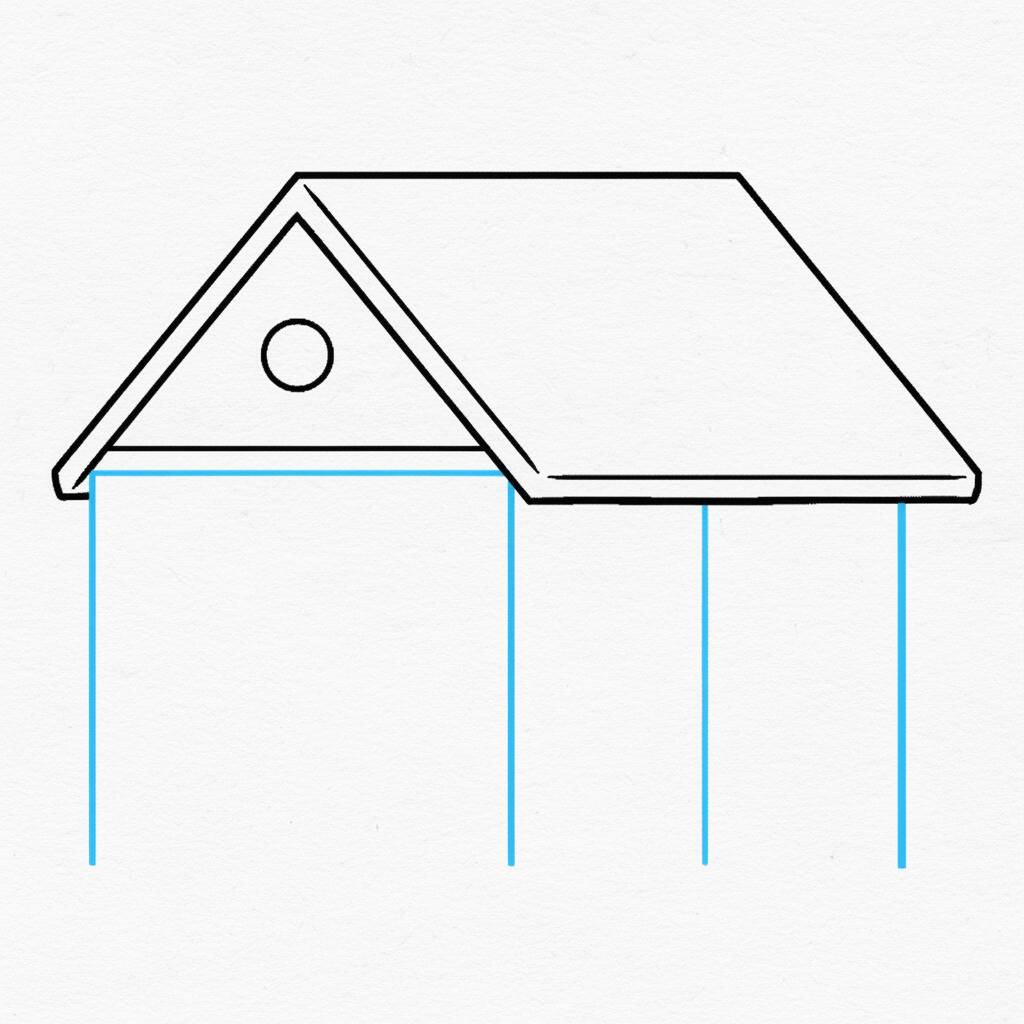
Step 3 of 8
Now that the roof is defined, let's add the walls of the house. Start by drawing two vertical lines that extend downward from the base of the roof, creating the structure of the walls. Make sure the lines are straight and symmetrical. Then, connect these lines at the bottom with a horizontal line, forming the base of the house. This will shape your build!
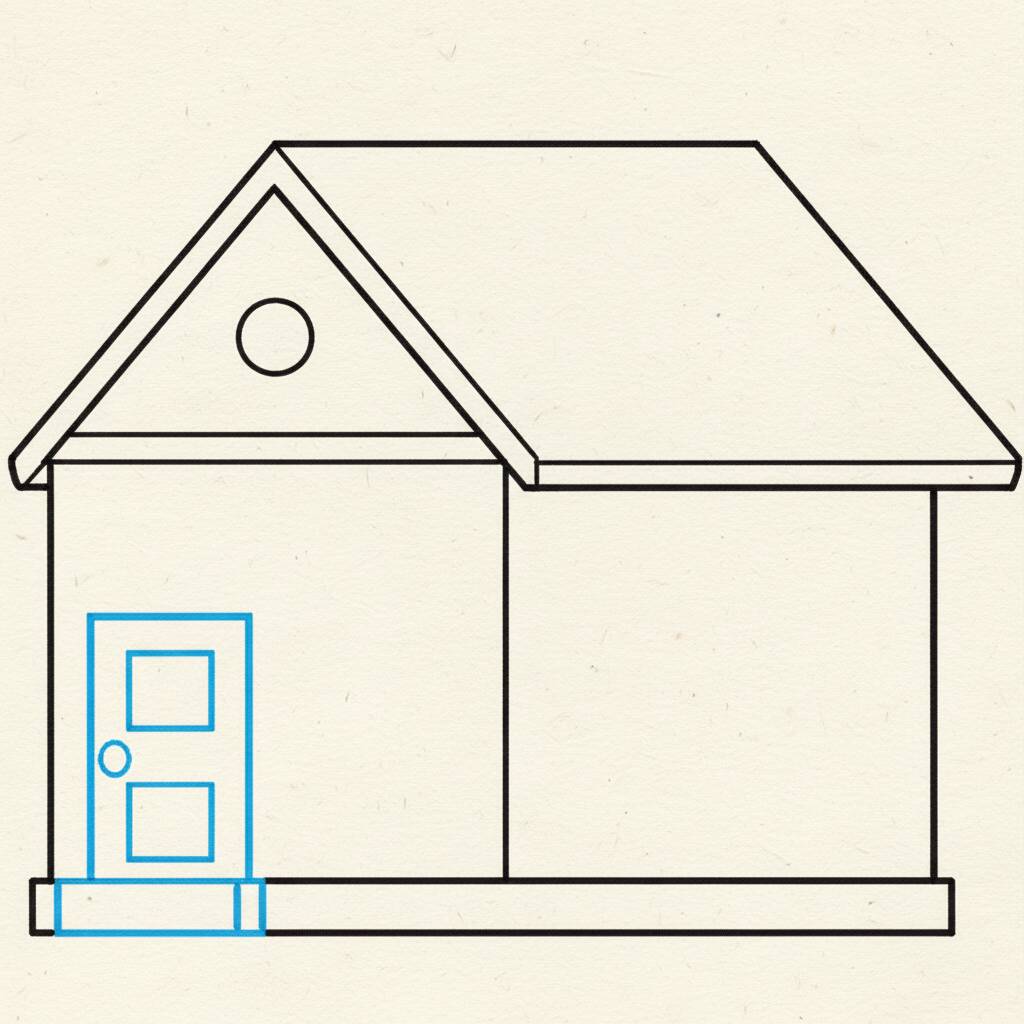
Step 4 of 8
Now that the walls of the house are drawn, let's add the door. Start by drawing a rectangle at the bottom of one of the walls, a little away from the corner. This rectangle will be the base of the door. Then draw a small rectangle at the top, which will serve as the top of the door. For extra flair, add a circle or small rectangle for the handle. Good luck!
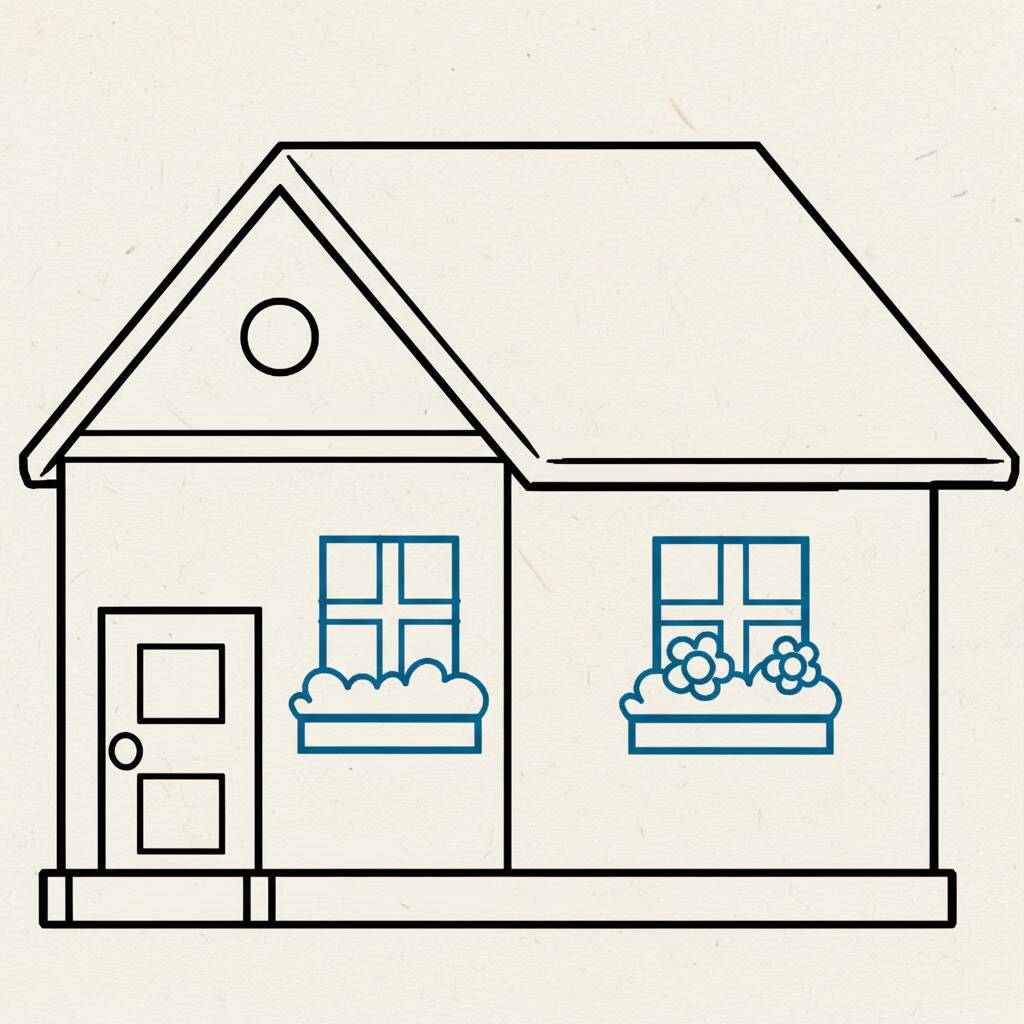
Step 5 of 8
Now that the door is ready, let's add the windows. Draw a rectangle on each wall, just above the door. To give more detail, divide each rectangle into four equal parts with two crossed lines, forming the frames. Underneath each window, draw a small box to represent the planters. Feel free to add some simple flowers inside them!
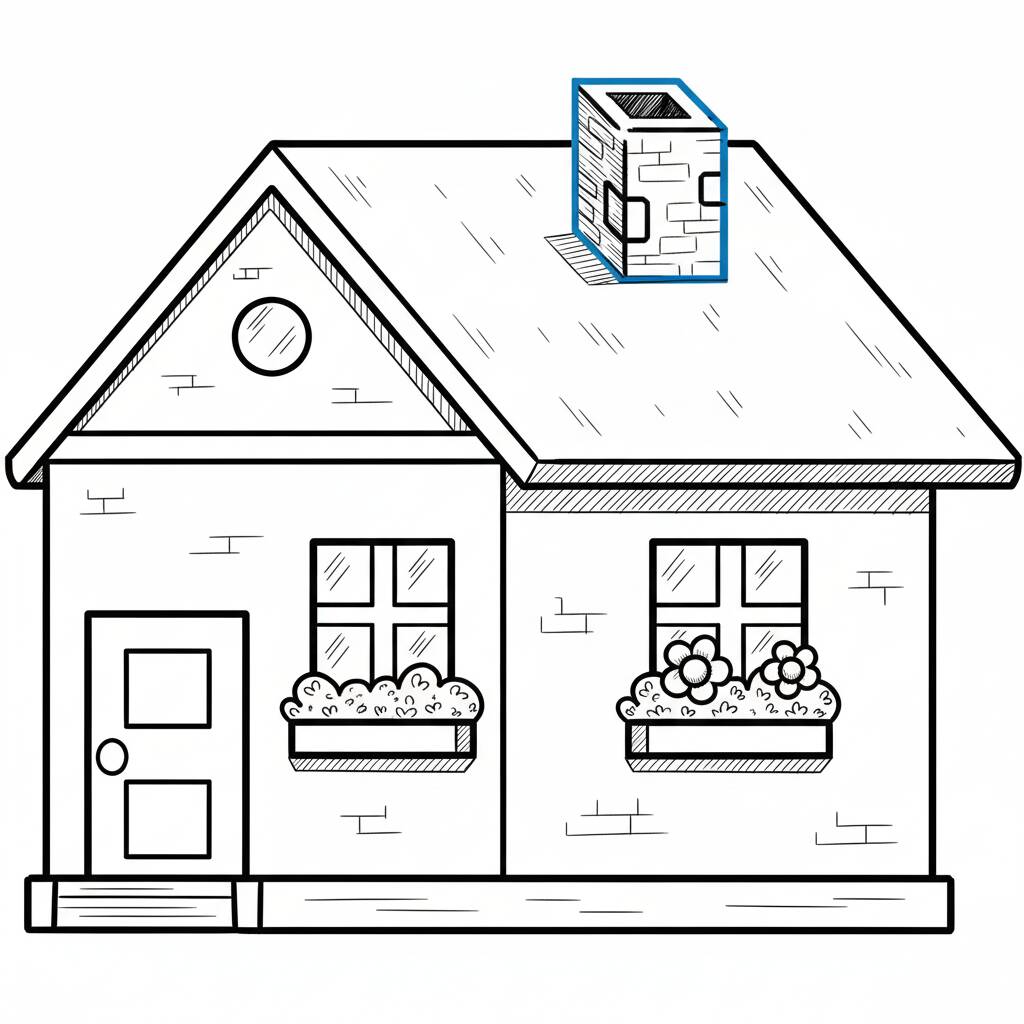
Step 6 of 8
Now let's add the chimney to your home. Start by drawing a rectangle at the top of the roof, offset slightly to the right. Then, draw a horizontal line across the top of the rectangle to create the edge of the chimney. To give more detail, add vertical lines on the sides, simulating bricks. You can also draw a small opening at the top to complete the look!
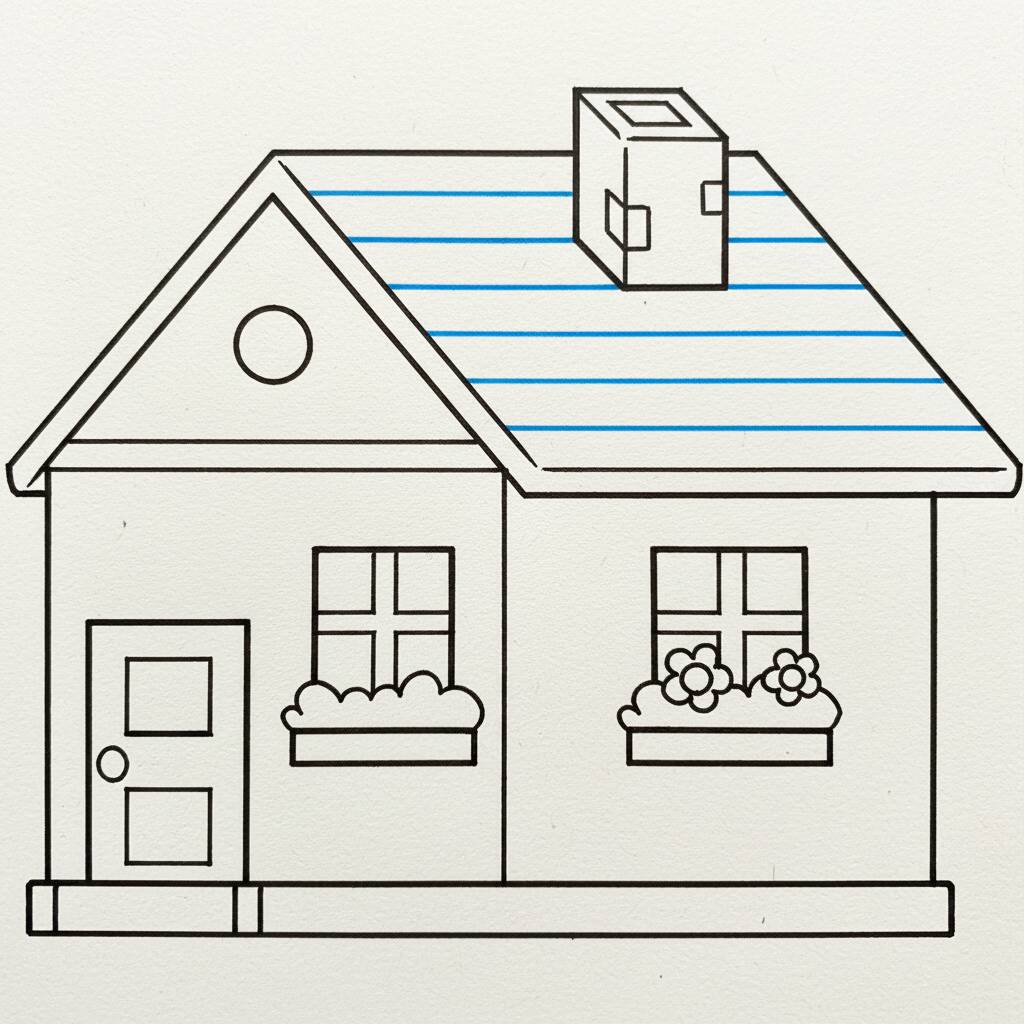
Step 7 of 8
Now that the chimney is in place, it's time to add some details to the roof. Start by drawing smooth horizontal lines along the roof to create the shingles. These lines can be slightly curved to give a more natural effect. Then add a curved line at the bottom of the roof to separate the house from the roof. This will help add depth to your home.
Step 8 of 8
Now that you've finalized the roof details, let's add the finishing touches to your home. Start by drawing the windows, making rectangles with rounded corners. Add small squares inside them to represent the glasses. Next, draw the door, which should be a larger rectangle, and don't forget to include a handle. To finish, draw some flower vases below the windows, giving a happy touch to your work!