

📐 How to Draw — Step by Step
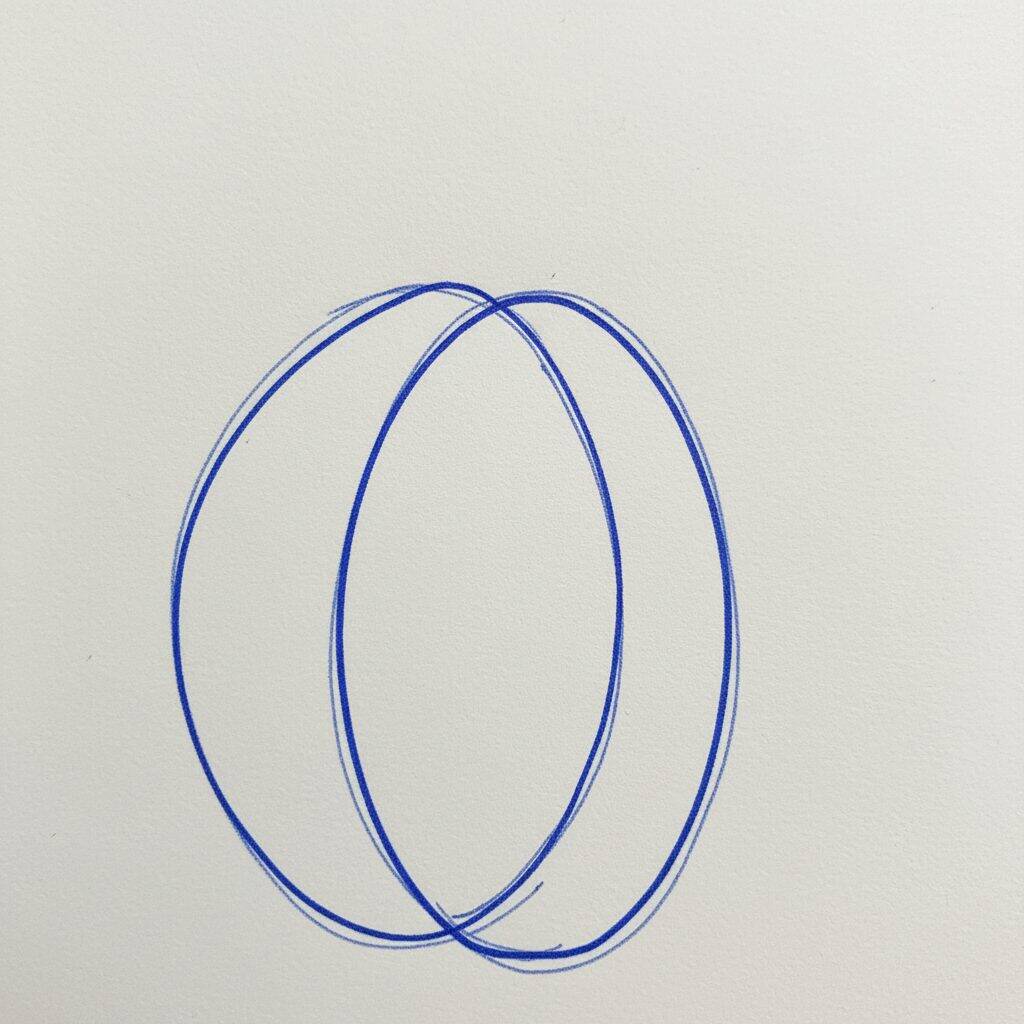
Step 1 of 10
To start drawing a pumpkin, draw two ovals that overlap slightly in the center. The first oval should be a little larger and wider, representing the body of the pumpkin. The second oval, a little smaller, should be positioned at the top, where the pumpkin will be narrower. These shapes will serve as a base to shape your pumpkin.
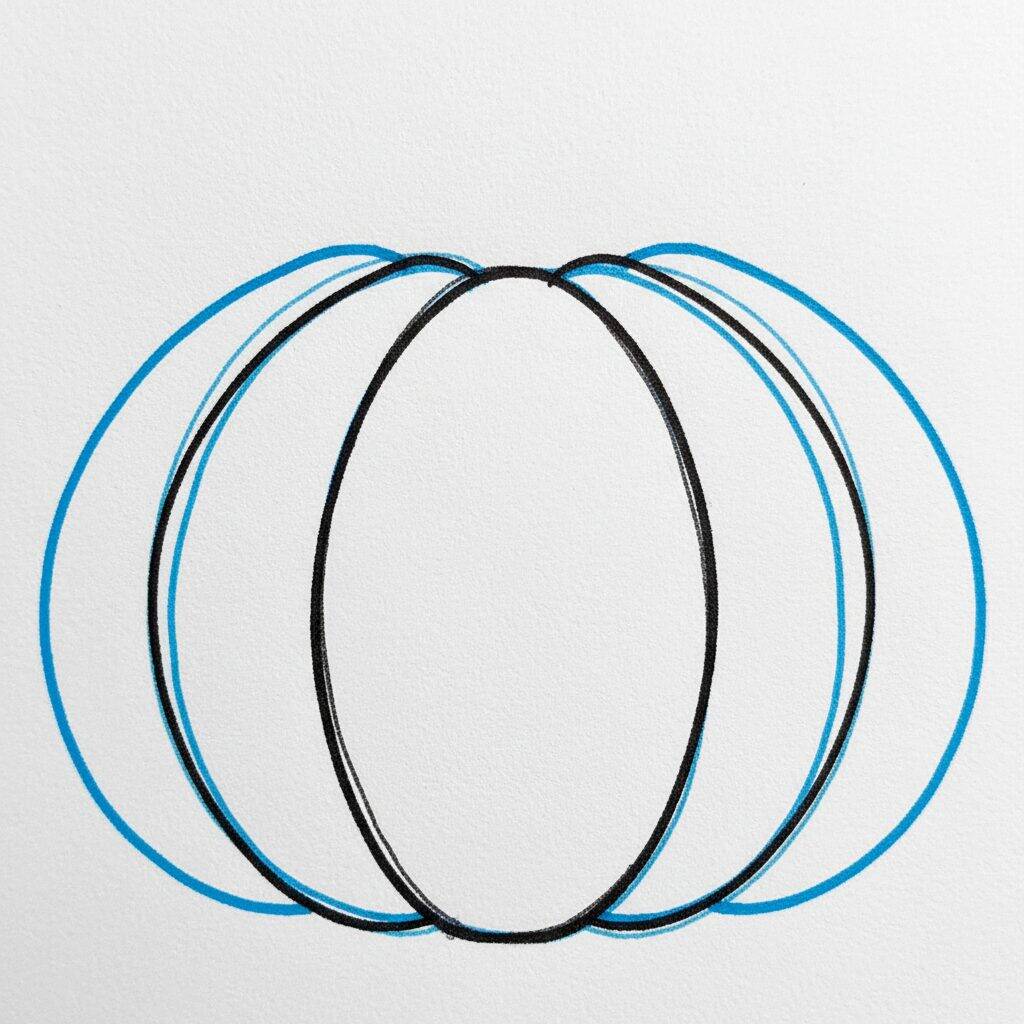
Step 2 of 10
Now that you have the base of the pumpkin, let's add the lines that will define the ribs. Draw curved lines running from the top to the bottom of the larger shape, following the outline of the pumpkin. These lines should be slightly wavy to give a more natural appearance. Do the same on the smaller shape, but with fewer lines, since it's the top part. This will help give your pumpkin texture and shape.
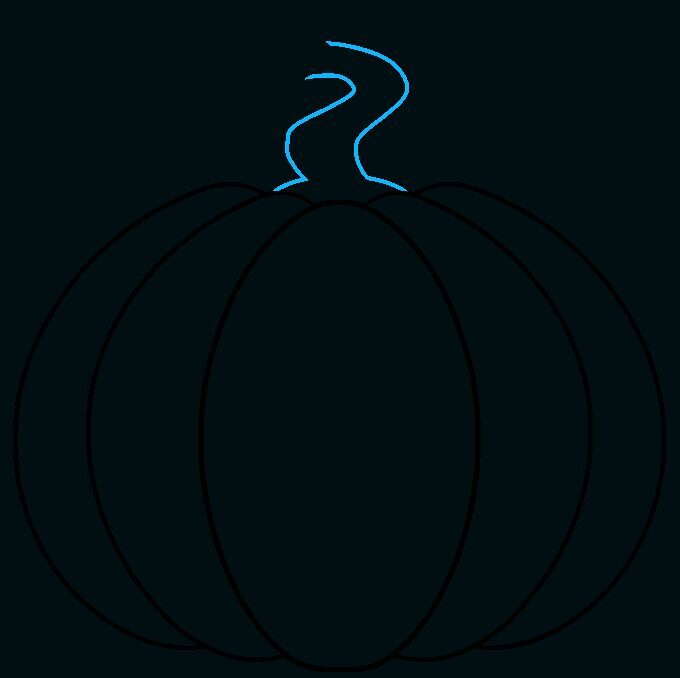
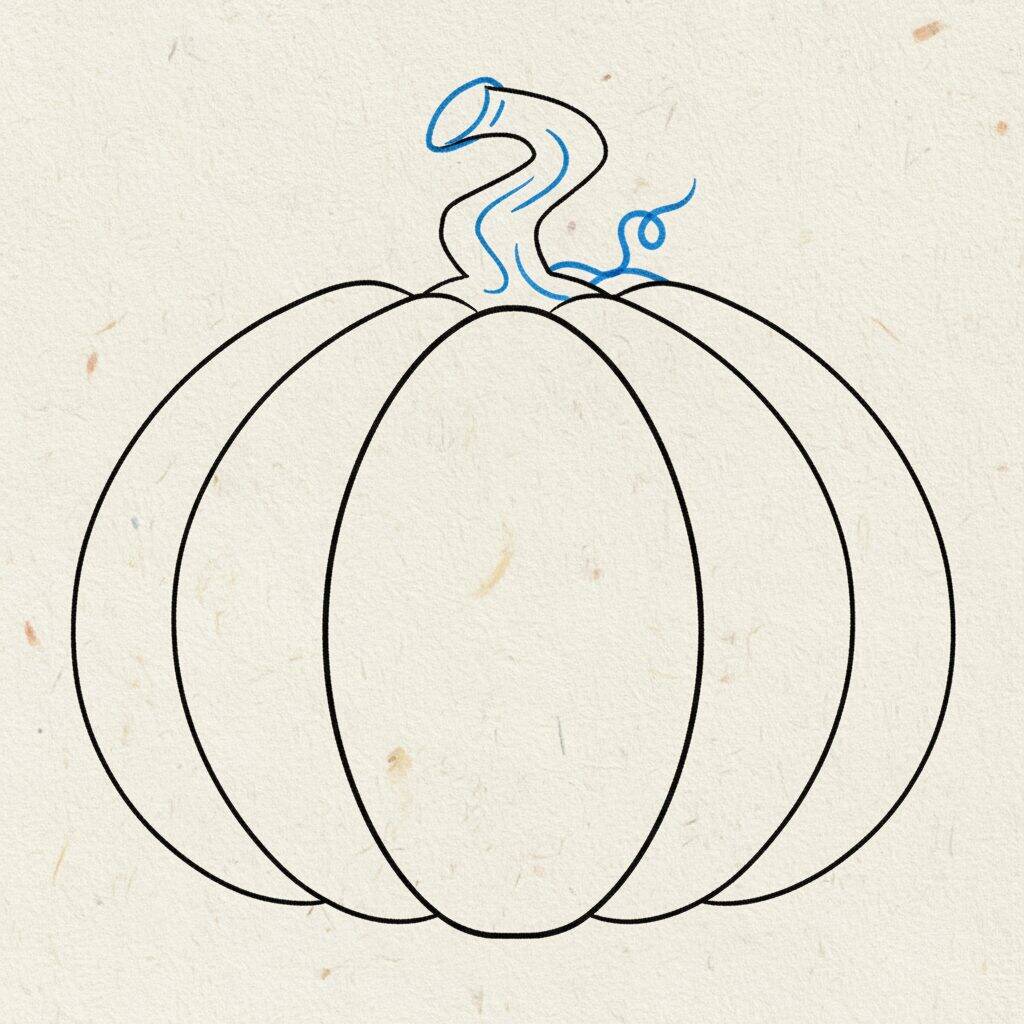
Step 3 of 10
Now that you've added the ribs, it's time to work on the stem of the pumpkin. Start by drawing a narrow rectangle at the top of the pumpkin, which will be the base of the stem. Then add a slightly curved shape on top of this rectangle, giving it a more organic look. To finish, draw some wavy lines coming out of the stem, as if they were leaves or branches, to give your drawing an extra touch.
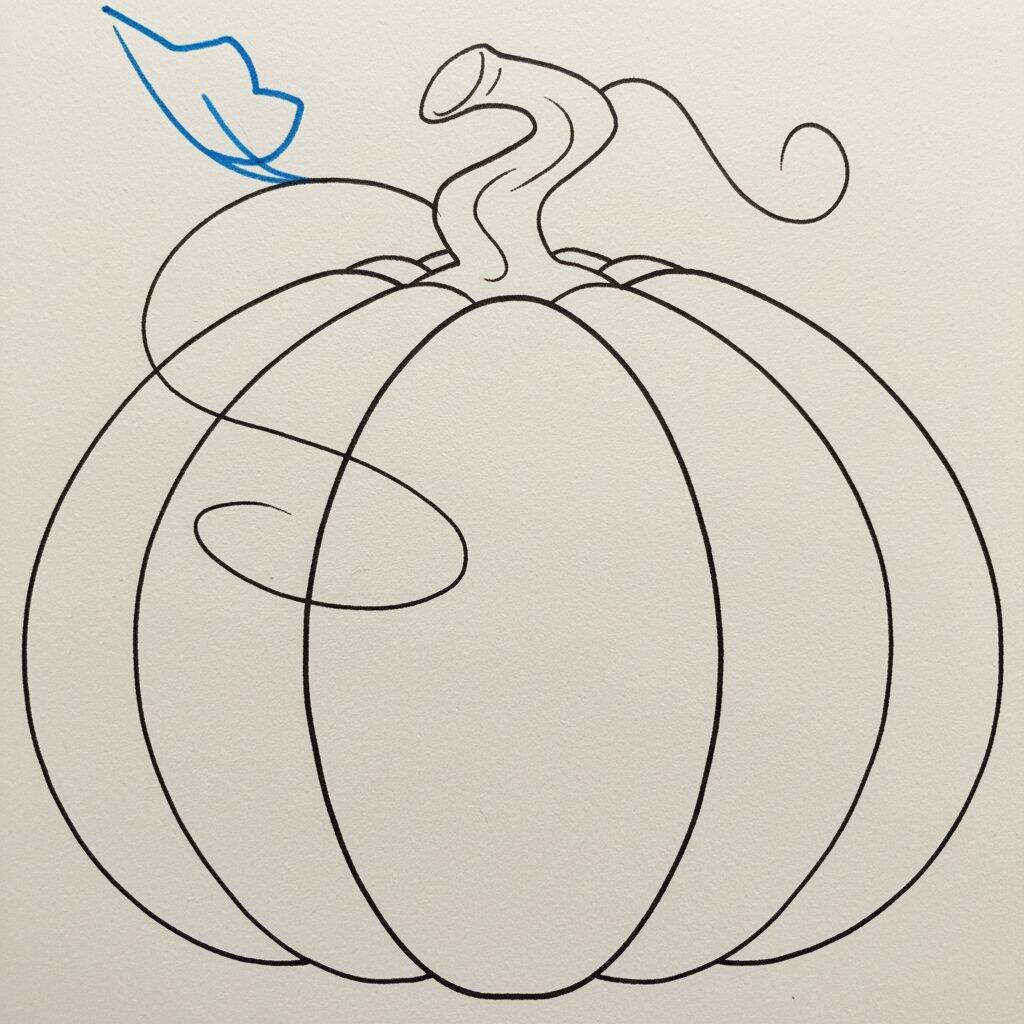
Step 4 of 10
Now that your pumpkin stem is ready, let's add some pizzazz! Start by drawing some leaves around the stem. Make each leaf a smooth outline, creating shapes that resemble drops. Add a center line on each leaf to represent the vein. Don't forget to vary the size and position of the leaves to give your drawing more dynamism!
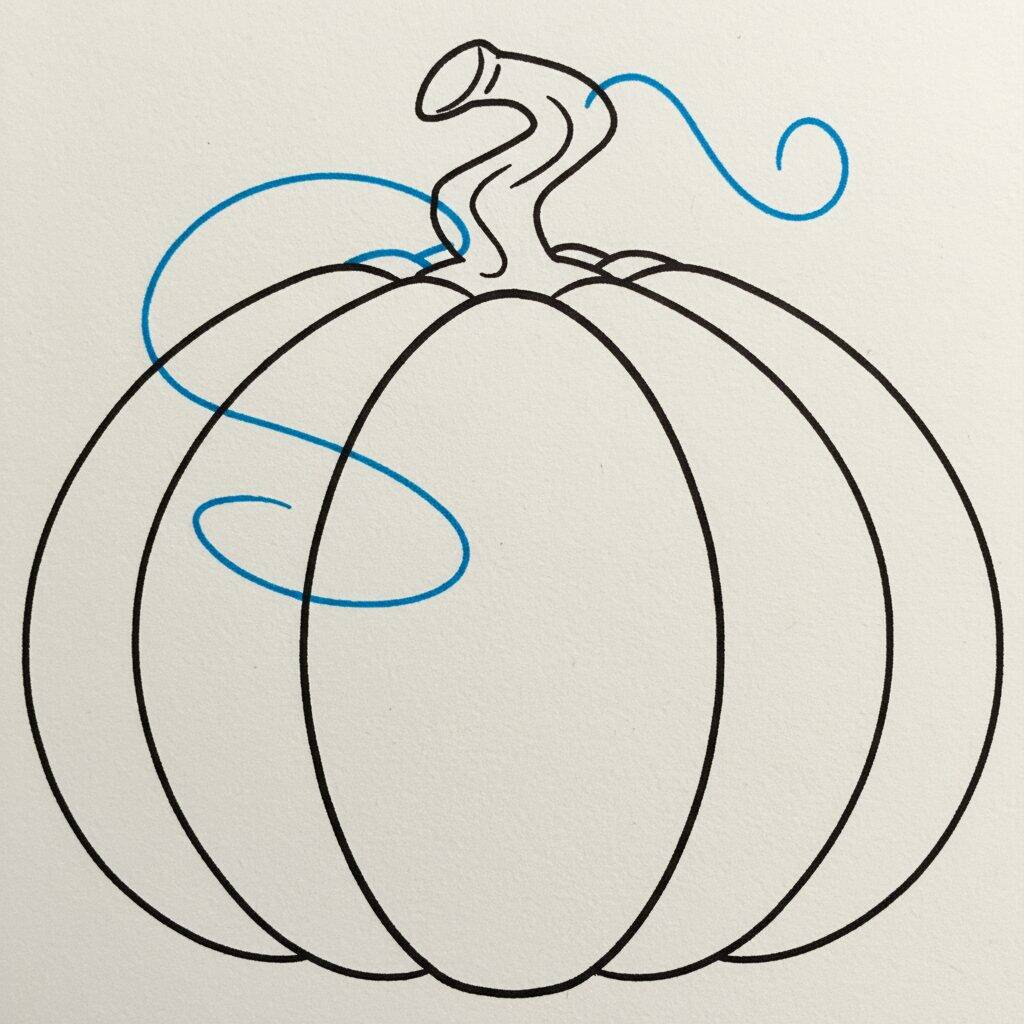
Step 5 of 10
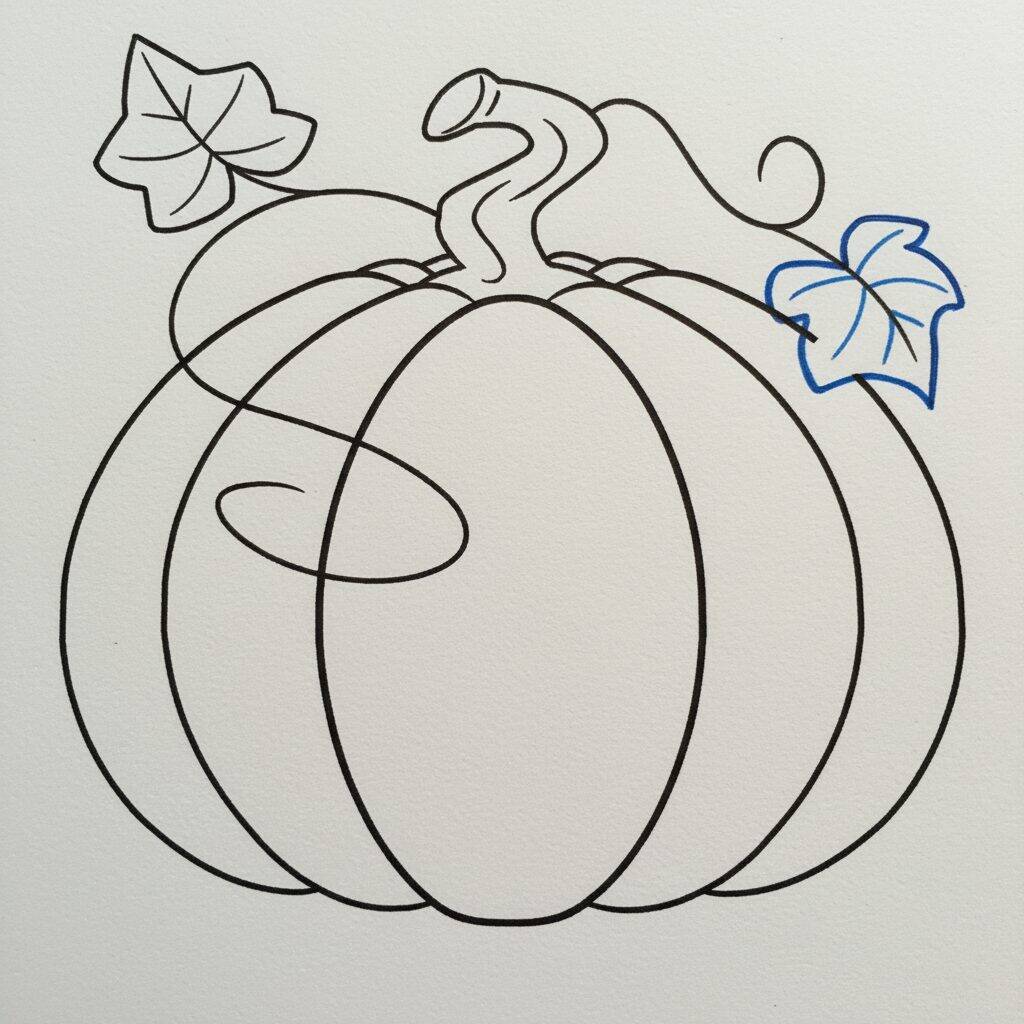
Now that the leaves are in place, let's add some movement to your pumpkin! Start by drawing some smooth spiral lines around the stem. These lines will represent the pumpkin vines. Make them with a slight contour, varying the thickness to give a more natural effect. Let the lines flow organically, as if they were intertwining. This will add a special touch to your drawing!
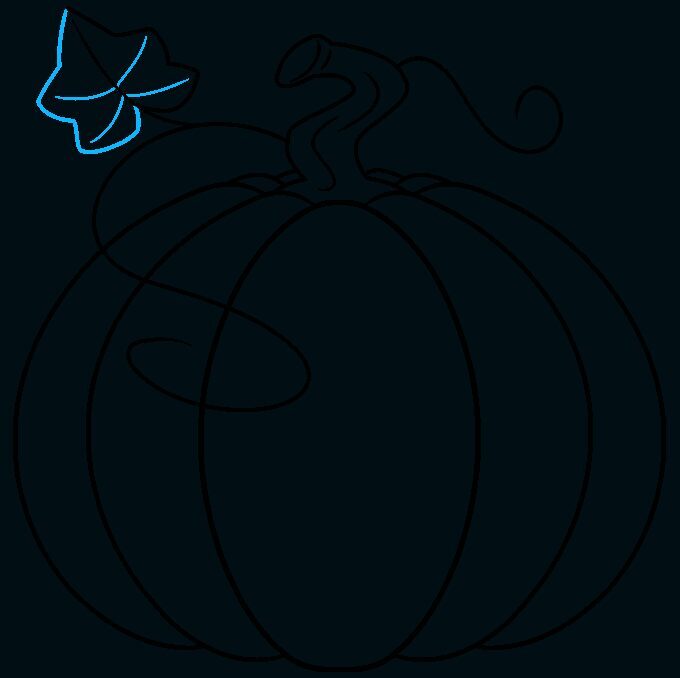
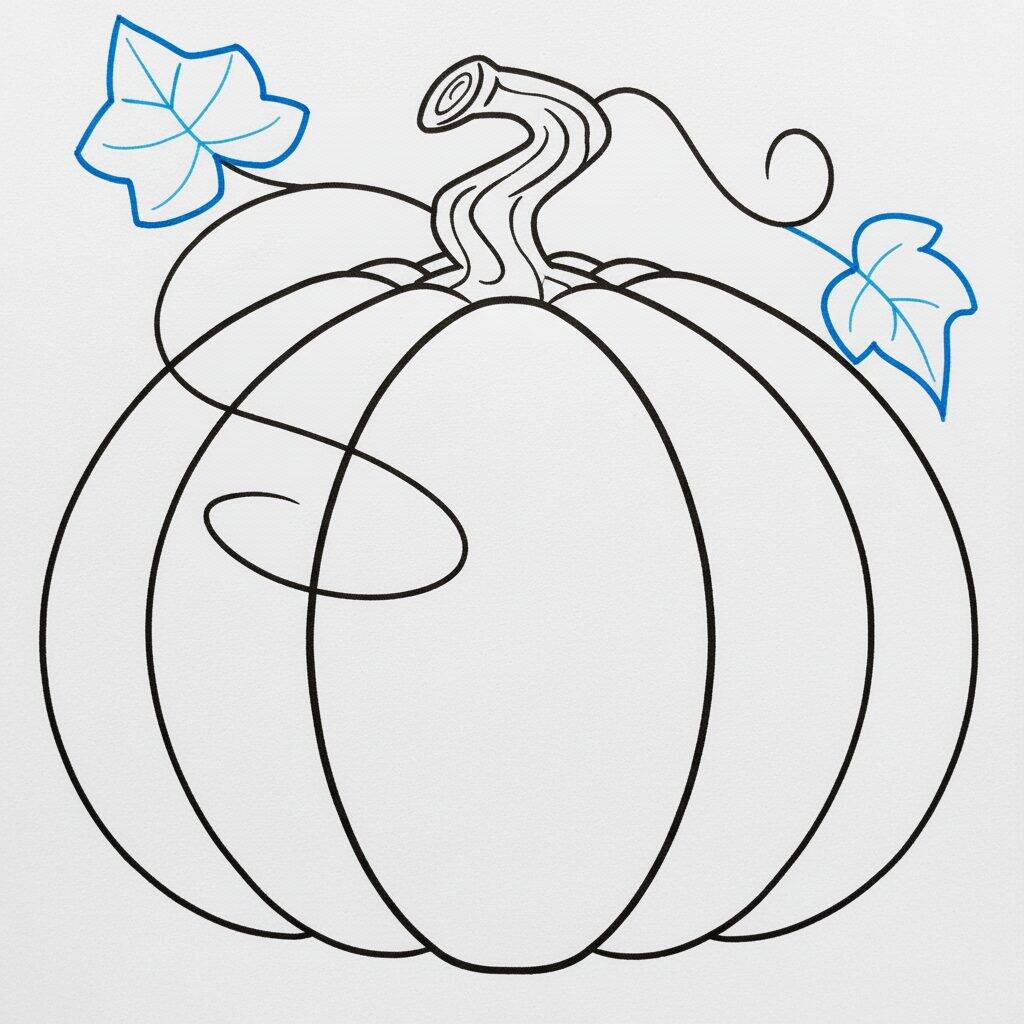
Step 6 of 10
Now that the vines are drawn, let's add a little more life to your pumpkin! Start drawing details on the leaves you made earlier. Add veins to the leaves by drawing thin lines that branch from the center to the edges. This will give an interesting and realistic texture. Don't worry about being perfect; small details make all the difference!
Step 7 of 10
Now that the leaves are detailed, let's focus on the pumpkin. Start adding smooth lines to create the markings on the surface of the pumpkin. These lines should follow the curvature of the pumpkin's shape, giving the impression of volume. Don't forget to vary the thickness of the lines for a more natural effect. This will help bring life and dimension to your drawing!
Step 8 of 10
For the next step, let's add more details to the pumpkin. Start by drawing smooth, curvy lines that follow the marks you've already made. These lines should create an effect of shadow and light, highlighting the shape of the pumpkin. Then, refine the stem by adding some textures, like small grooves. This will give your drawing a more realistic touch.
Step 9 of 10
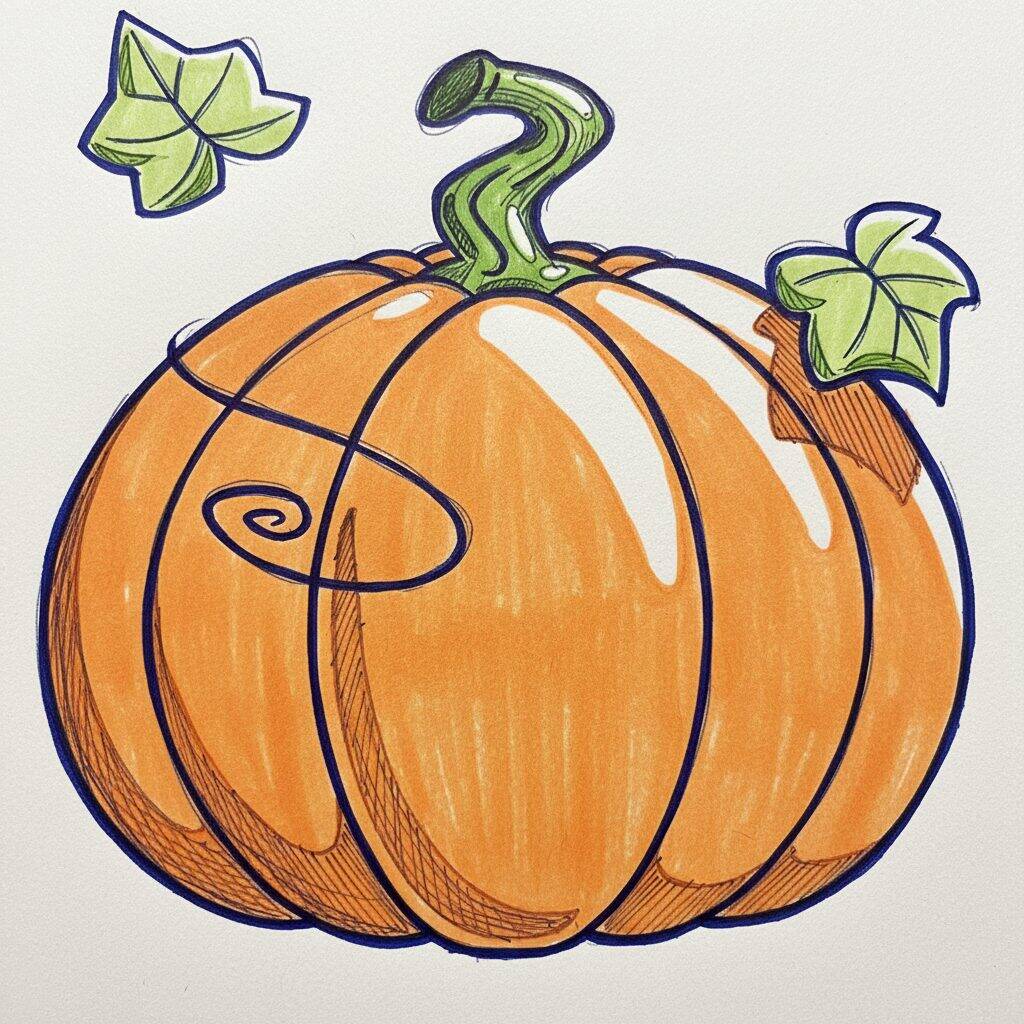
For the last step, let's add color to your pumpkin! Start by filling the body of the pumpkin with a vibrant orange hue. Use a colored pencil or paint, depending on what you prefer. Then paint the stem a brown or dark green. For the leaves, choose a fresh green and, if desired, add some light using a lighter shade. Finish with subtle shadows on the sides of the pumpkin to add depth.
Step 10 of 10
To finish your pumpkin, add the final details. Use a black pencil or pen to gently outline the lines of the pumpkin and leaves, making them more defined. If you want, add small details to the leaves to give texture. Don't forget to review the shadows to ensure the pumpkin looks three-dimensional. Now, admire your masterpiece!