


📐 How to Draw — Step by Step
Step 1 of 8
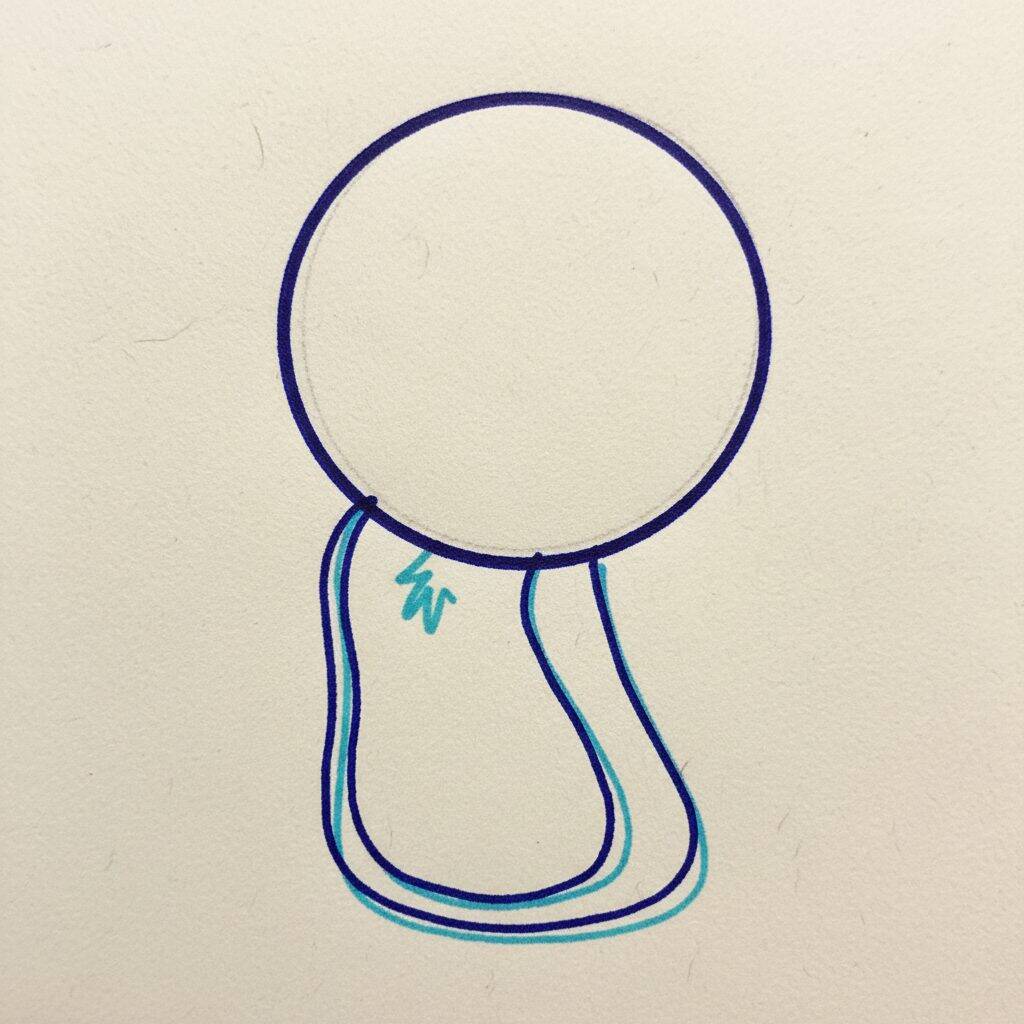
To start drawing cute Stitch, start by creating two basic shapes. Draw a large circle for the head and, just below, an oval shape for the body. Make sure the body is a little narrower at the top and wider at the bottom. This will give Stitch a solid foundation.
Step 2 of 8
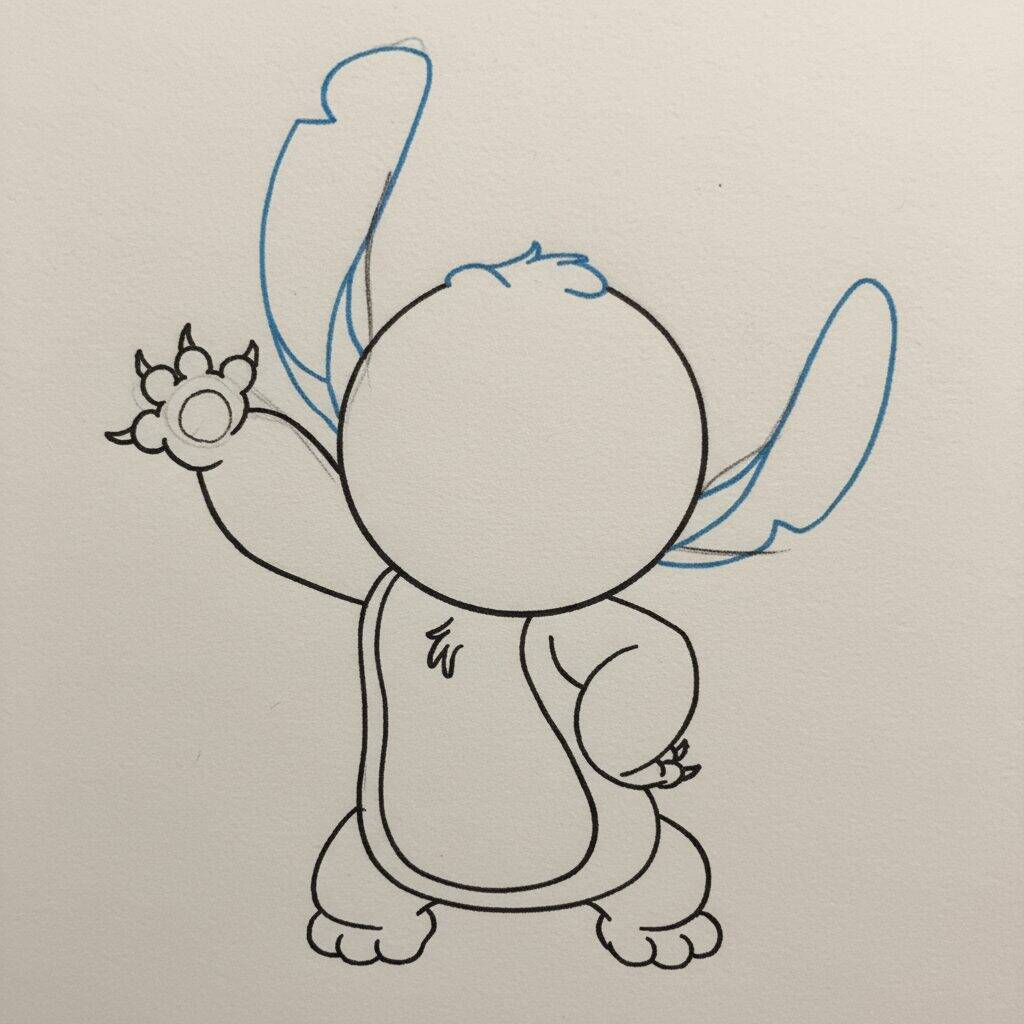
Now, let's add Stitch's ears. Start by drawing two large ovals at the top of the head, one on each side. The ears should be a little wider at the base and taper towards the tip. Then add a curved line connecting each ear to the head for a more natural look. This will help define Stitch's signature silhouette.
Step 3 of 8
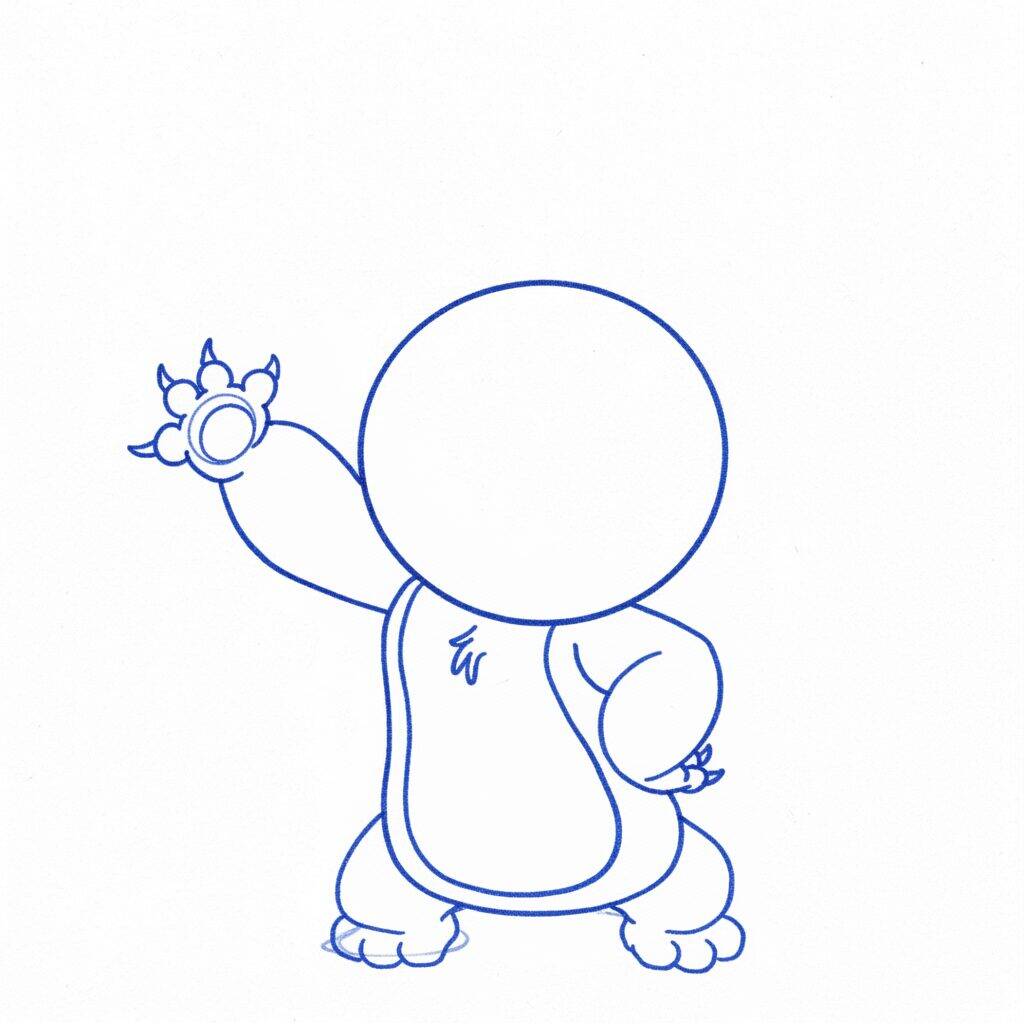
Now, let's draw Stitch's body. Start from the bottom of the head, drawing a curved line that extends downward, creating the shape of the body. Make this line a little wider at the base and thin as you get closer to the middle. Then add a similar line to the opposite side to form the lower body. Don't forget to leave room for your legs later!
Step 4 of 8
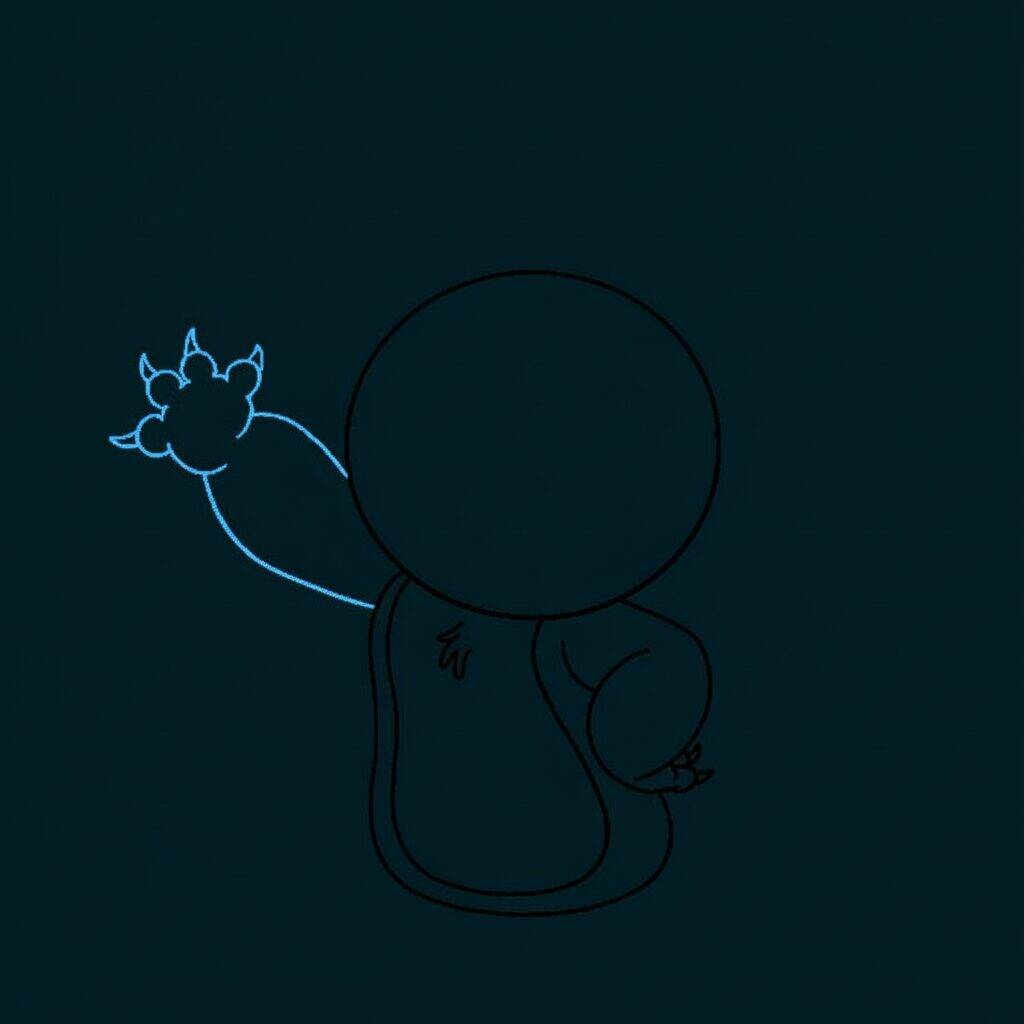
Now that the legs are in place, let's add Stitch's arms. Start by drawing a curved line that extends from the side of the body, creating a shape that tapers toward the tip. Then draw the hand with three fingers, each with a rounded shape. Remember to give it a fun and friendly touch, keeping the edges soft and rounded. This will help capture the essence of Stitch!
Step 5 of 8
Now that the arms are drawn, let's focus on Stitch's head. Start by drawing a big circle above the body we already made. Next, add two large, rounded ears, one on each side of the head. The ears should taper towards the tip, giving a fun appearance. Don't forget to make the circle of the head a little wider at the bottom, to give the impression of a more expressive face.
Step 6 of 8
Now that Stitch's head and ears are drawn, let's add the facial details. Start by drawing two large, round eyes, one on each side of the center of the head. Inside each eye, draw a smaller circle for the pupils, leaving a little white space for shine. Next, draw a small oval nose just below the eyes and a smiling mouth, adding a slight curve to give it a friendly look.
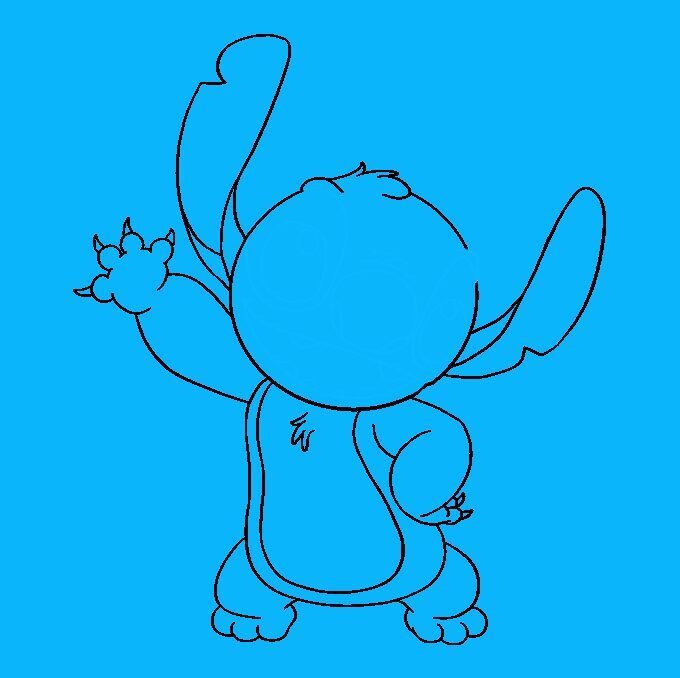
Step 7 of 8
For the next step, let's work on Stitch's body. Start by drawing the lower part of the body, creating an oval shape that connects to the head. Then add the arms by drawing two curved lines that extend out to the sides, ending in small hands. Don't forget to add the outline of the paws, which should be a little wider at the base. This will give Stitch a fun, lively pose!
Step 8 of 8
To finish your cute Stitch drawing, start adding the final details. Draw the eyes, making a large white circle inside each one, and add a small black circle for the pupils. Then, don't forget to draw a wide smile, with visible teeth, to capture Stitch's fun personality. Finally, add small marks to the body to give it texture. Now you have a complete and adorable Stitch!