


📐 How to Draw — Step by Step
Step 1 of 5
To start drawing the sun, draw a large circle in the center of your sheet. This circle will be the base of the sun. Then draw a smaller circle inside the first one, which will represent the core of the sun. Make sure both circles are centered as this will help create a balanced sun. This is the initial structure that will serve as a guide for the next steps.
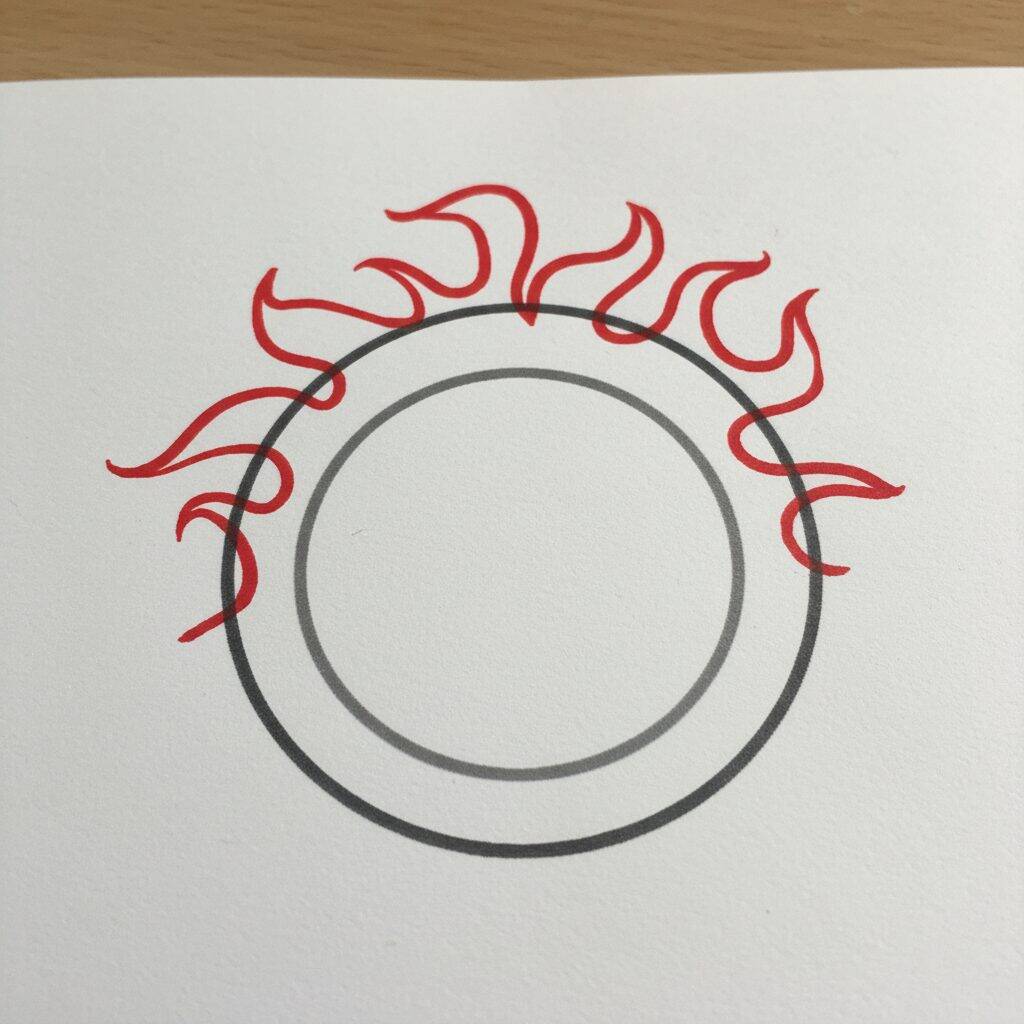
Step 2 of 5
Now, let's add the sun's rays! Start by drawing wavy lines coming out from the edge of the outer circle. These lines should have a fluid and dynamic shape, like flames, to give the impression of heat and light. Vary the size of the spokes; some may be longer and others shorter. It will make your sun more interesting and vibrant. Remember to leave space between the spokes for a lighter effect!
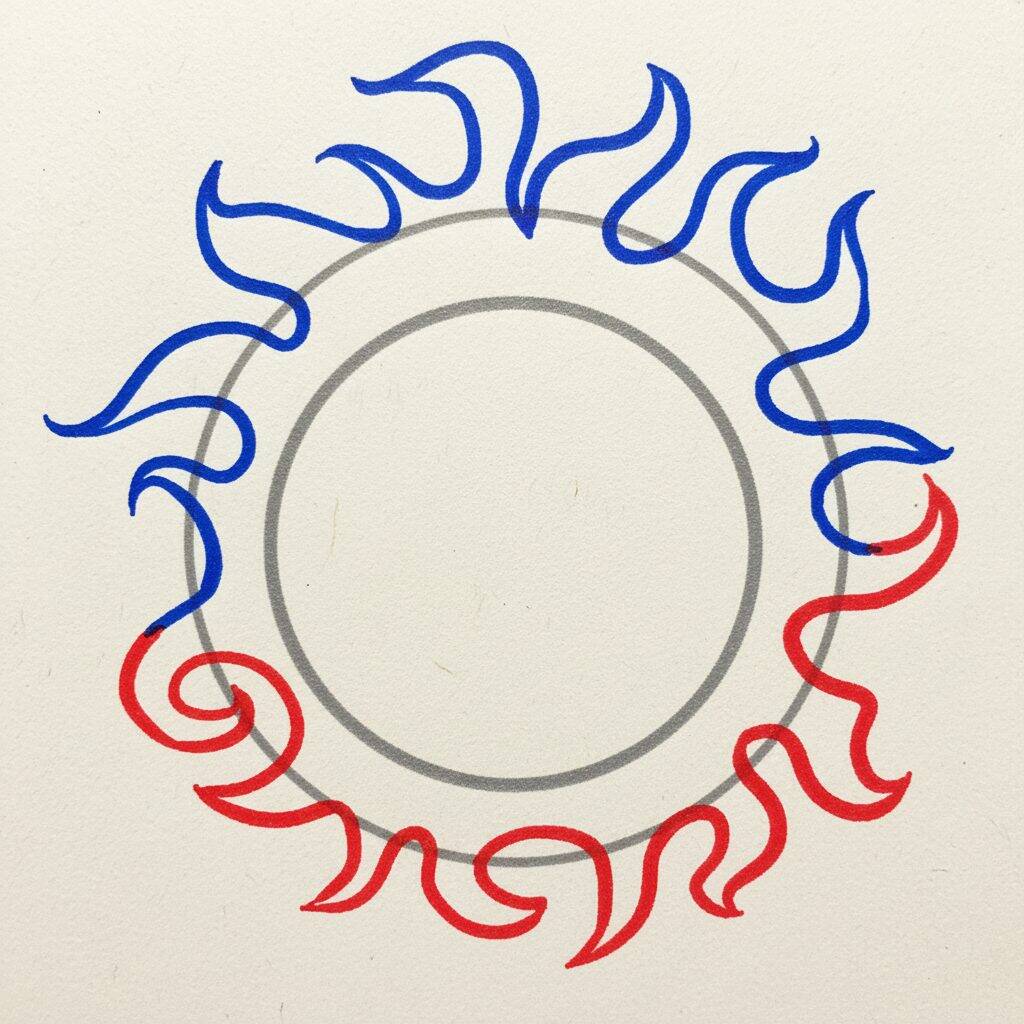
Step 3 of 5
Now that you've drawn the sun's rays, let's add more details! Start outlining the spokes with a thicker line to make them stand out. Use vibrant colors like yellow or orange to fill the rays, creating a light effect. You can also add light shading around the edges to give it more depth. Remember to keep the shapes fluid so the sun looks radiant and happy!
Step 4 of 5
Now that you've outlined and colored the sun's rays, it's time to bring the center to life! Start by filling the center circle with a vibrant yellow color. To add a special touch, use a little orange around the edges of the circle, creating a glow effect. If you want, you can add small details, like white dots, to simulate light reflections. This will help give your sun a more radiant look!
Step 5 of 5
Now that you've brought the center of the sun to life, it's time to finish the drawing! Use a lighter shade of yellow or even a little white to highlight some areas in the center, creating a glow effect. For an extra touch, you can draw some thin lines around the sun's rays, emphasizing their luminosity. Don't forget to add a light blue background and some white clouds to complete the scene!