

📐 How to Draw — Step by Step
Step 1 of 9
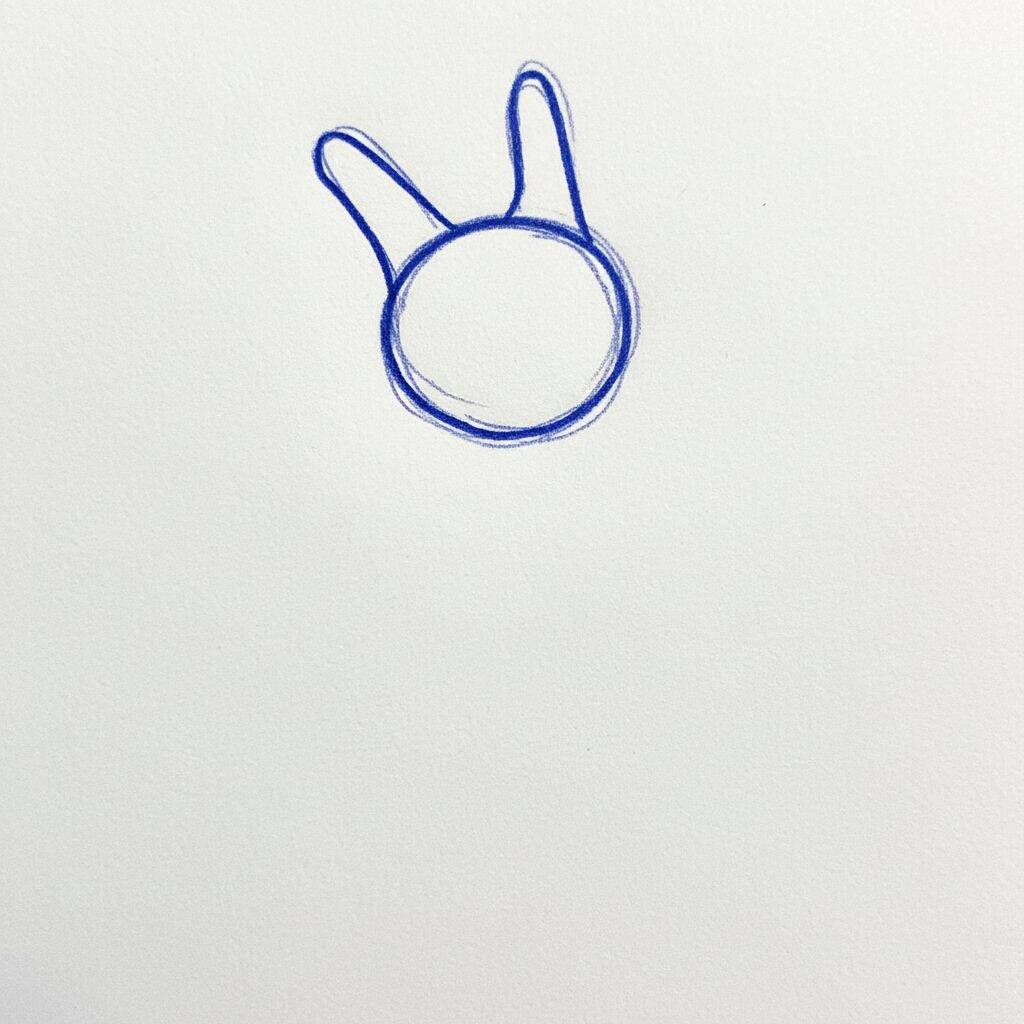
To start drawing Charizard, draw a medium circle that will represent the head. Above that circle, draw two ovals on top for the ears. These initial strokes will help define the proportion of the head and the position of the ears. Don't worry about being perfect; The important thing is to have a solid foundation for the next steps.
Step 2 of 9
Now, let's add details to Charizard's face. Start by drawing the mouth line, which should be a little curved and wide, giving the impression of a smile. Then add the eyes by drawing two ovals with a small space between them. To bring your look to life, don't forget to add pupils. Finally, refine your jawline, making it a little more defined. This will help shape your dragon's face.
Step 3 of 9
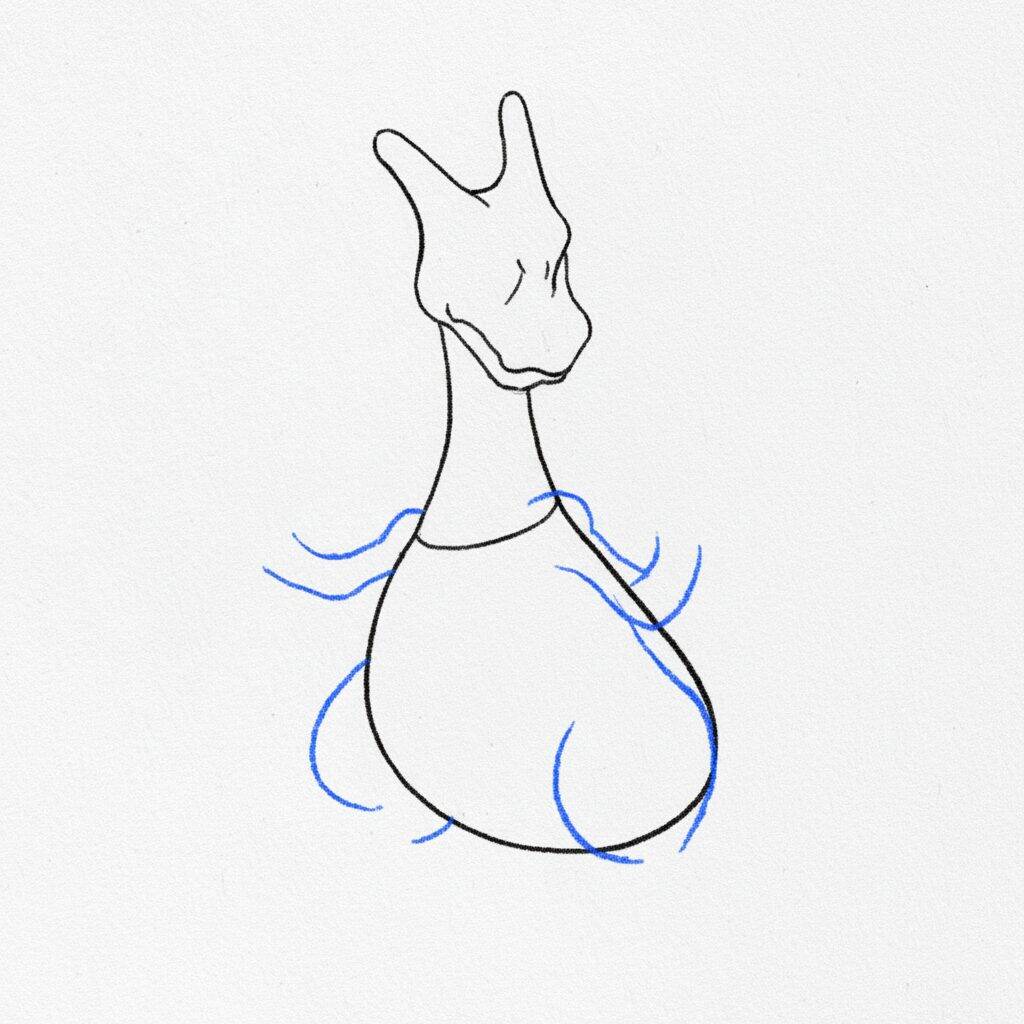
Now let's work on Charizard's body. Start by drawing an oval shape that will be the main part of the body, just below the head. Add soft lines to the sides to represent the wings, which should have a slightly curved shape. Make sure the wings appear connected to the body, giving the impression that it is about to fly. Finally, draw a smooth line at the bottom to indicate where the paws will connect later.
Step 4 of 9
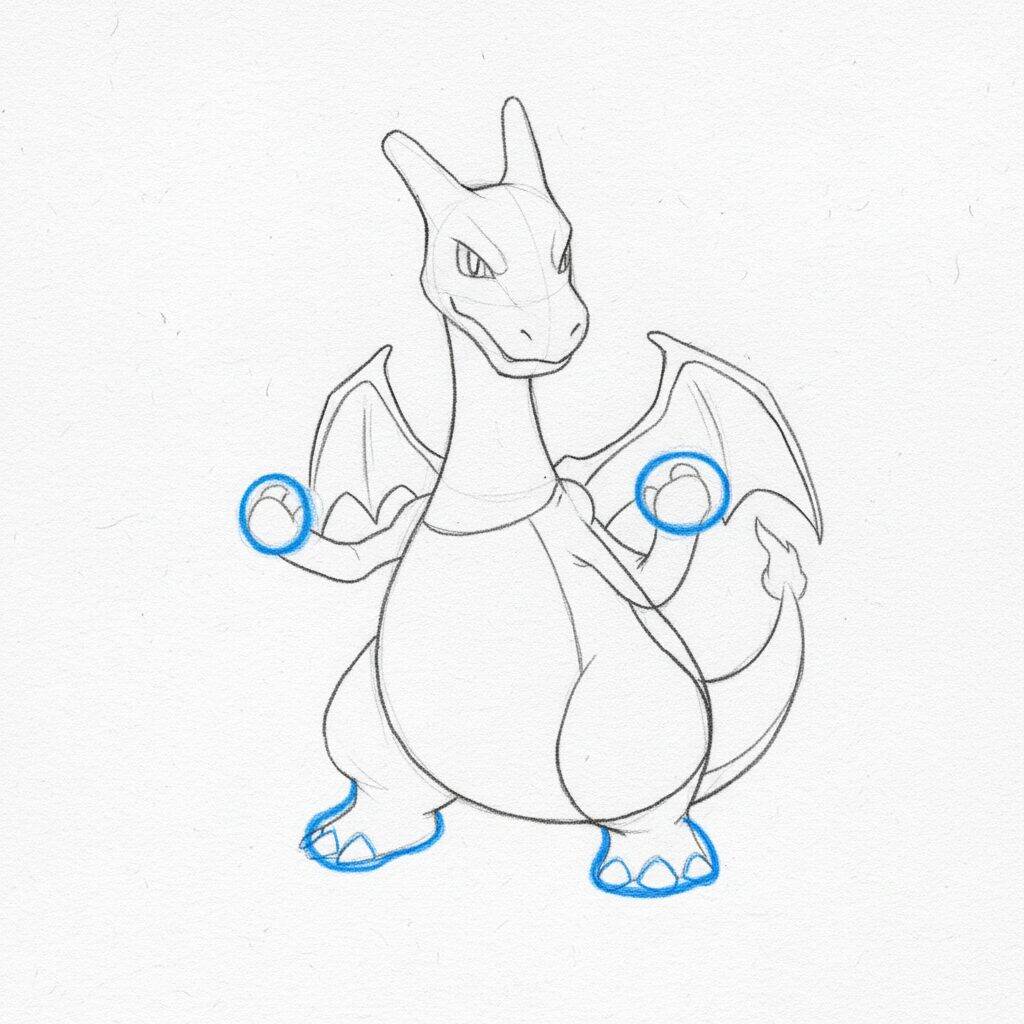
Now, let's add the details of Charizard's paws. Start by drawing the claws, which should be sharp and well defined. To do this, draw three small triangles at the tip of each paw. Then refine the shape of the paws, making them more muscular and robust. Remember to add a slight contour around the paws to make them look more realistic and integrated into the body.
Step 5 of 9
Now that the body shape and tail are adjusted, let's work on the details of Charizard's paws. Start by drawing the claws on the front paws, adding pointy shapes that stand out. Next, refine the hind legs, ensuring they are sturdy and in proportion to the body. To finish, add details such as joints and light shading to give more depth to your drawing.
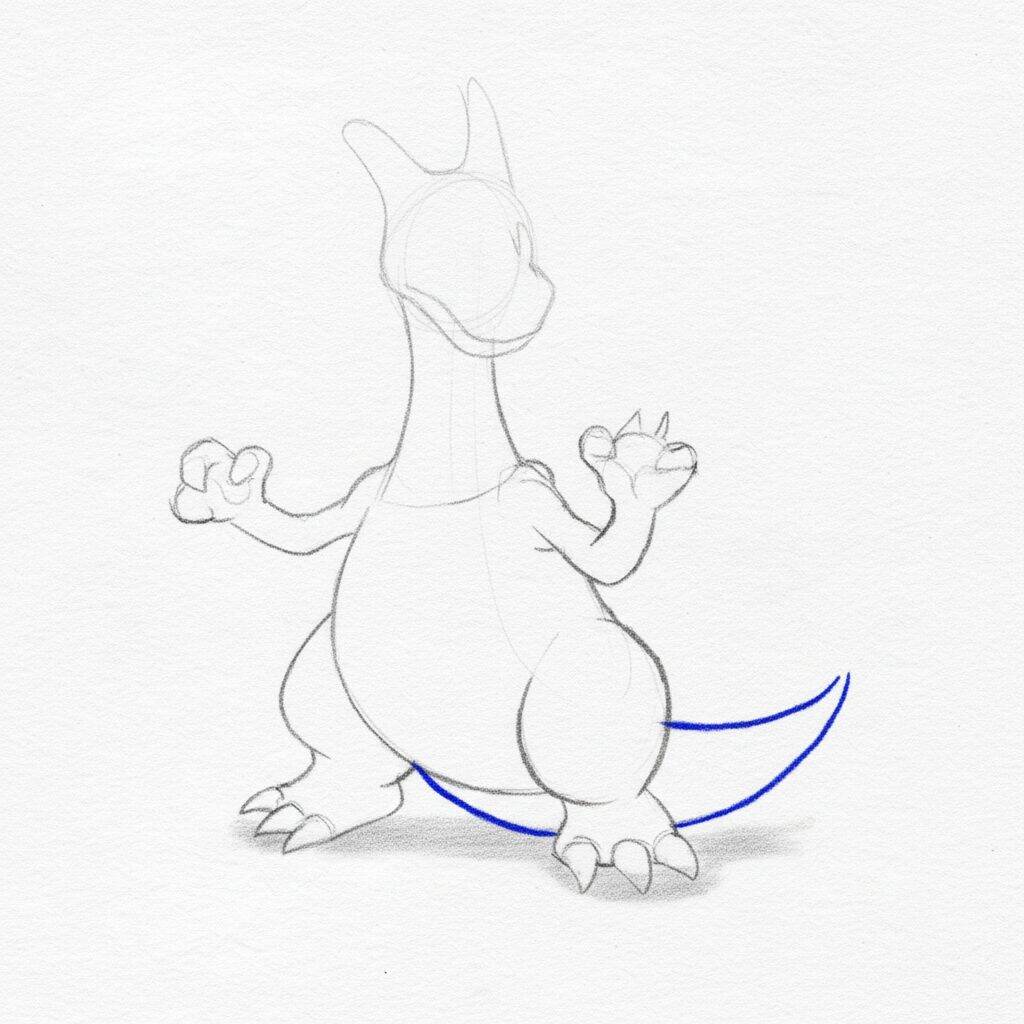
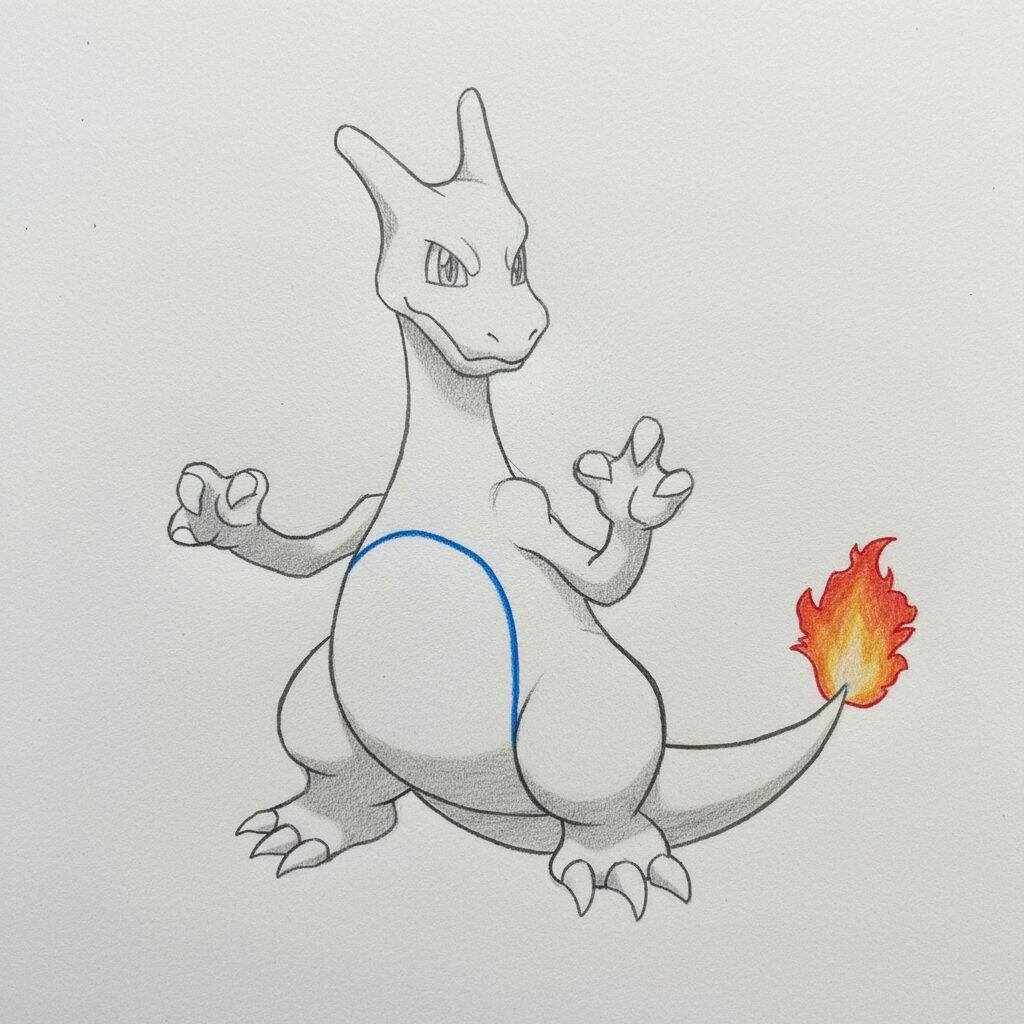
Step 6 of 9
Now that you've improved Charizard's paws, let's focus on the outline of the body. Start by drawing a curved line along the abdomen, which will help define your character's muscular shape. Then add details to the chest, creating a slight volume. Don't forget to take a look at the tail and adjust the flame, ensuring it looks lively and dynamic. These details will give your drawing more personality!
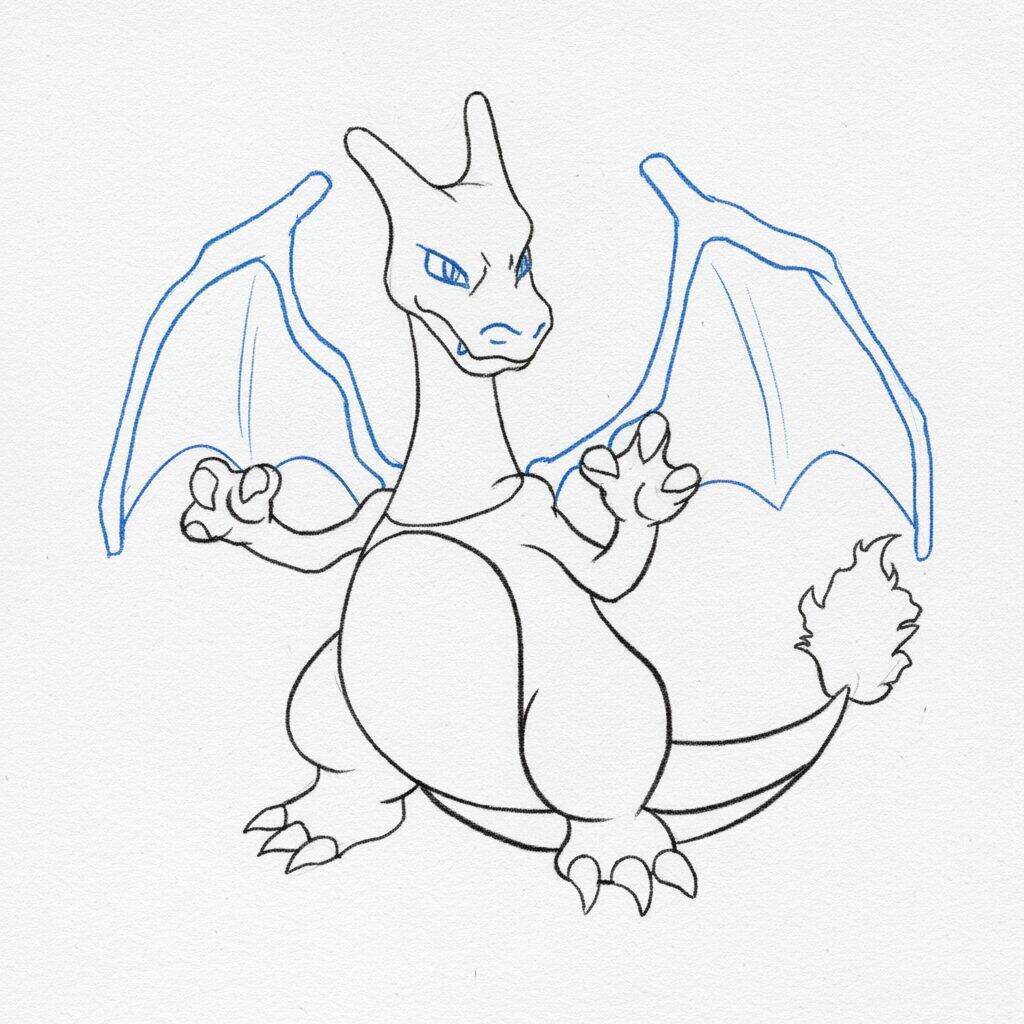
Step 7 of 9
Now that you've defined Charizard's body, it's time to work on the wings. Start by drawing the edges of the wings, ensuring they have a broad, elegant shape. Add some inner lines to represent the wing membranes and create texture. Remember that the wings should look sturdy, so don't hesitate to add a little volume at the ends. This will give your drawing a more dynamic touch!
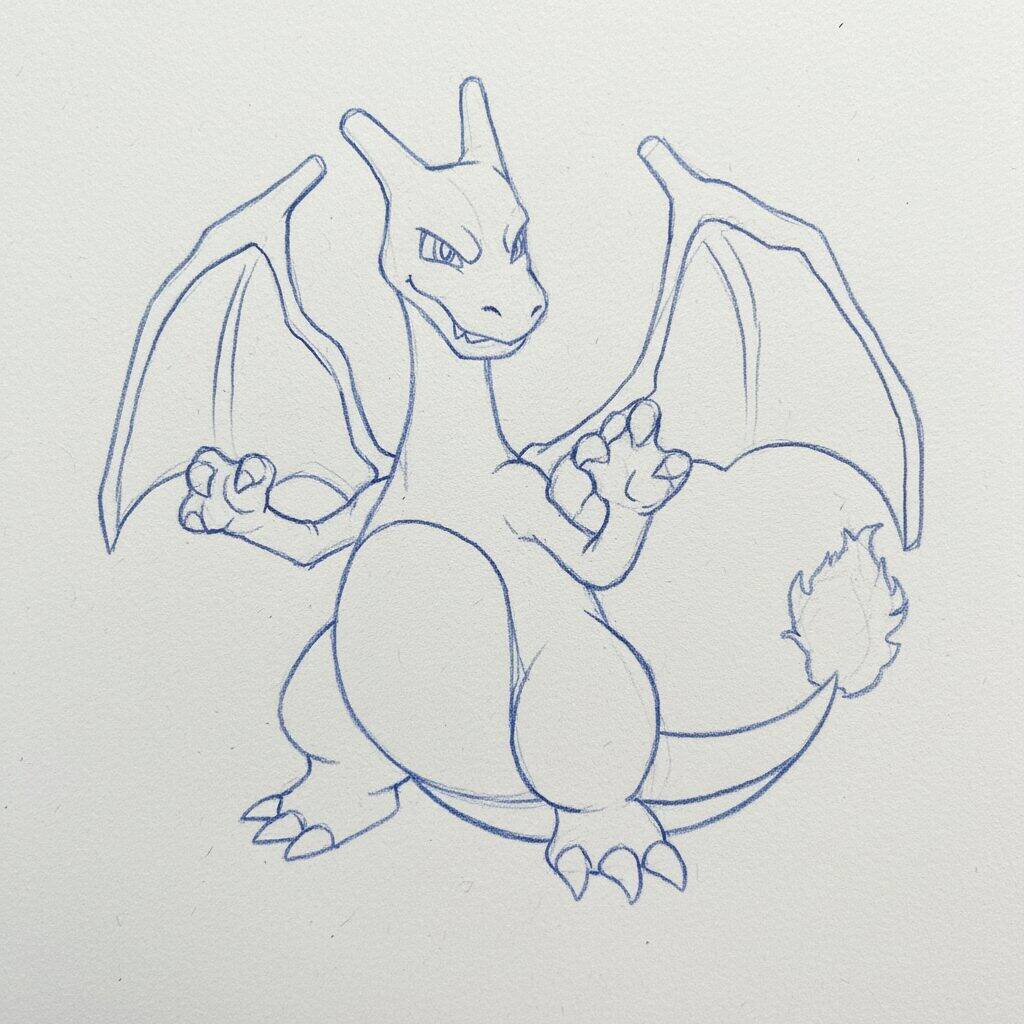
Step 8 of 9
Now that you've added the claws and scales, it's time to refine your Charizard drawing. Start by erasing the guide lines that are no longer needed to make the drawing cleaner. Then, intensify the lines of the body, wings and tail, to give a more defined finish. Lastly, get ready to add color in the next step, highlighting Charizard's features!
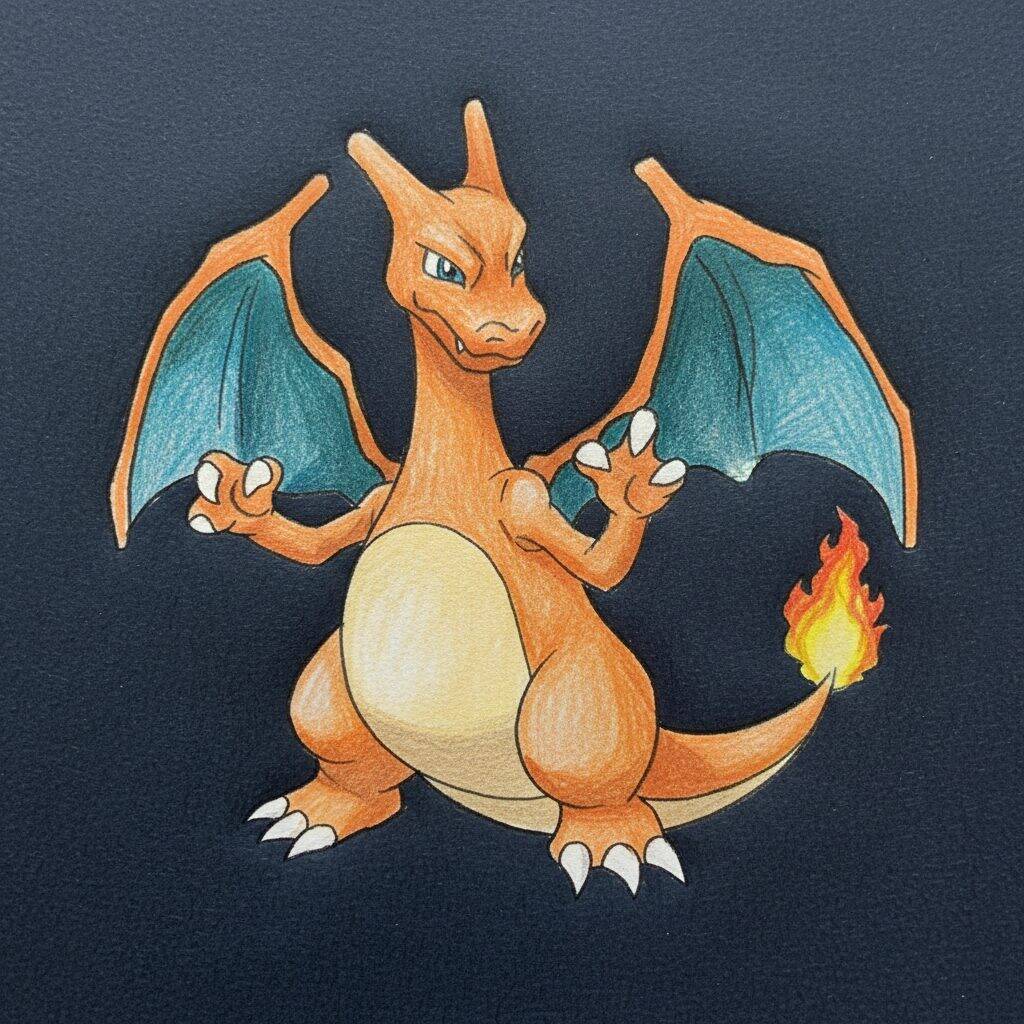
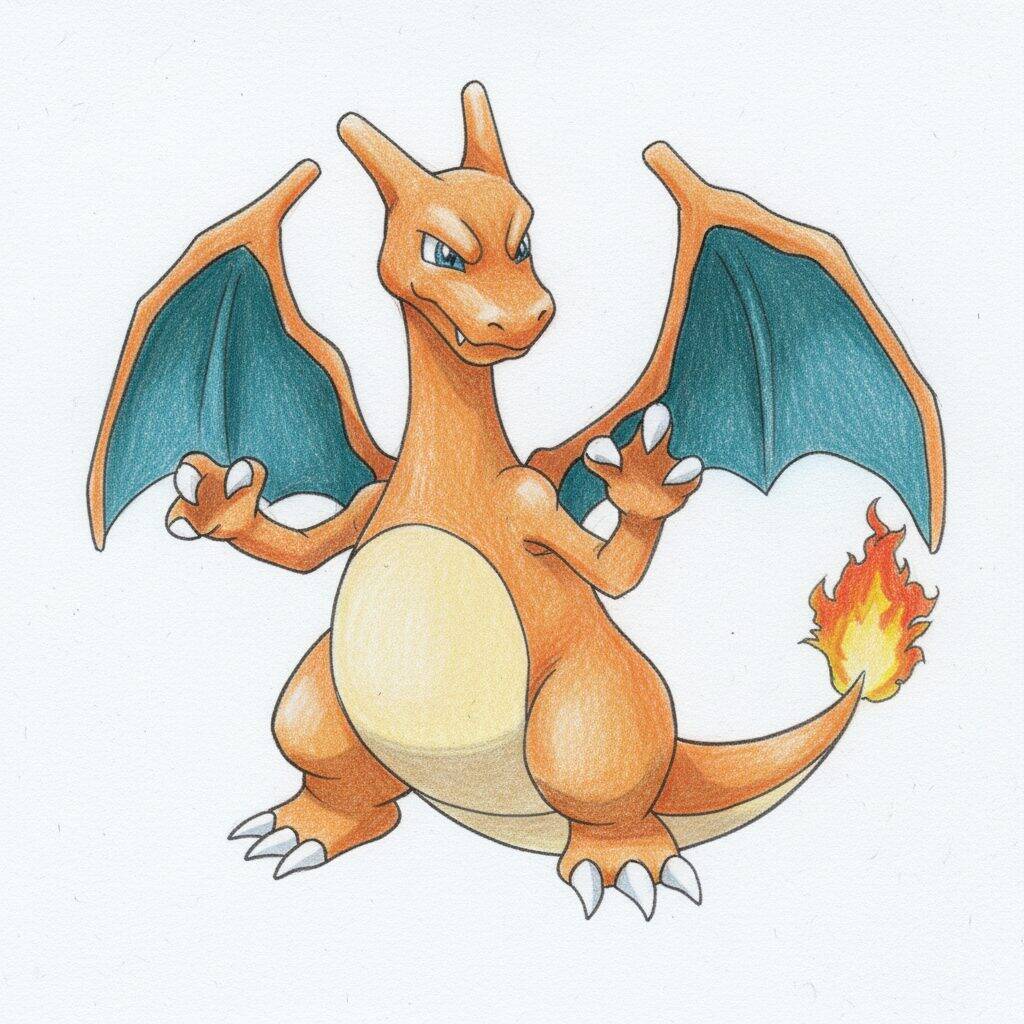
Step 9 of 9
Now that you've finished drawing Charizard, it's time to add the colors! Start with the body, using a vibrant orange tone to bring your creature to life. Then paint the wings a darker blue, creating contrast. For the tail, use yellow for the flame, with touches of red at the ends. Don't forget to add subtle shadows to add depth, highlighting Charizard's features. Good luck and have fun!