

📐 How to Draw — Step by Step
Step 1 of 9
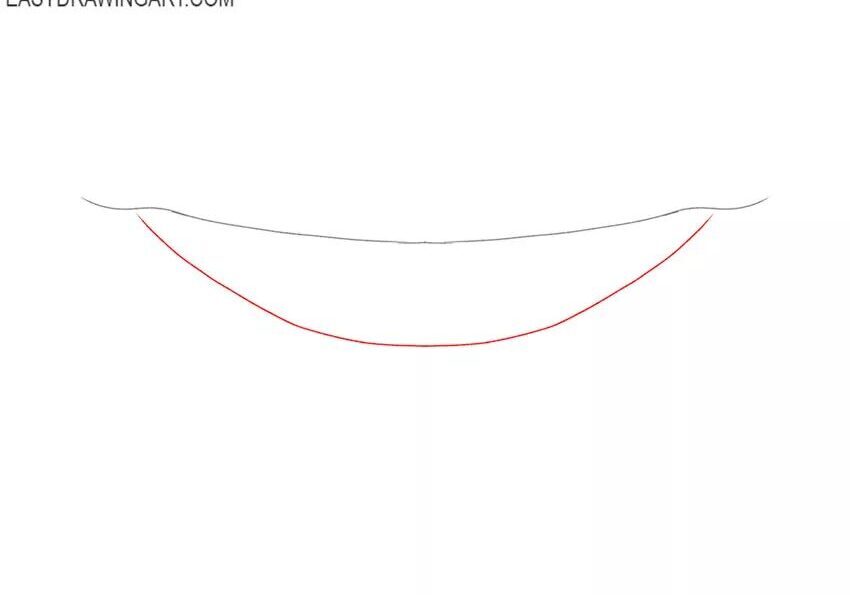
To start drawing the teeth, draw a curved line that represents the upper part of the dental arch. This line should be smooth and slightly arched, similar to a smile. Then add a curved line below which will be the base of the teeth. These lines will serve as guides for the shape of the teeth you will draw in the next steps.
Step 2 of 9
Now, let's start defining the shape of the teeth. Use the guide lines you drew earlier to create the top and bottom of the teeth. Draw rectangular or oval shapes along the top curved line, representing the teeth in the arch. Remember that front teeth are generally wider and back teeth are narrower. Don't worry about the details yet; focus on capturing the basic shape.
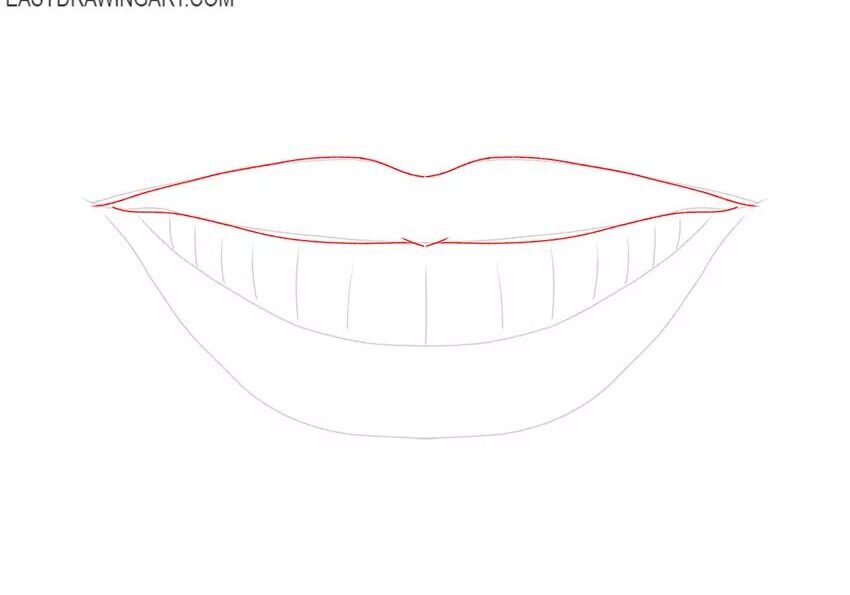
Step 3 of 9
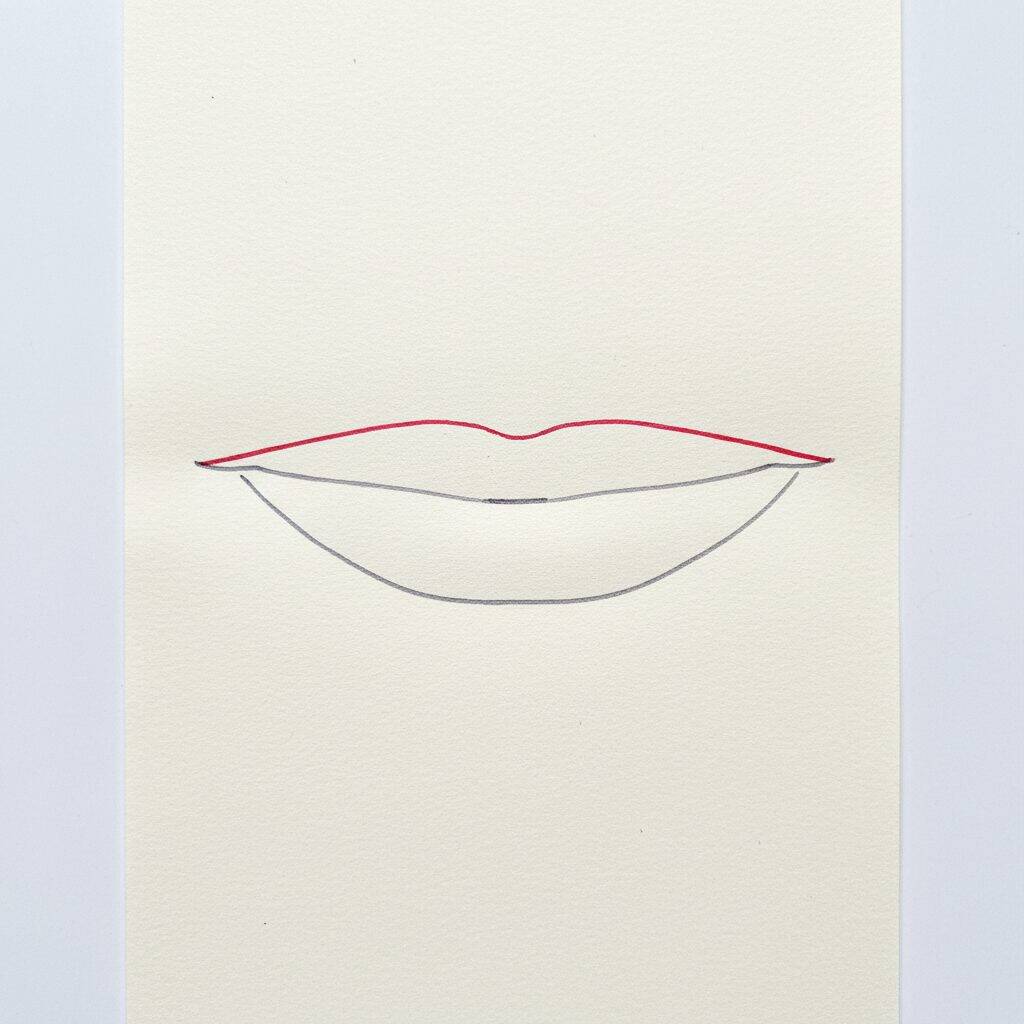
Now that you've defined the basic shape of the teeth, it's time to draw the mouth. Start by drawing a smooth curved line at the top to represent the upper lip and a similar line at the bottom for the lower lip. The ends of the mouth can be raised slightly to give a more natural appearance. Remember to keep the lines light, as you can still adjust them in the following steps.
Step 4 of 9
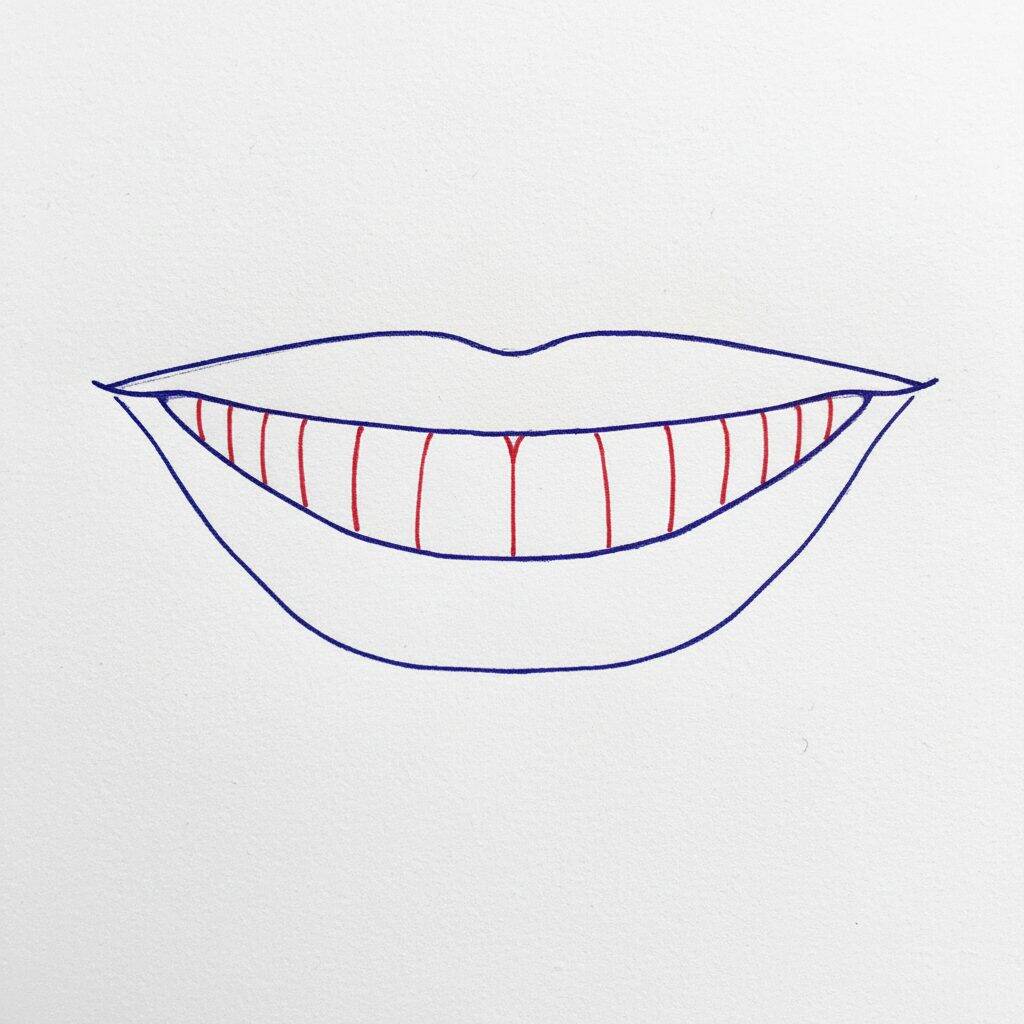
Now that you've drawn the mouth, it's time to add the teeth details. Start by drawing smooth vertical lines within the shape of the mouth, creating the division between the teeth. Make sure the lines follow the curvature of your mouth for a more natural effect. Then, draw the edges of the teeth, giving them a slightly rounded shape at the top. Keep the lines light to make adjustments easier in the next steps.
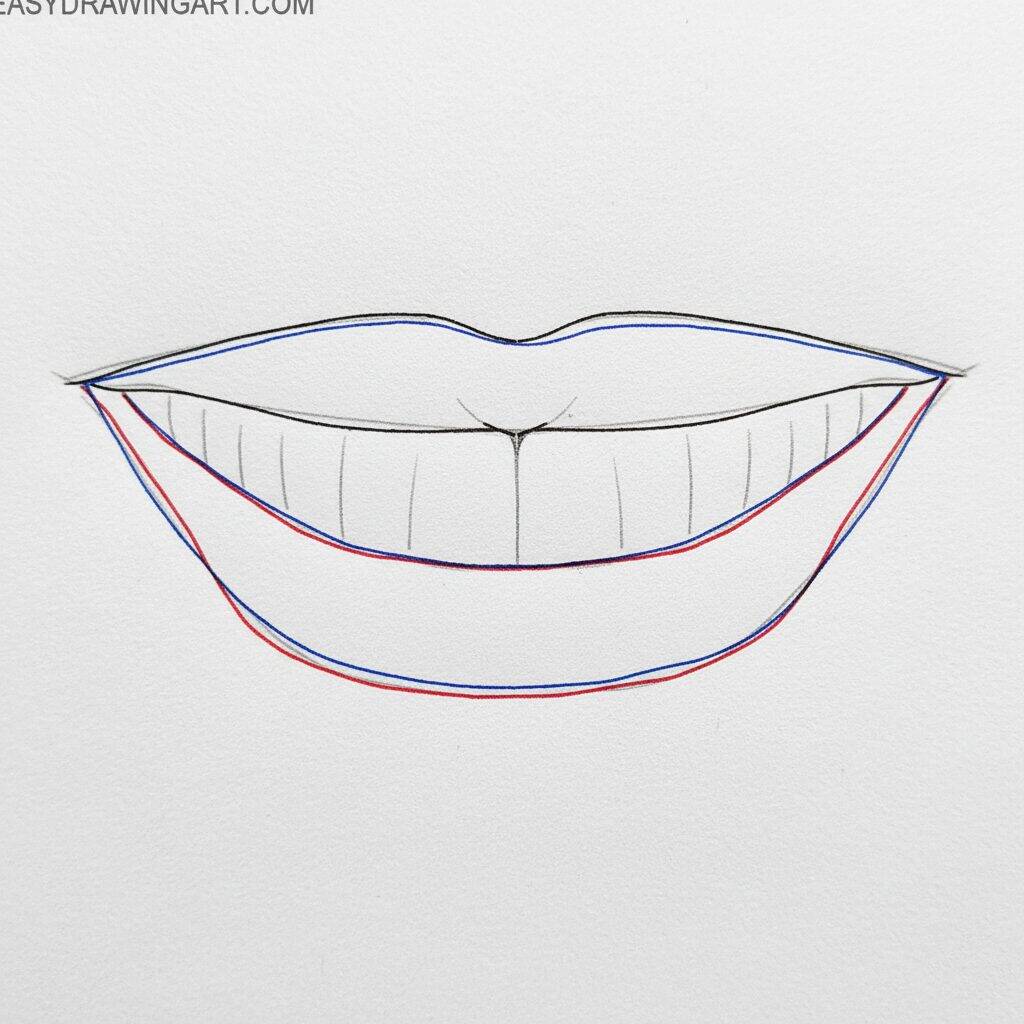
Step 5 of 9
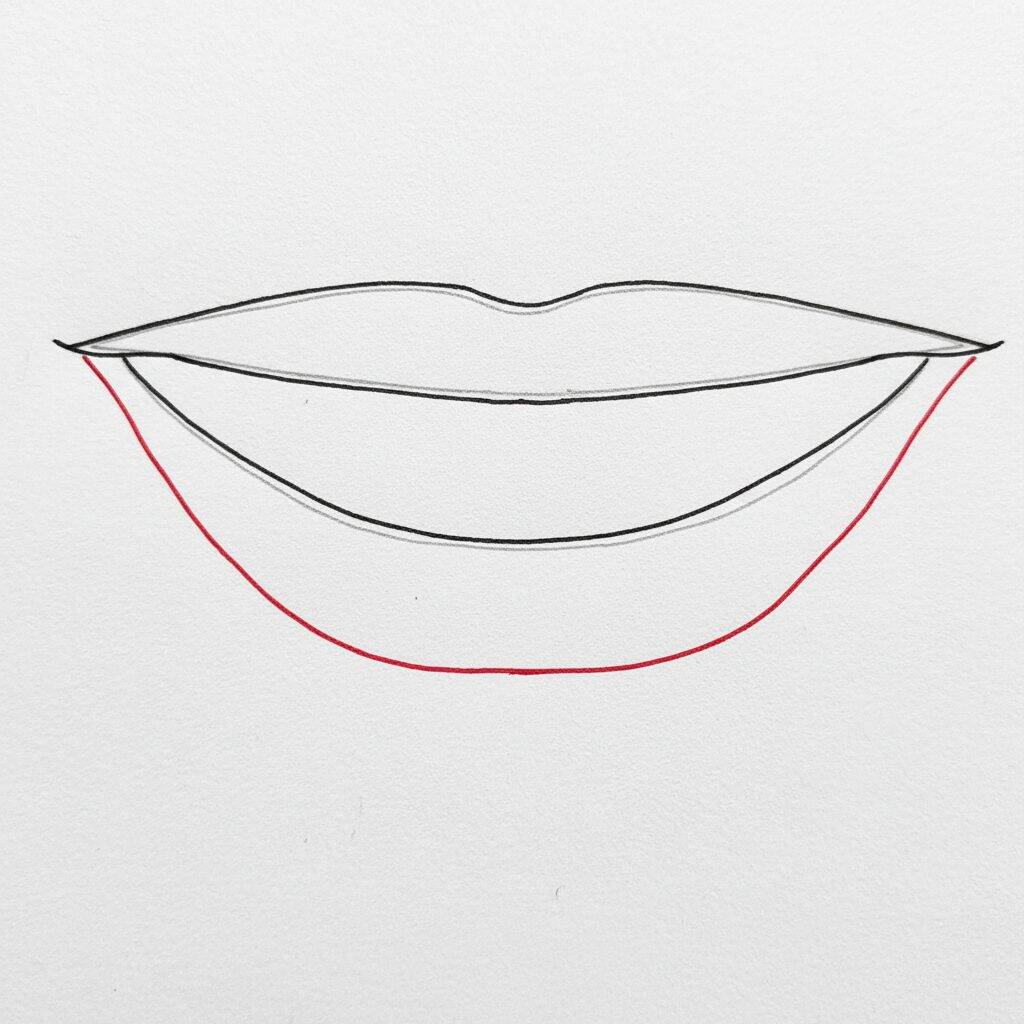
Now that you have the lines that divide the teeth, it's time to better define their shape. Start drawing the top part of the teeth, making small curves to give a more natural look. Then add the lower lines, gently connecting them to the mouth line. Remember to keep the teeth varying sizes for a more realistic look. Don't worry about getting everything perfect at this stage; you can make adjustments later!
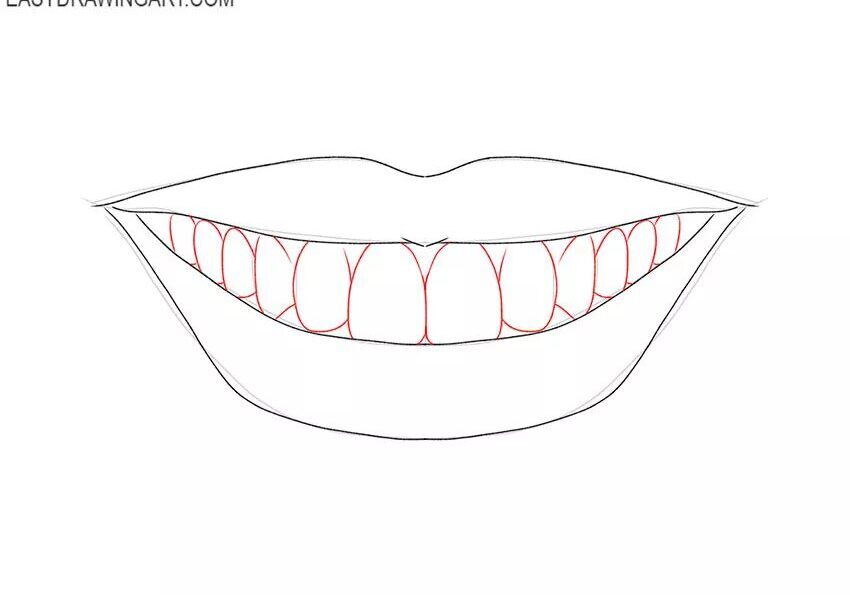
Step 6 of 9
Now that you've defined the basic shape of the teeth, let's add details. Start by drawing the lines that represent the cracks in the teeth, making small vertical lines in each of them to give more realism. Then refine the edges of the teeth, smoothing out the curves and ensuring that each tooth has a unique shape. Don't worry about being perfect; the important thing is to capture the essence of the form!
Step 7 of 9
Now that you've added the fissures and refined the edges, it's time to give the teeth even more life. Start gently shading the areas that would be closest to the shadow, such as the back of each tooth. Use a softer pencil to create a depth effect. Additionally, add small white dots or lines to simulate the shine and texture of tooth enamel, making the teeth more realistic.
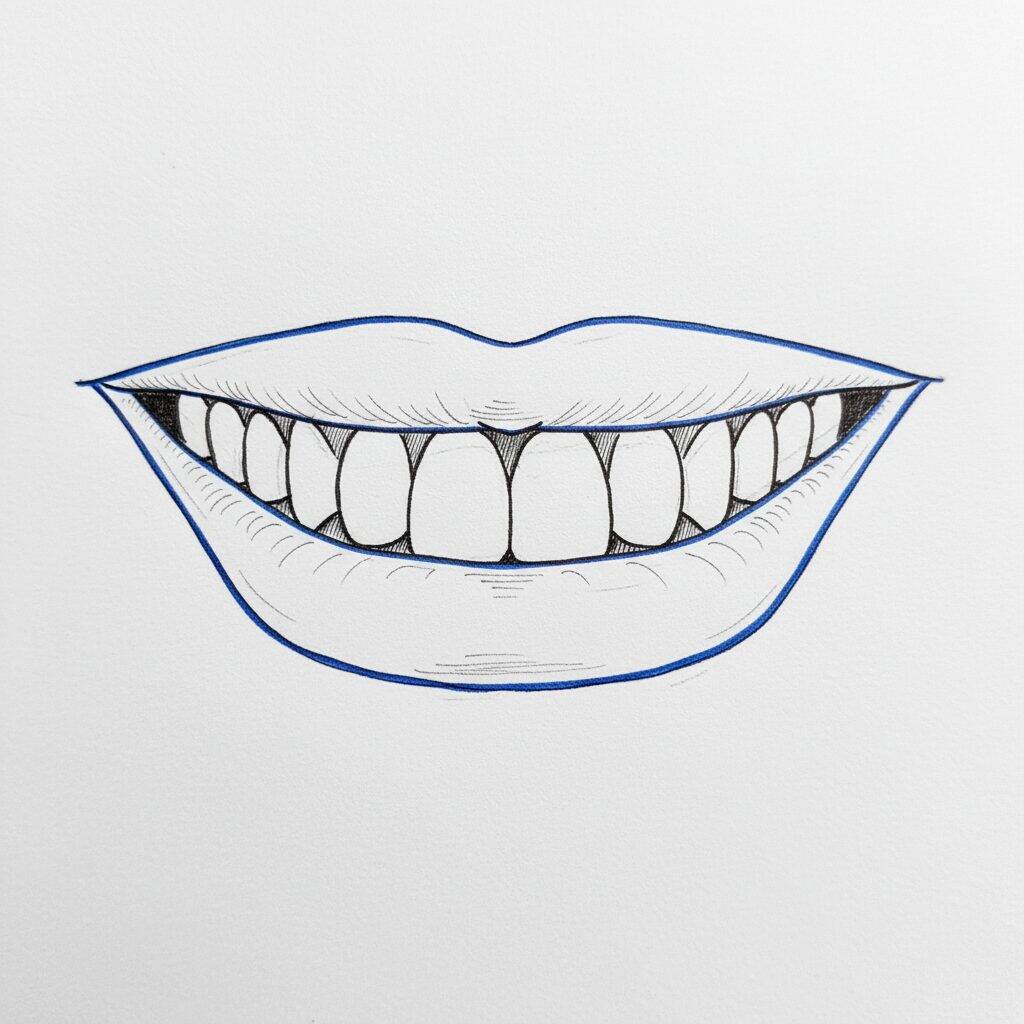
Step 8 of 9
Now that you've applied the shading and details to the enamel, it's time to finish the teeth. Start softening the edges with an eraser to create a more natural effect. Then add a touch of shine to the upper areas of the teeth where the light would reflect. This will give a more vivid and three-dimensional appearance. Lastly, check the contour of the mouth to ensure everything is harmonious.
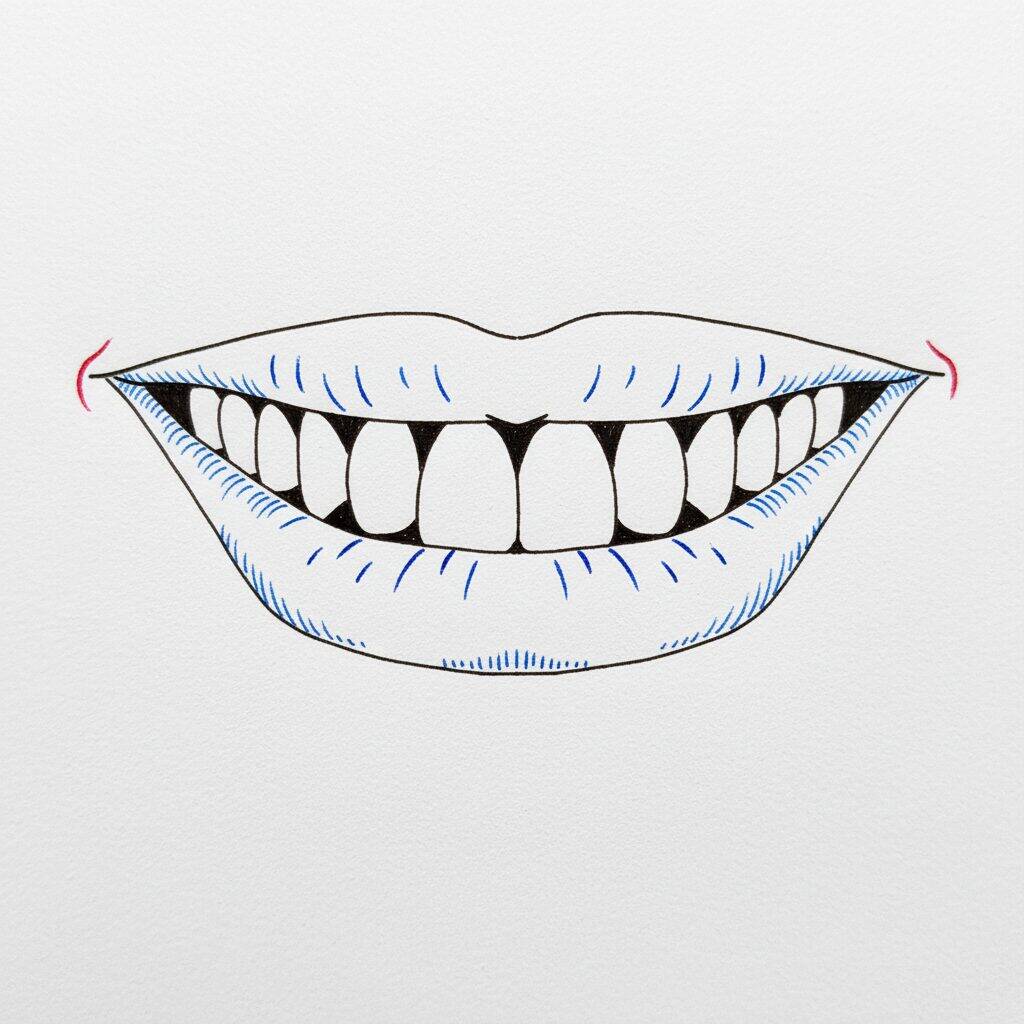
Step 9 of 9
Congratulations! You've reached the end of your teeth drawing! Now, review all the details you added, ensuring that the brightness and shading are well balanced. If necessary, make small adjustments to the lines and contour of the mouth so that everything looks harmonious. Feel free to add more details or even experiment with color if you wish. Enjoy your work!