


📐 How to Draw — Step by Step
Step 1 of 9
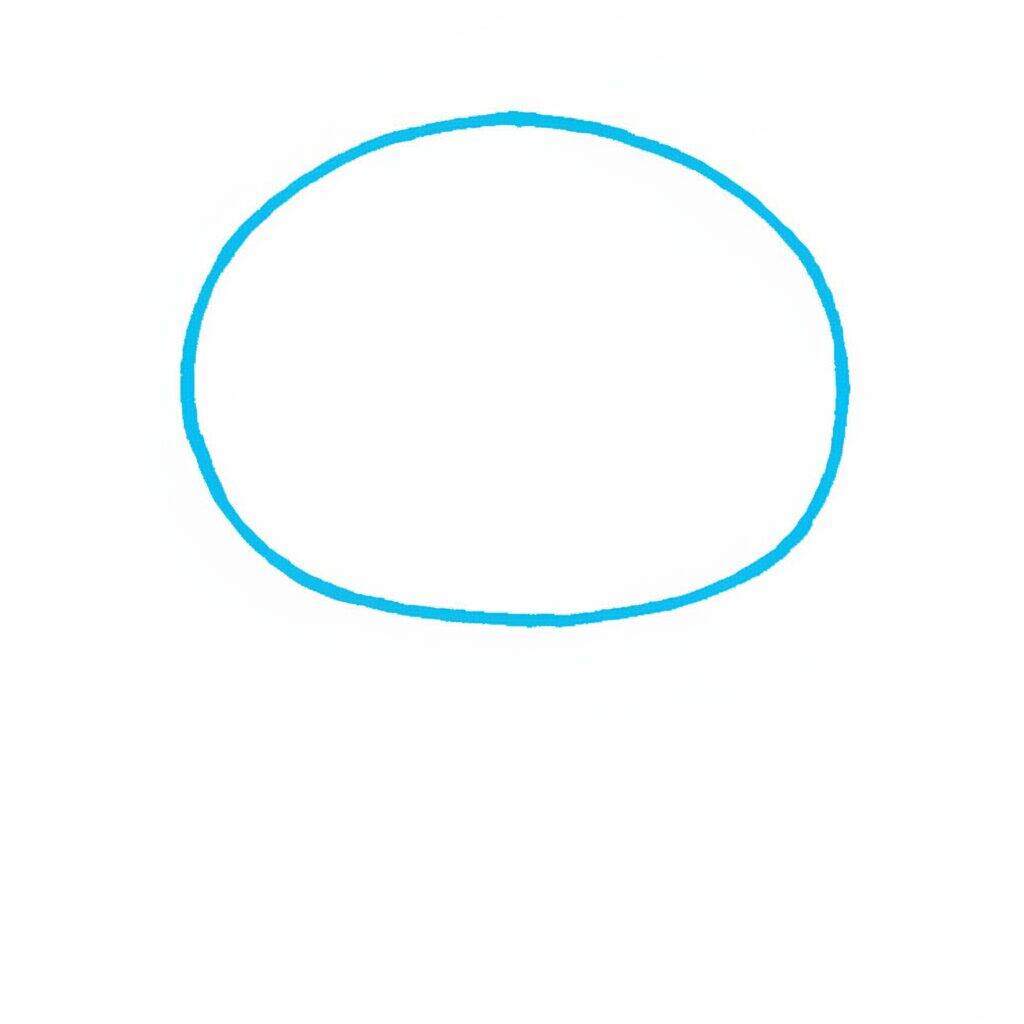
To start drawing Hello Kitty, draw an oval shape that will be the base of her head. Make sure the top of the oval is a little wider than the bottom. This will help give Hello Kitty's characteristic head shape. Keep the line light as you can adjust the shape later if necessary.
Step 2 of 9
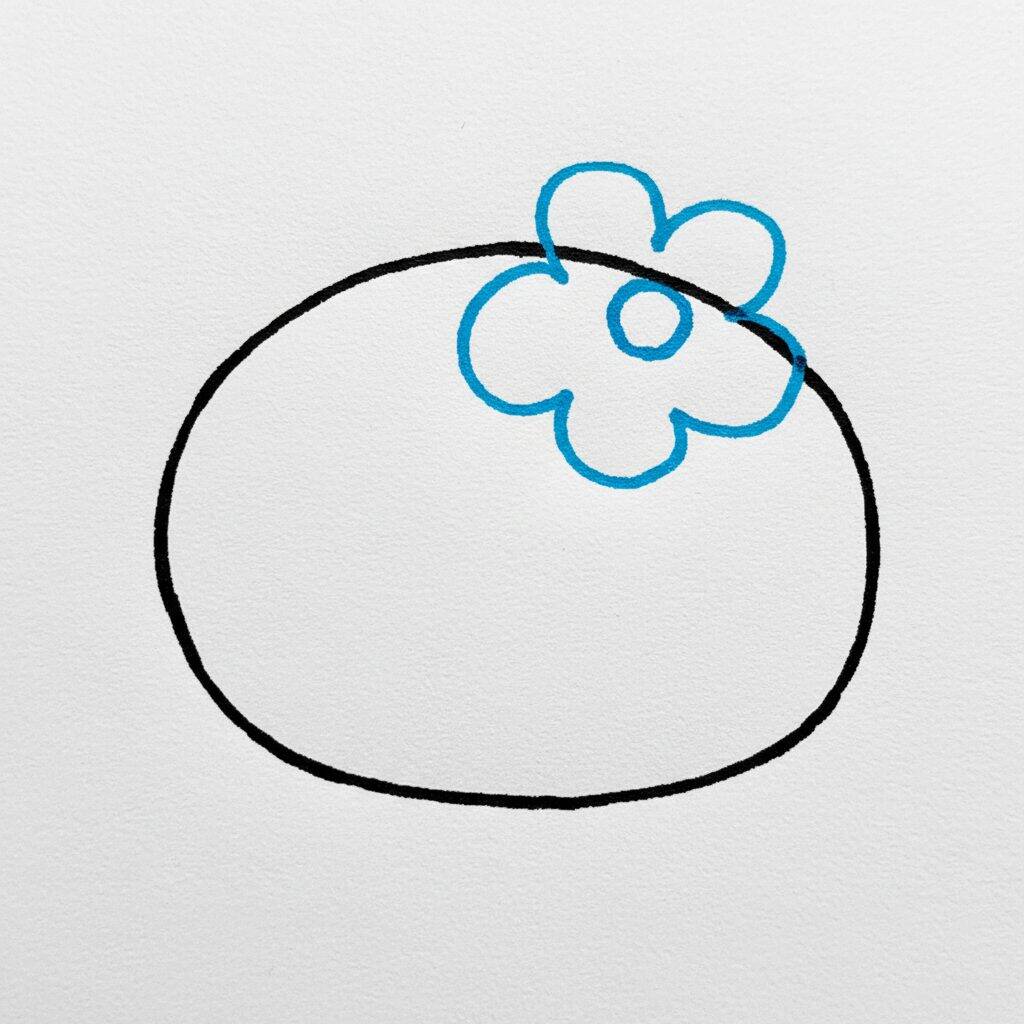
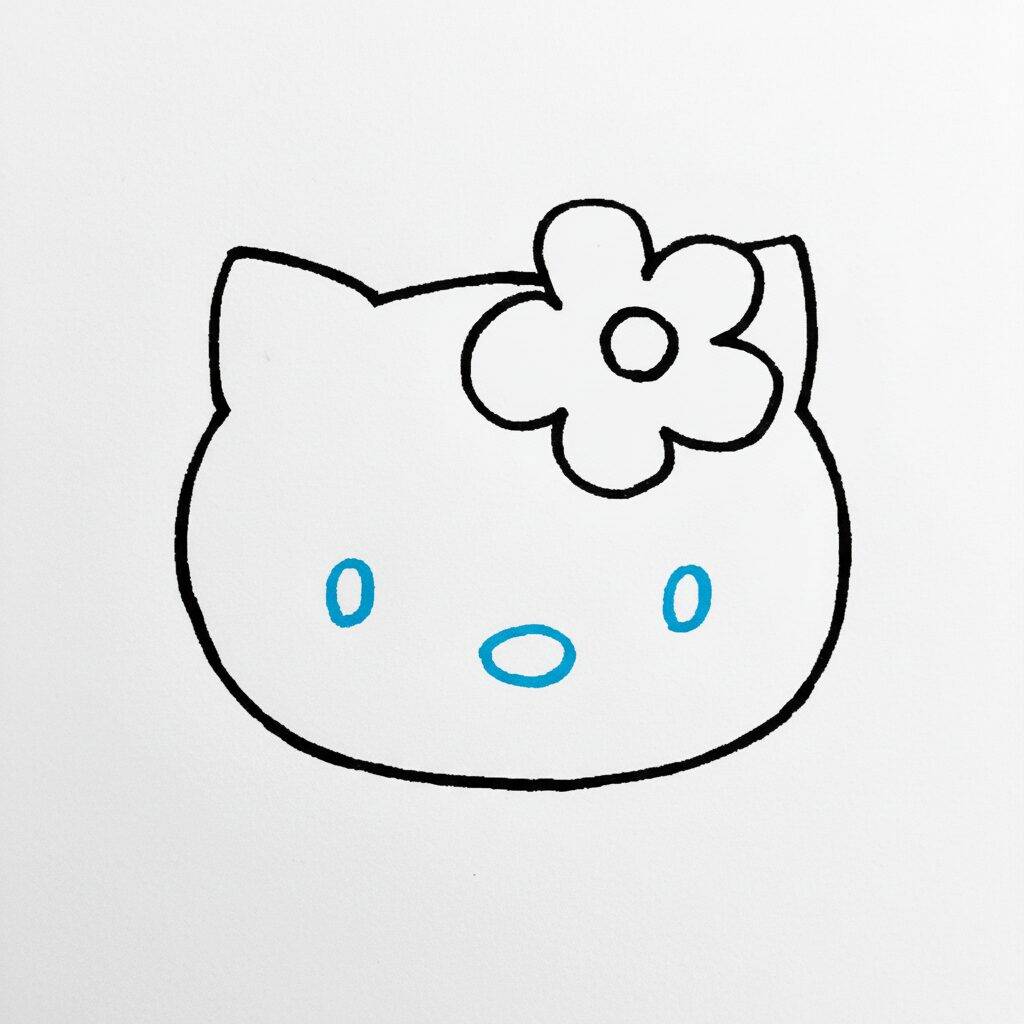
Now, let's add a special detail to Hello Kitty's head! In the upper left corner of the oval, draw a small flower. Start with a circle in the center and add five petals around it, using round shapes. Make sure the flower is proportionate to the head, keeping the line light so you can make adjustments if necessary. This flower will add a lovely touch to your drawing!
Step 3 of 9
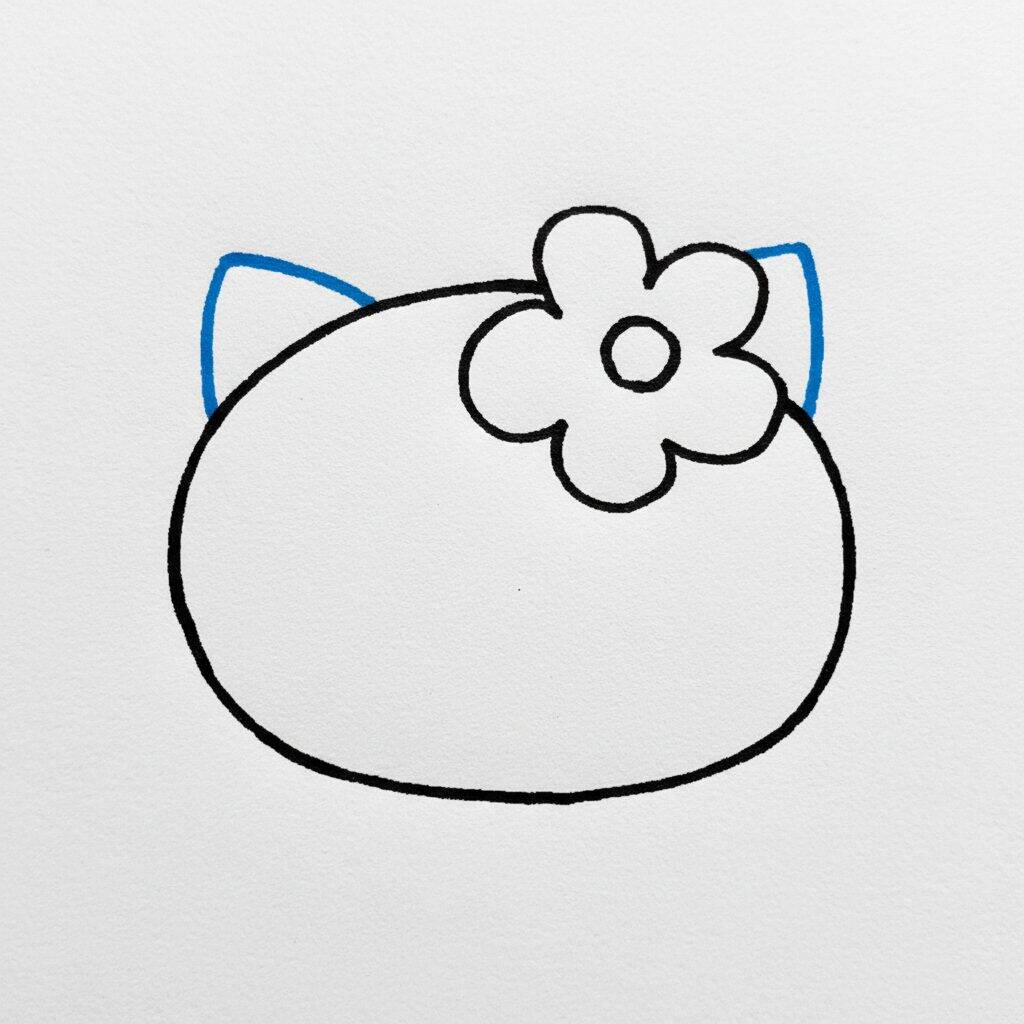
Now, let's add details to Hello Kitty's face. Start by drawing an oval outline for the head if you haven't already. Then draw two triangular ears on the top of the head. Next to one of the ears, draw a flower with five petals, starting with a circle in the center and connecting the surrounding petals. Make sure the flower looks delicate and cheerful!
Step 4 of 9
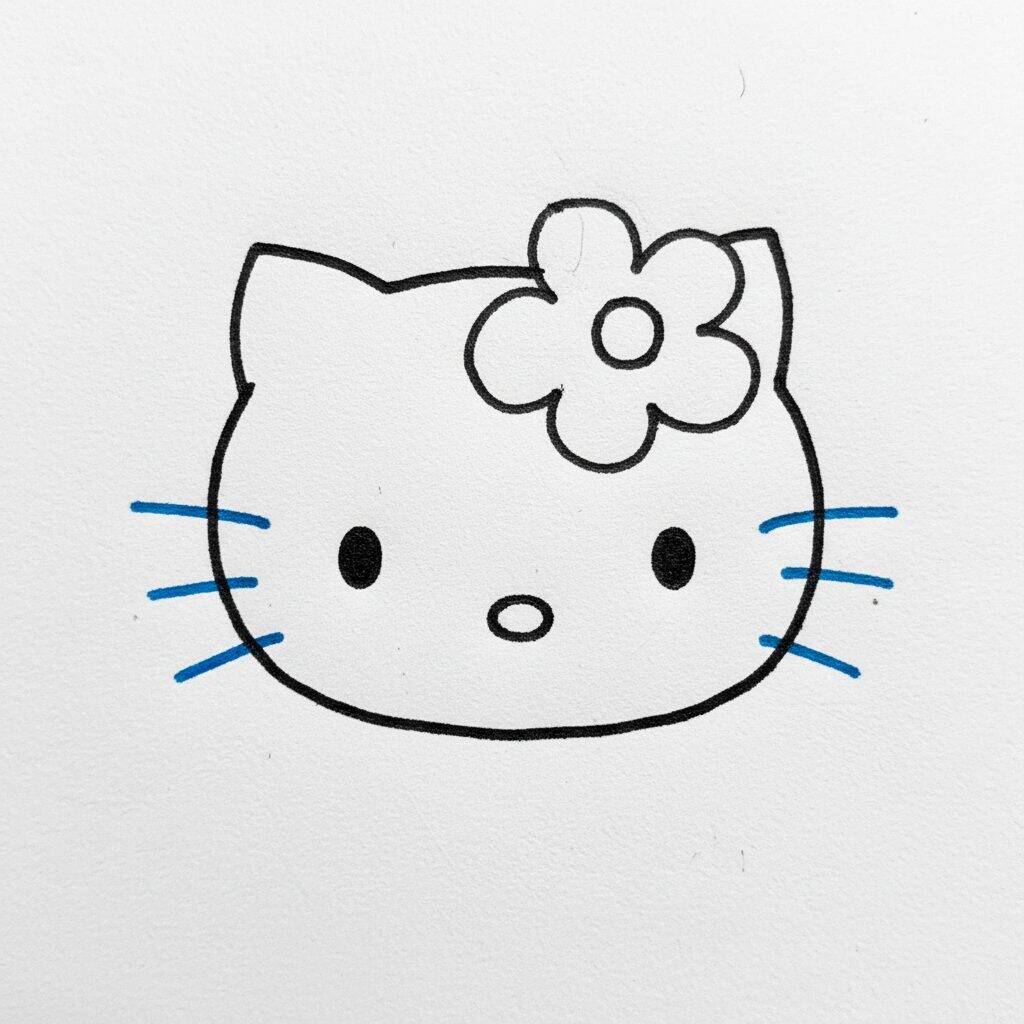
Now that you've added the flower and ears, let's work on the details of Hello Kitty's face. Start by drawing two large, round eyes, leaving a small space between them. For the nose, draw a small triangle in the center of the face, just below the eyes. Finally, add three short lines on each side of the face to represent the mustaches. These details will bring your drawing to life!
Step 5 of 9
Now let's add a little more charm to your Hello Kitty! Start by drawing a small flower at the top of the head. To do this, make a central circle and then draw five petals around it, creating a delicate shape. Then, you can add a small circle in the center of the flower to give it more detail. This will help complete your Hello Kitty's adorable look!
Step 6 of 9
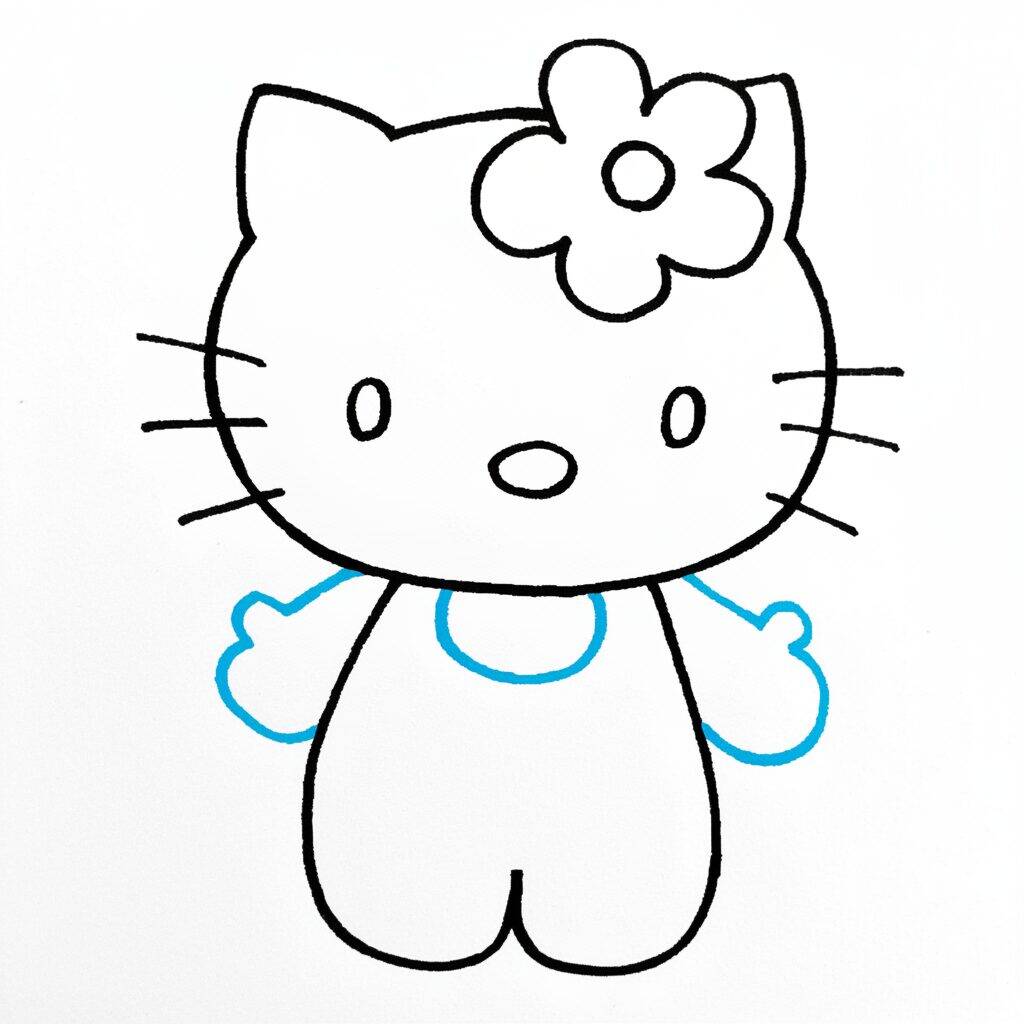
Now let's work on Hello Kitty's body! Start by drawing two curved lines that meet at the bottom, forming the silhouette of the body. The base should be a little wider than the top to give it a fluffy, rounded look. Then add small lines for the arms, coming out from the sides of the body, and make the paws at the bottom. Remember to keep everything smooth and rounded!
Step 7 of 9
Now that Hello Kitty's body is ready, let's add the details! Start by drawing a small circle for the nose in the center of the face. Then make two oval eyes, one on each side of the nose. For a special touch, draw a flower on the top of the head, using a circular shape for the center and five petals around it. Don't forget to add the lines for the arms, making them very smooth!
Step 8 of 9
Now that we have the details of the face and the flower, let's work on Hello Kitty's outfit. Start by drawing the outline of the blouse, adding a curved line at the bottom. Next, draw the sleeves, which should be rounded and smooth. To finish, add a horizontal line to the bottom of the blouse for a touch of style. Remember to keep your strokes light and fluid!
Step 9 of 9
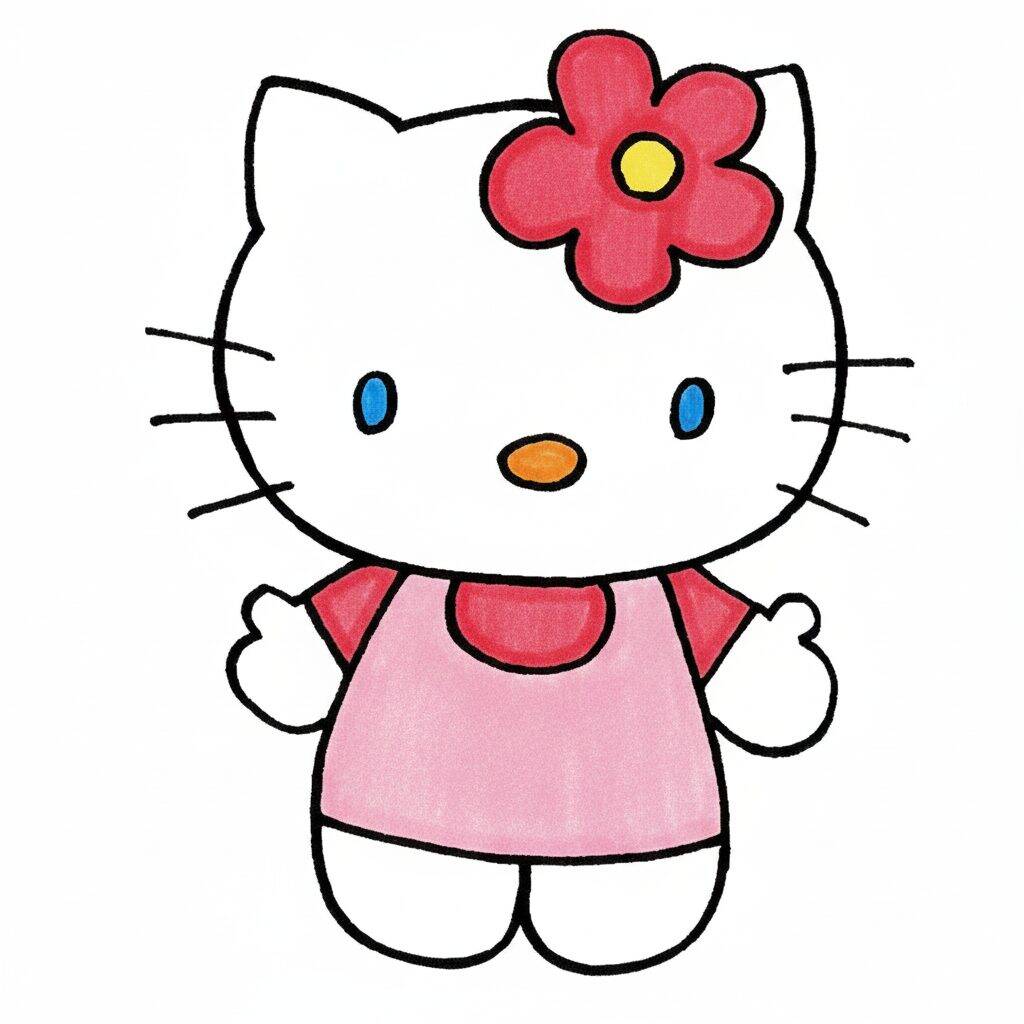
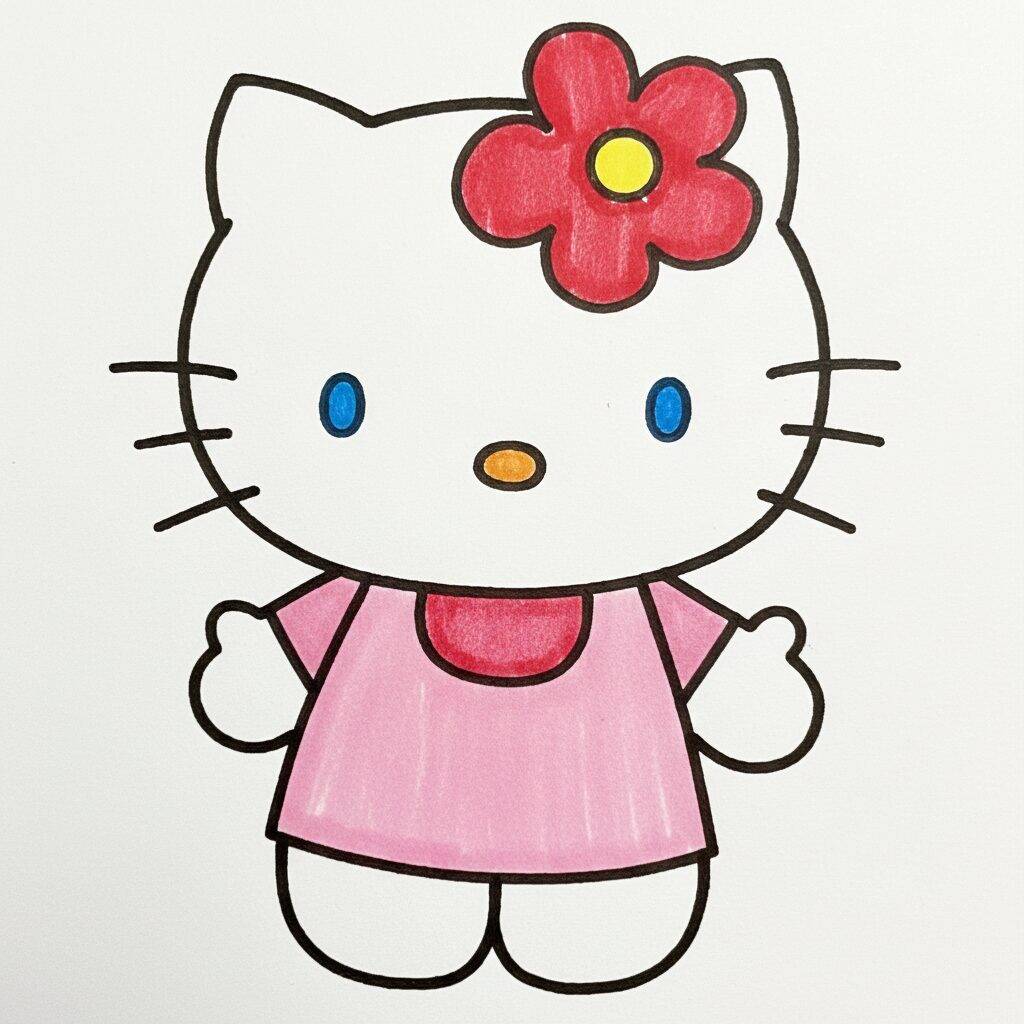
Now that we've finished designing Hello Kitty's outfit, it's time to add the colors! Start by coloring the blouse a soft pink, keeping the edges sharp. For the flower on the head, use red for the petals and yellow for the center. Don't forget Coloring Page the eyes blue and the nose orange. Finish with light shading, if you want, to give your drawing more life. Congratulations, you have completed your Hello Kitty!