


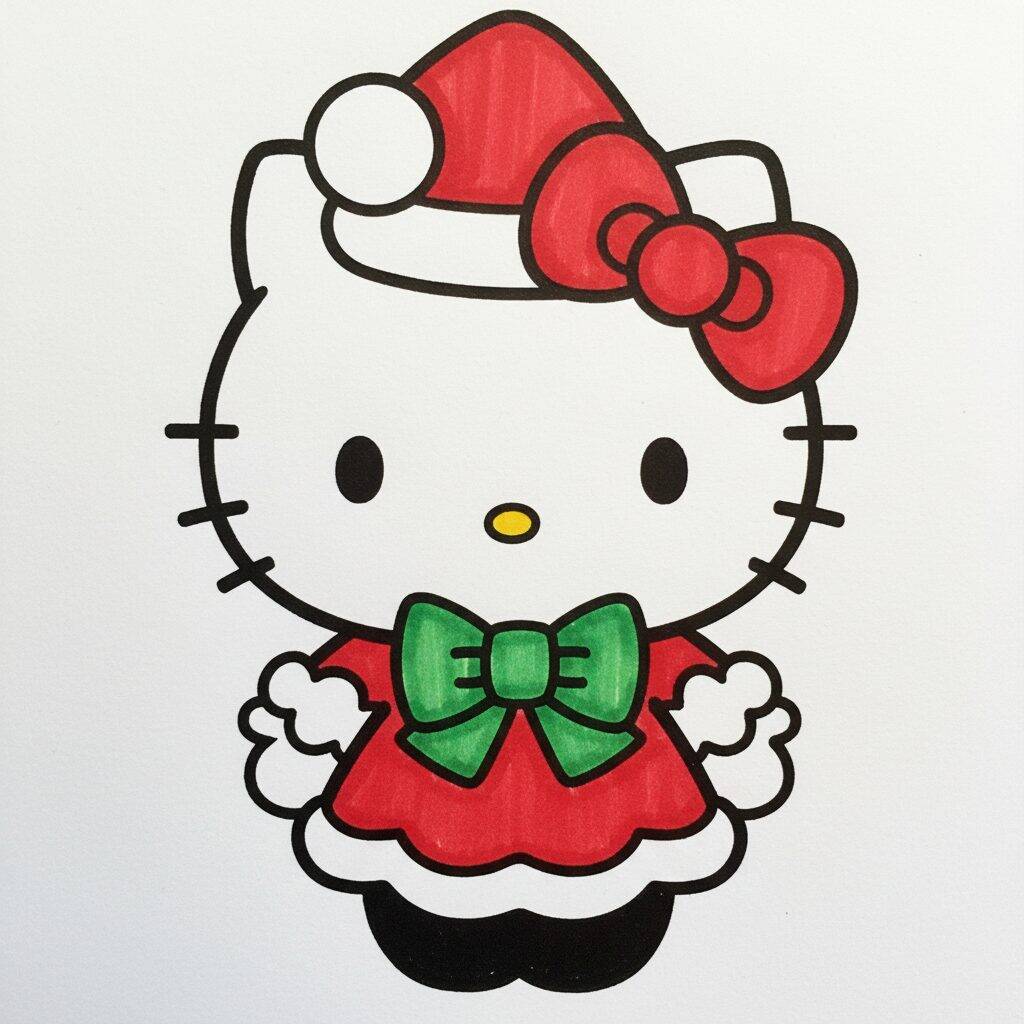
📐 How to Draw — Step by Step
Step 1 of 10
To start drawing Hello Kitty for Christmas, draw an oval shape that will be the base of the face. Next, draw two small circles for the eyes, placing them on top of the oval. Add a small stroke in the center for the nose. Remember to leave the outline soft and rounded to give your Hello Kitty an adorable touch!
Step 2 of 10
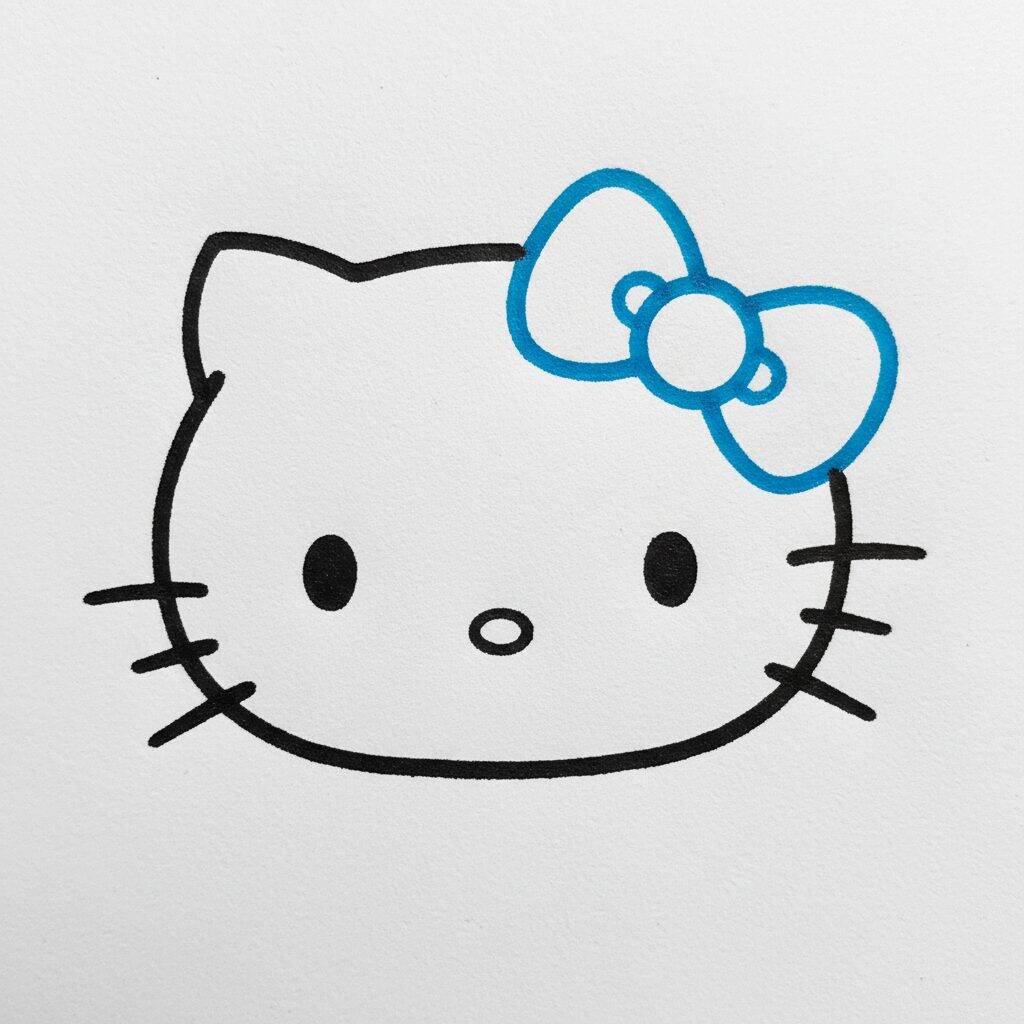
Now, let's add the details to Hello Kitty's face. Start by drawing the outlines of the ears, which are triangular and sit on top of the oval. Next, draw the mouth, which is a simple curved line just below the nose. For a special touch, add mustaches, drawing three lines on each side of the face. Finally, let's add an adorable bow to the left ear by drawing a small circle and a larger one, connected by a curved line.
Step 3 of 10
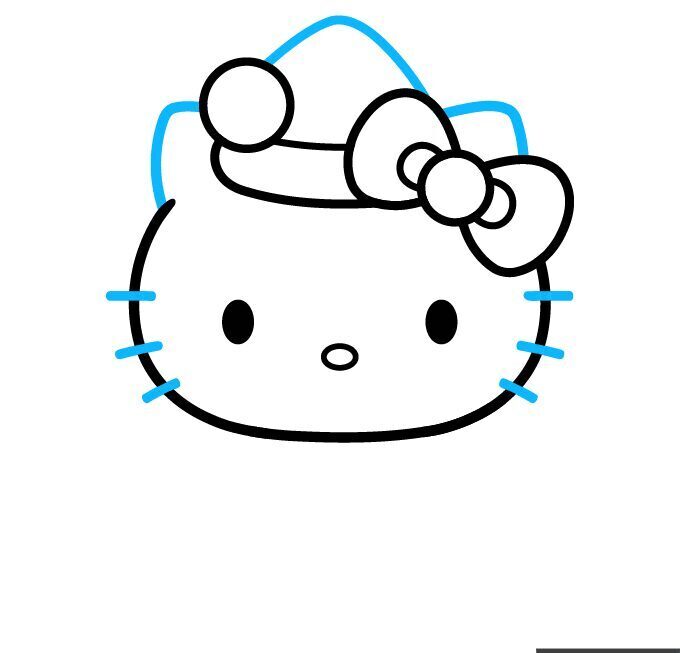
Now, let's add the Christmas hat to Hello Kitty. Start by drawing a curved line that extends from the left side of the head to the top, forming the base of the hat. Then draw a line that goes down slightly to the right, creating the part that covers the head. To finish, draw a small dot at the tip of the hat. Don't forget to leave space for the details that come next!
Step 4 of 10
Now that the Christmas hat is in place, let's add some details! Start by drawing a curved line at the bottom of the hat to add volume. Then add a larger pompom to the top of the hat, making a circle around the little ball you drew before. Then, draw a large bow next to Hello Kitty's face, with two visible ears, to give it that special charm. Remember, details are important!
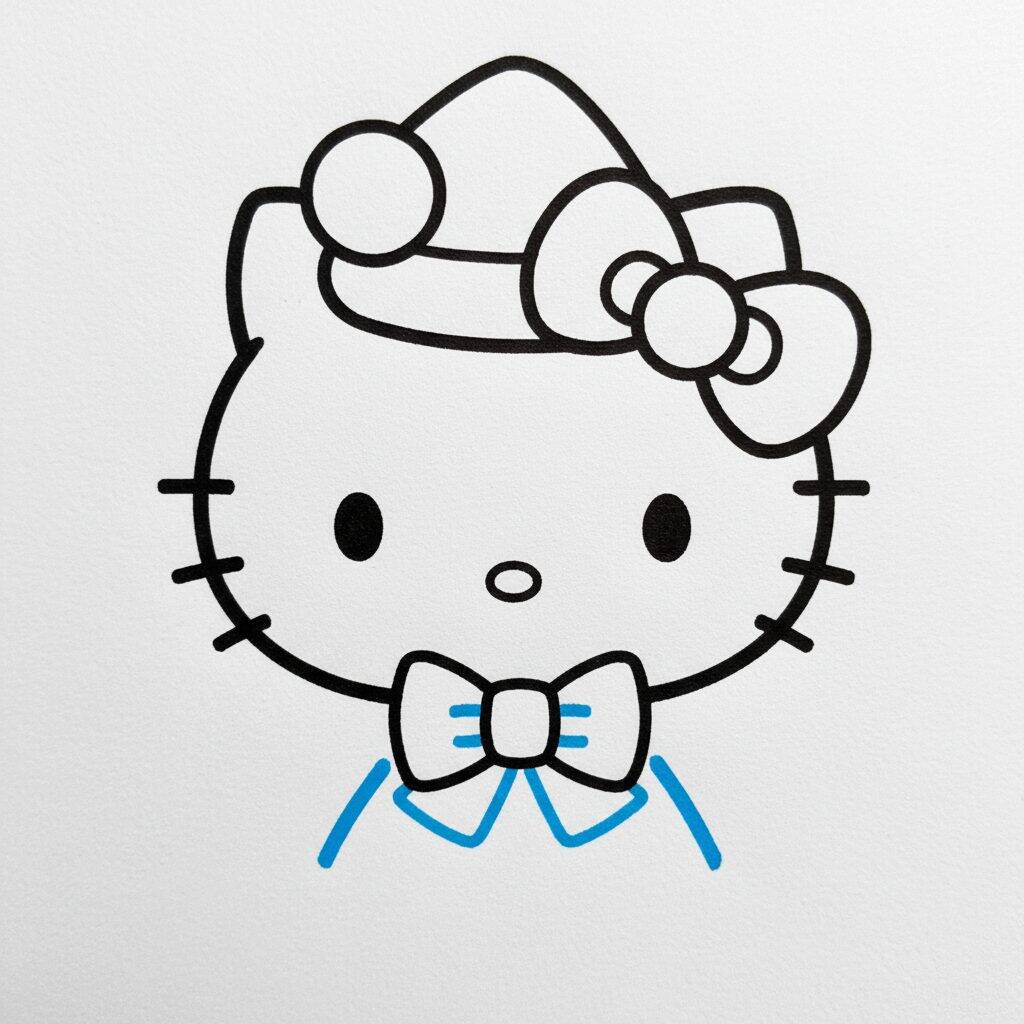
Step 5 of 10
Now that you have the base of Hello Kitty's face, let's add the bow. Start by drawing a heart shape on the top right of the head, which will be the main part of the bow. Then, draw two small ears on the top of the bow to give more detail. Then add a curved line that connects the bow to the head, to give the appearance of it being secured. Finally, don't forget to add the Christmas hat by drawing a gentle curve on the top of the head.
Step 6 of 10
Now that the bow and Christmas hat are ready, let's add Hello Kitty's body. Start by drawing an oval below the head, which will be the body. Next, draw two curved lines for the arms, coming out from the sides of the body. For the legs, make two smaller ovals at the bottom of the body. Don't forget to add the bow tie to the neck by drawing a bow shape just below the head.
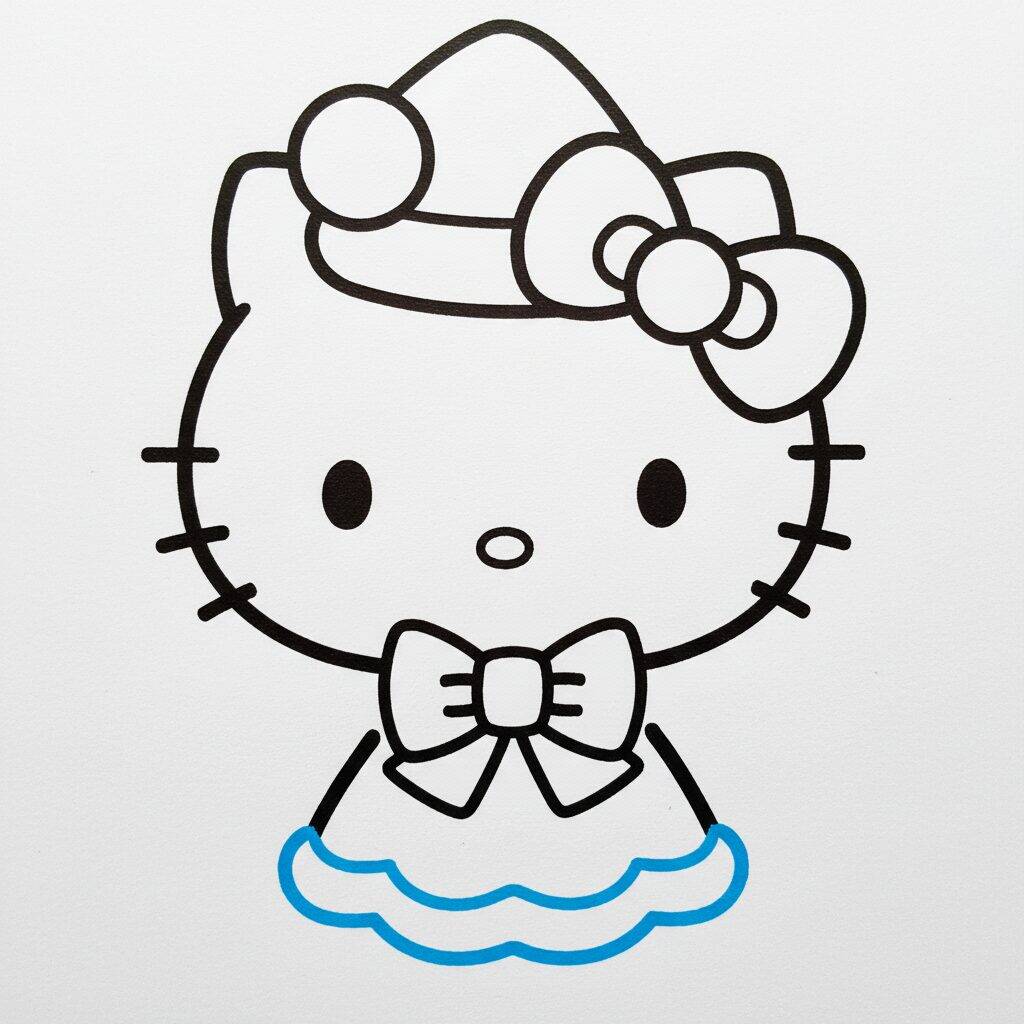
Step 7 of 10
Now that Hello Kitty's body is sketched out, let's add details to her outfit. Start by drawing a curved line at the bottom of the body to create the hem of the dress. Then add a wavy line just above, forming a fun detail. To finish this step, draw the bow tie with a more defined outline, ensuring it stands out.
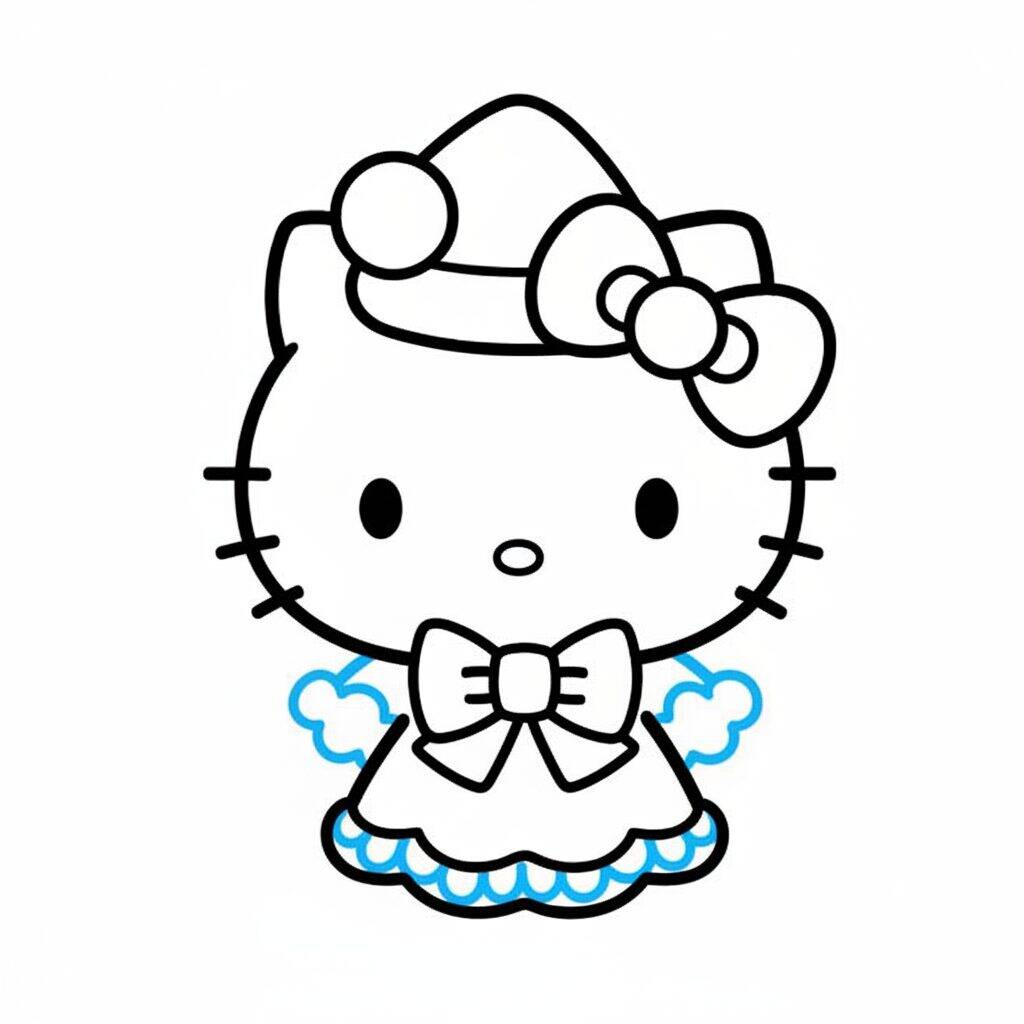
Step 8 of 10
Now that you've added the details to Hello Kitty's outfit, let's focus on the accessories. Start by drawing a cap on the top of her head, with a rounded shape and a small brim. Next, add a larger bow to the side of the head, ensuring it has a soft, delicate contour. To finish, draw some clouds around the dress, adding a fun touch to your Christmassy look.
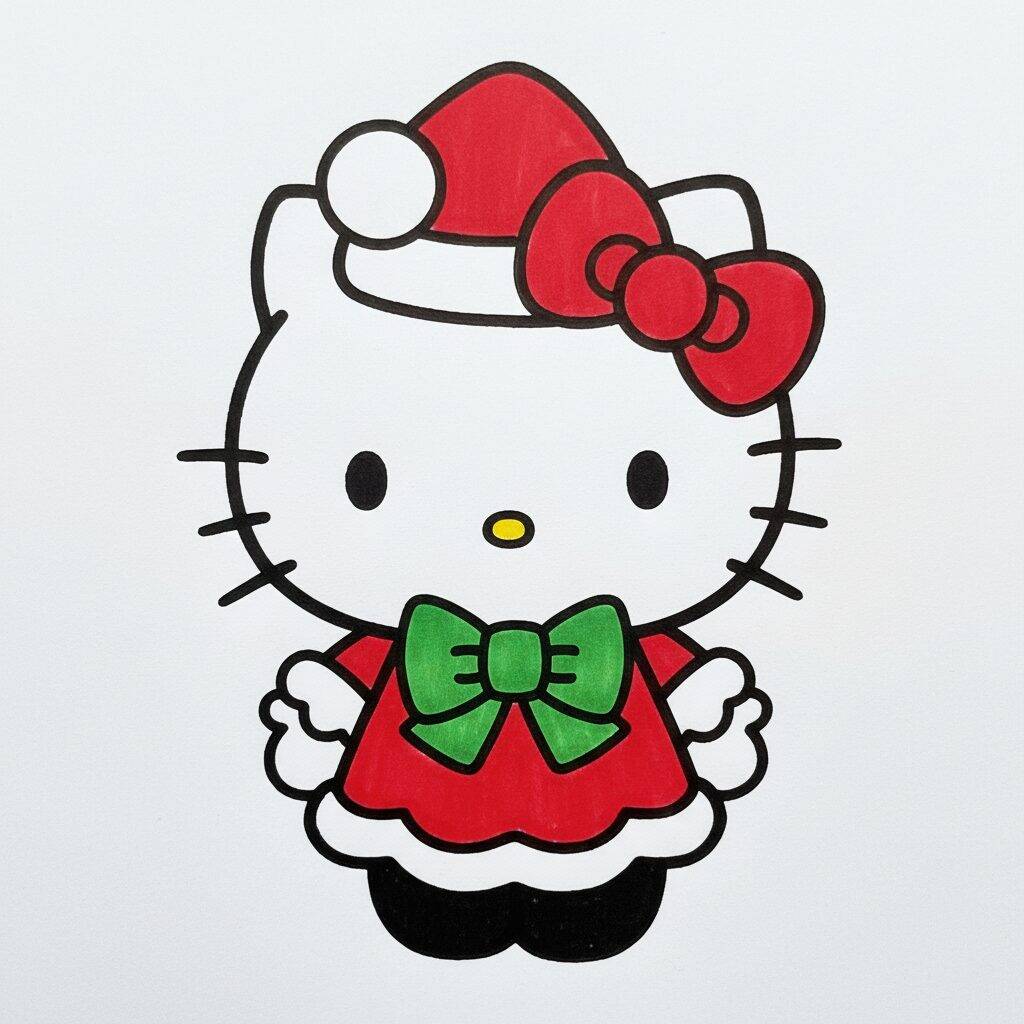
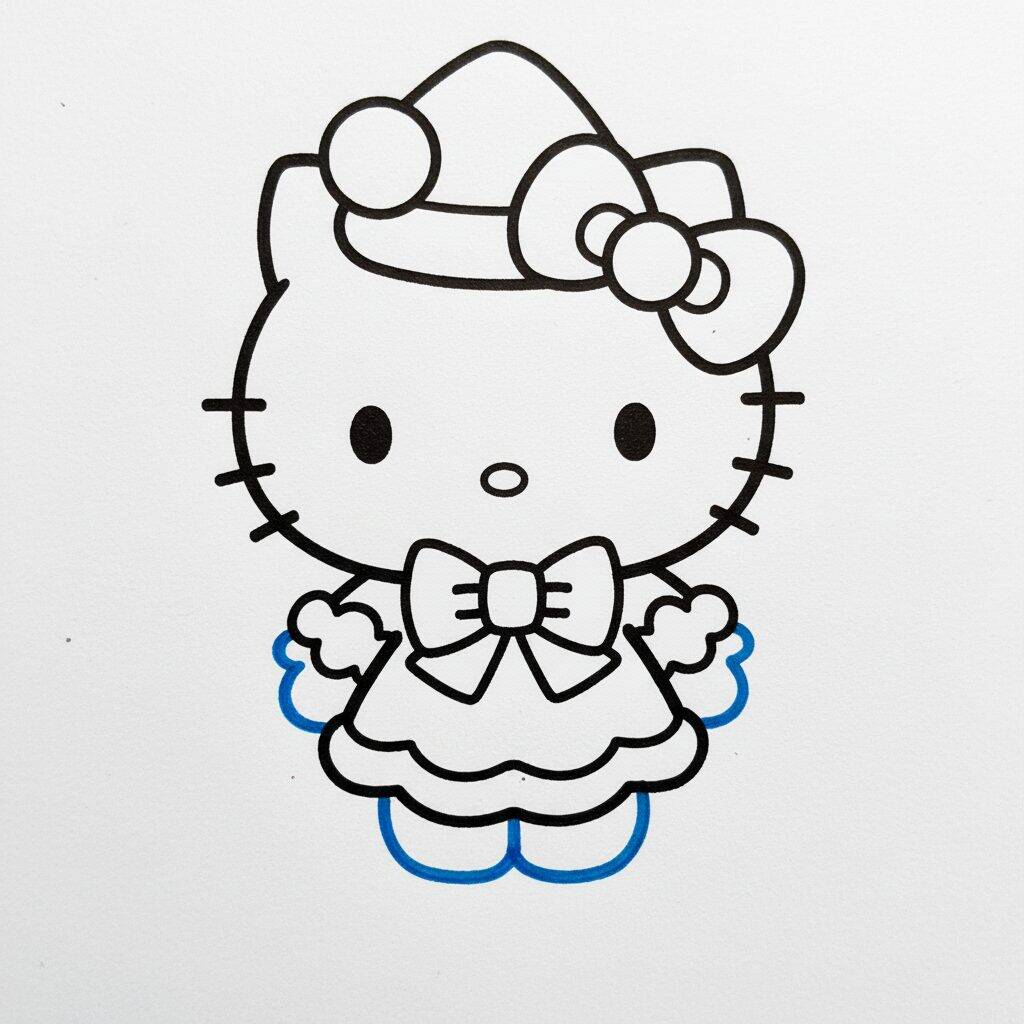
Step 9 of 10
Now let's add the finishing touches to your holiday Hello Kitty! Start by coloring her dress red, and don't forget to make the cloud details in light blue. For the bow and cap, use a vibrant shade of pink. Lastly, you can add some white details to the clouds to give a more realistic effect. With this, your Hello Kitty will be ready for the festivities!
Step 10 of 10
Now that you've finished coloring your holiday Hello Kitty, take a last look at the details. Make sure the colors are well filled and vibrant. If desired, add some sparkle to the white parts of the dress and clouds for a special touch. Congratulations! Your Hello Kitty is ready for the Christmas festivities!